Yes, making your own bias quilt binding can feel a little mind-bendy, I promise, you can do it! And I’m going to walk you all the way through it, step by step.
Still not quite sure what exactly bias binding is? Or have other questions? I’ve done a hugeFAQ postfor you – a great place to start!

To makeyour ownbiasquiltbinding you’ll need:
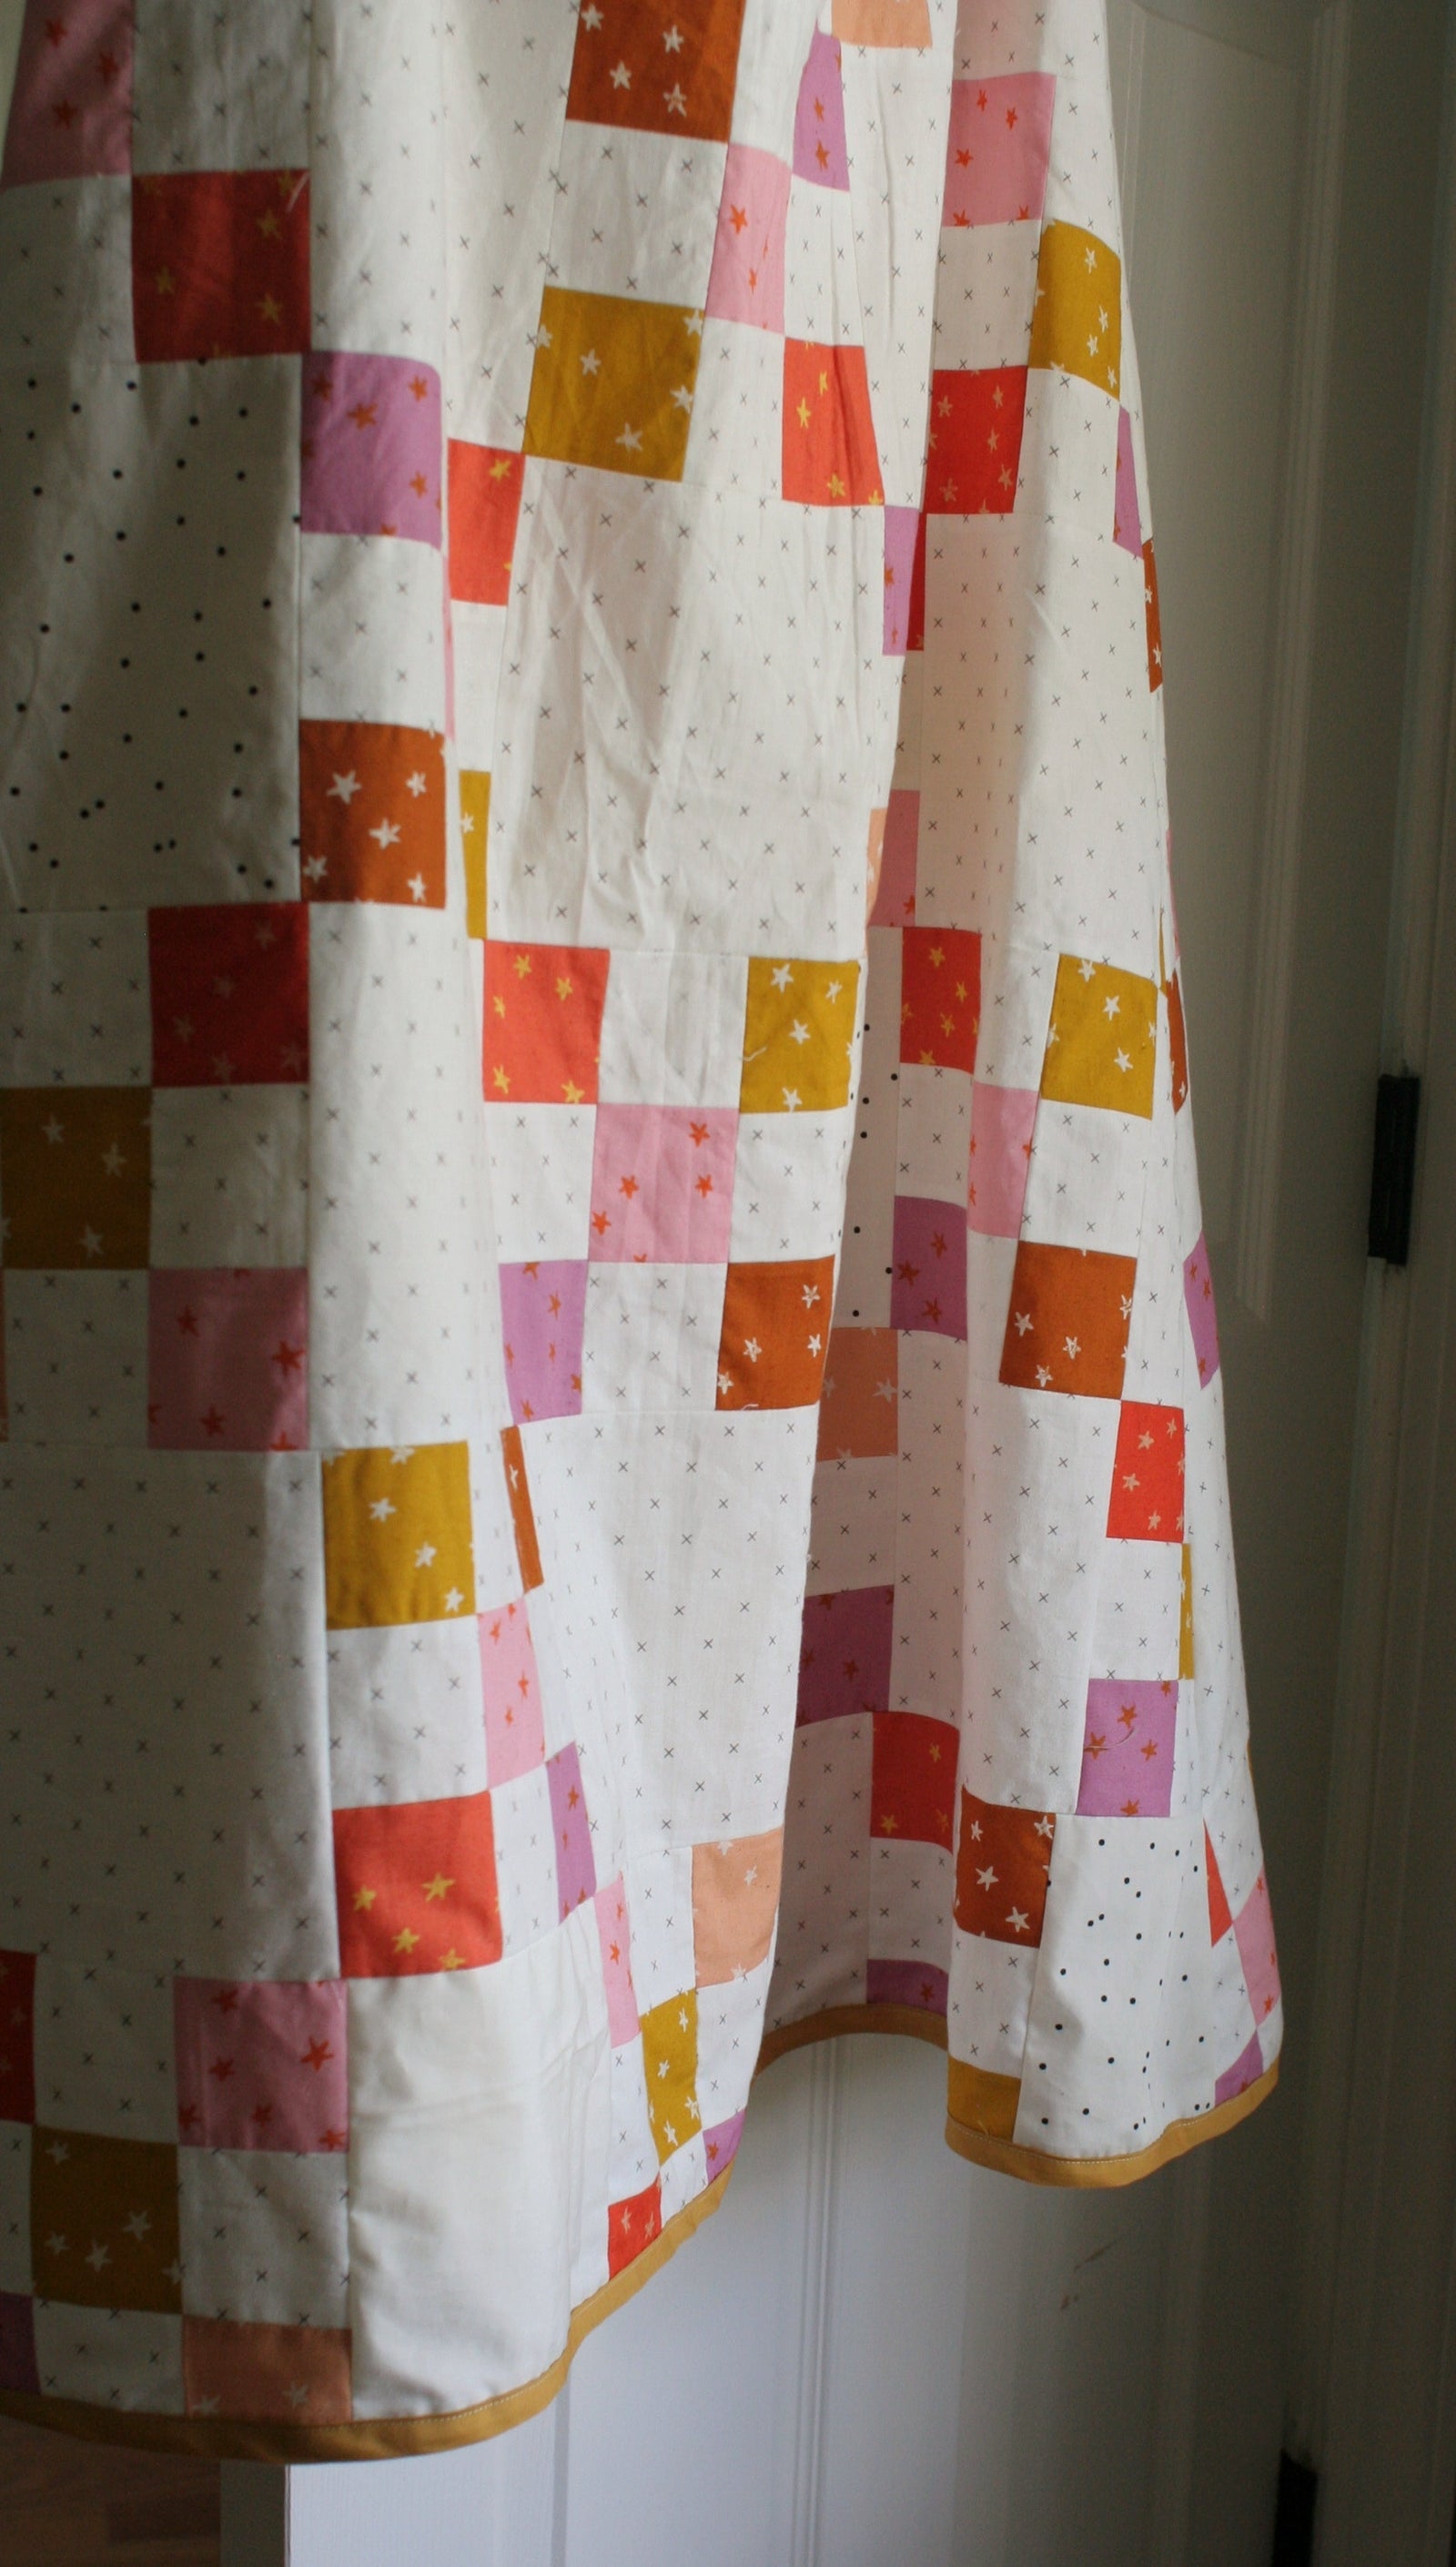
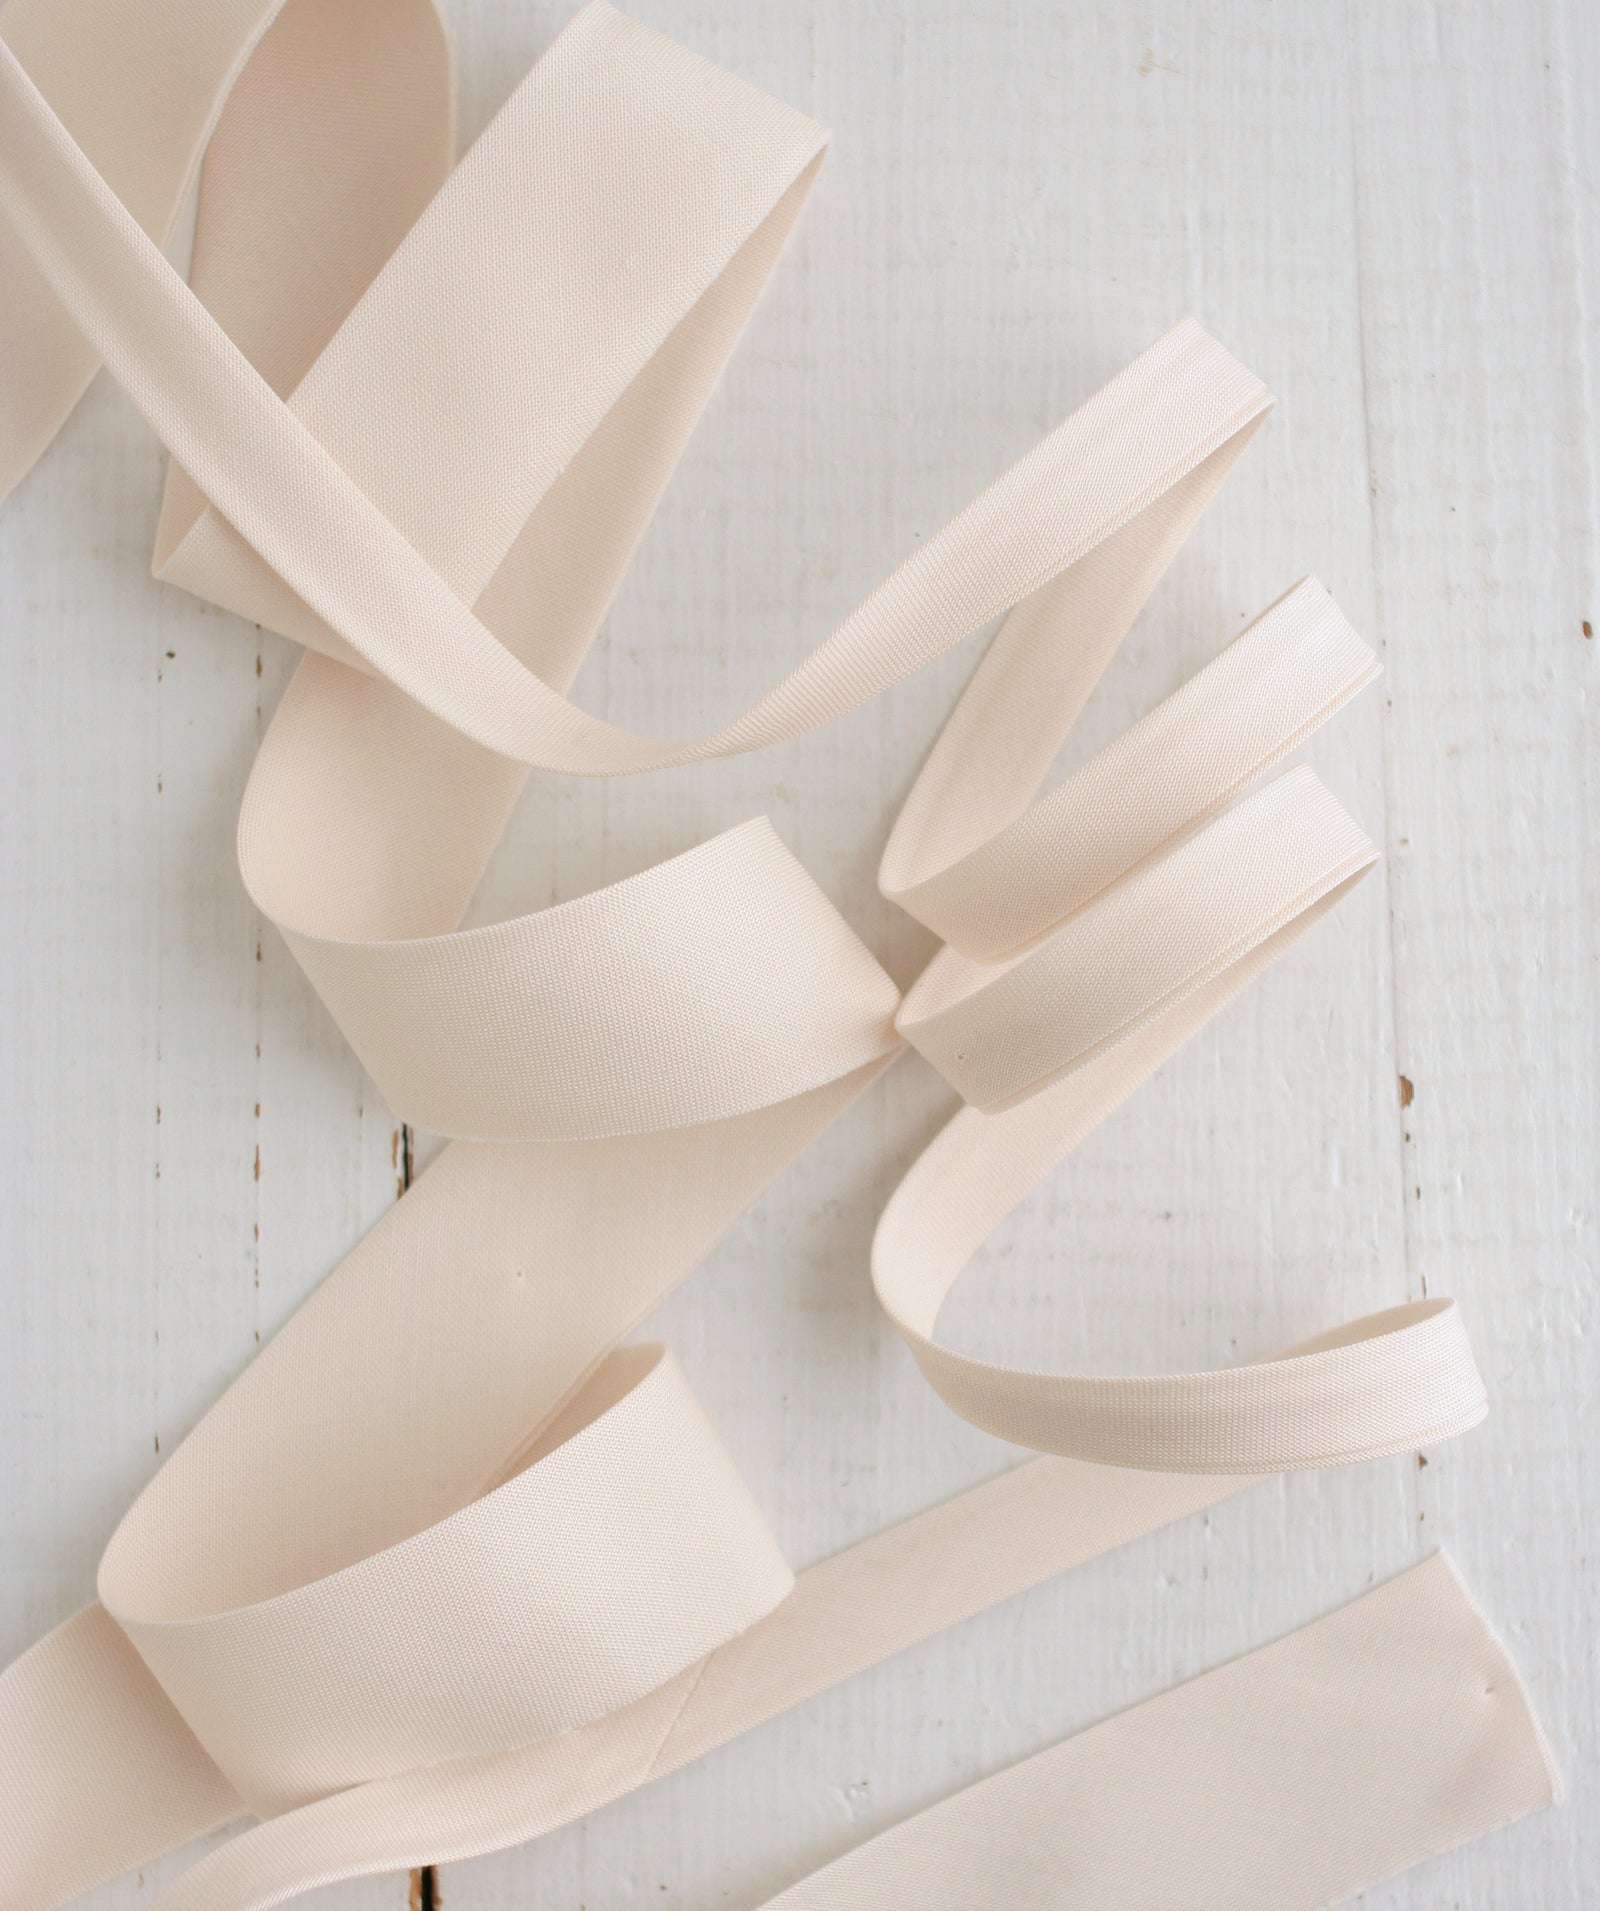
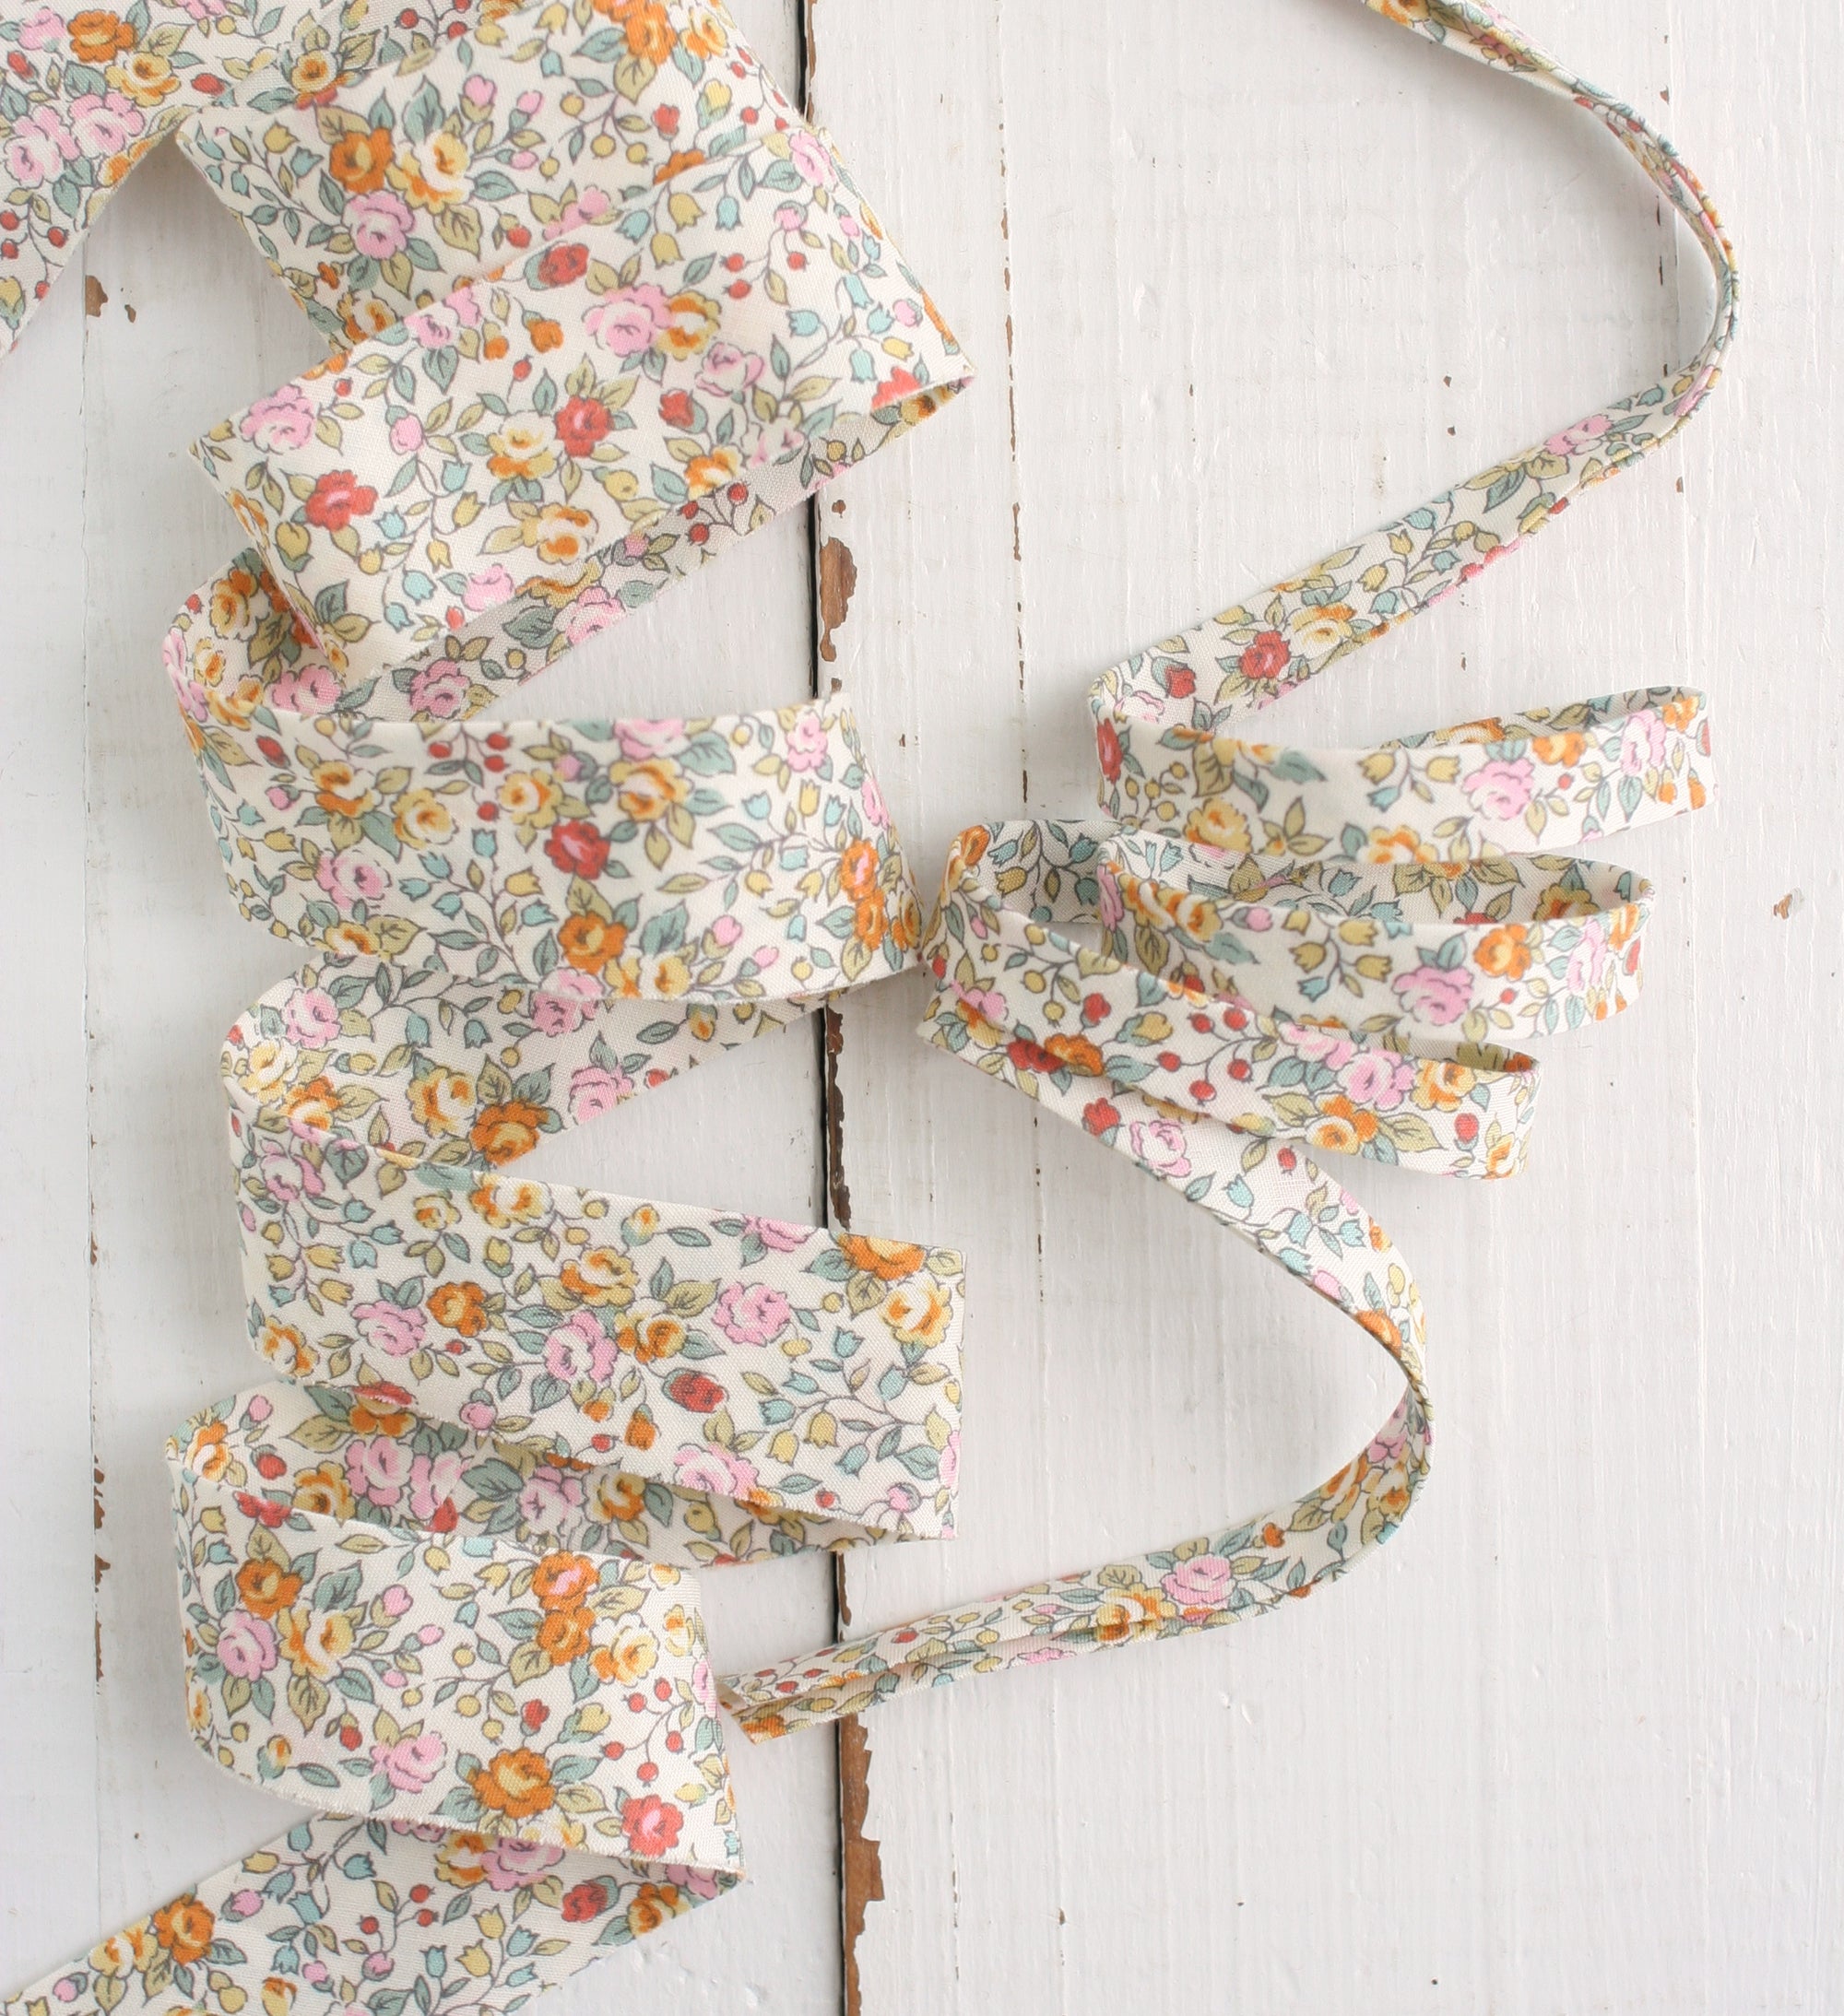
- Fabric – I would use at least a fat quarter. Anything smaller makes your strips very short and you’ll have lots of seams.
- Iron – one that steams well will make this a lot easier
- Rotary cutter and mat
- Sewing machine
- Scissors
In the video, I show you each step. You’ve got this!
OR
Here are the step-by-step instructions but you can also skip down and check out the video tutorial!
- Cut off your selvedges (if you have any) and lay out your fabric, right side facing up.
- Take the top right corner and fold it down to the bottom edge (not the bottom corner). The folded over piece should be a nice triangle. Press the folded edge.
- Open the fabric back up and cut along the line you pressed.
- Take the top two corners in your fingertips, and match them up with the bottom two corners, right sides of the fabrics facing together.
- Sew a ¼" seam along the bottom edge where your corners have matched up.
- Press the seam open and lay your fabric out, right side down, with the seam on a 45-degree angle.
- Take the left corner and pull it towards the middle, on top of the bottom edge of the fabric. Do the same with the right corner, pull it towards the middle but on top of the top edge of the fabric. Once you are done, you should have a square with the bias seam running down the middle.
- From here, I usually rotate my square so I can easily trim up the edge. Trim the edge with your rotary cutter and then you can start cutting your strips. For bias quilt binding, I cut 2.5” strips but it’s personal preference.
- Take your strips over to your machine. Lay one out, right side up. Lay out a second strip, right side up, with the two ends stacked up. Now flip the second strip over, right sides together and with about a ¼" hanging over on the ends. Sew a seam from exactly where the strips meet at the top to where they meet at the bottom. Sewing right where the strips come together is what gives you a nice straight binding when you open it up.
- Continue sewing your strips together until you have one continuous piece.
- Trim all dogears and press seams open.
- Fold your binding in half, from top to bottom and press. Use steam and a hot setting for a crisp edge.
Let me know if you have any questions! Or, if you’d rather buy premade than make it yourself, shop all of our bias bindings here!
Happy sewing friends,
Karen