DIY Quilted Maxi Skirt Tutorial – Turn a Quilt Top Into Wearable Art

My favorite part of quilting? Piecing quilt tops. But as a minimalist, I don’t need another quilt lying around. What I do need? Some fun, wearable quilted clothes—especially something tall-girl friendly. Enter: the DIY Quilted Maxi Skirt.
This project is beginner-friendly, quick, and perfect if you’ve got a quilt top in your UFO pile waiting for a second life.
Why You’ll Love Making a Quilted Maxi Skirt
-
Quick & easy – Grab a quilt top, bias tape, and elastic. You’ll be done faster than a 90-minute rom-com.
-
Show off your favorite quilt patterns – I used an Irish Chain, and it really shines.
-
No hemming needed – Bias tape does the job and looks great.
Supplies You’ll Need
-
Quilt top (size depends on your measurements—see below!)
-
1" elastic
-
Lining fabric (optional, but great for light-colored quilts)
-
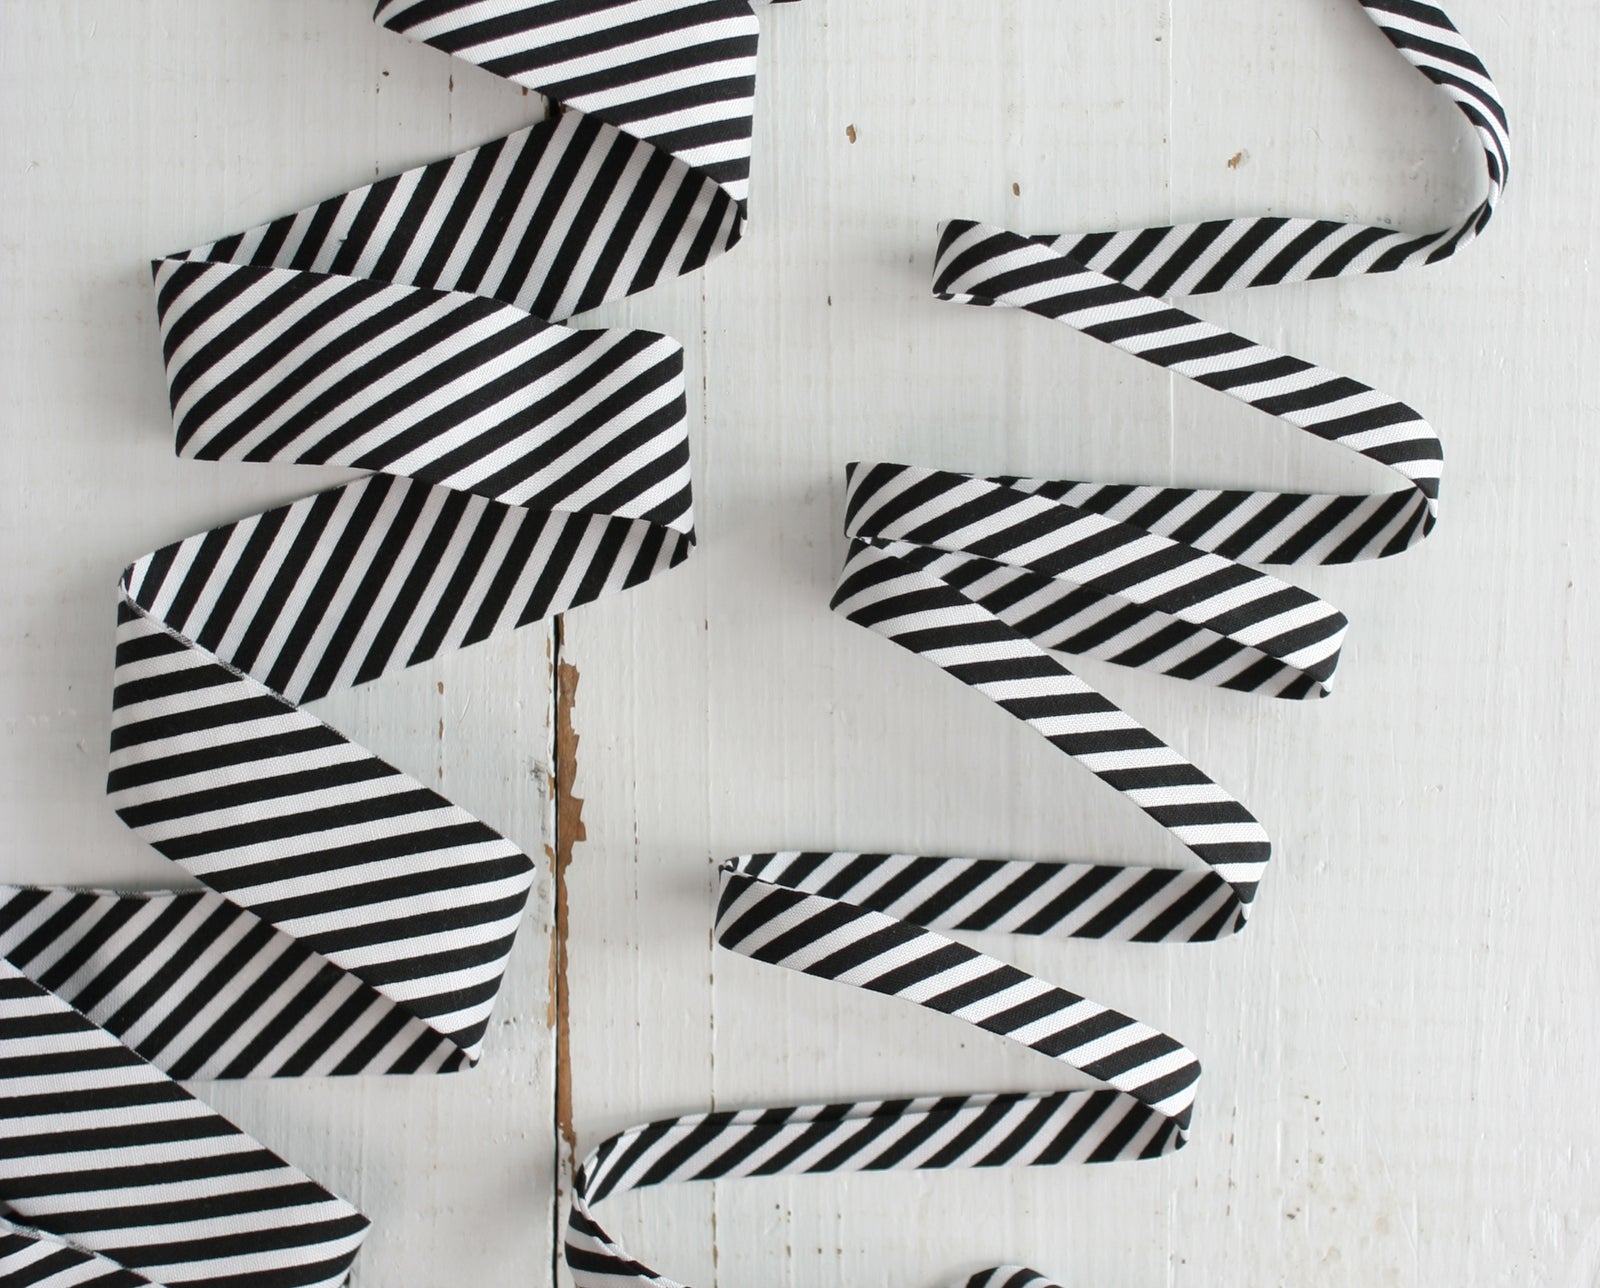
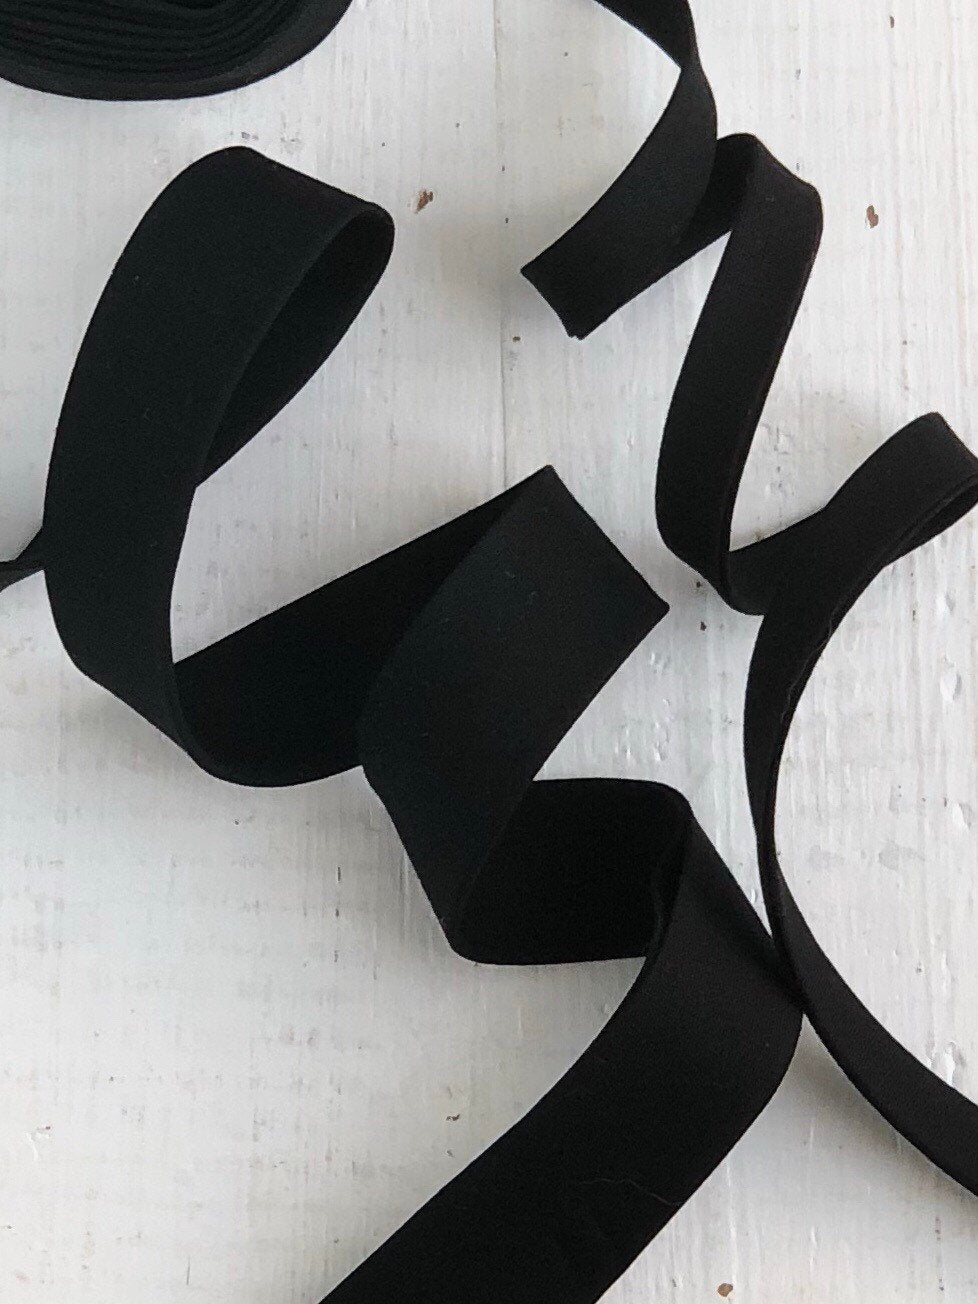
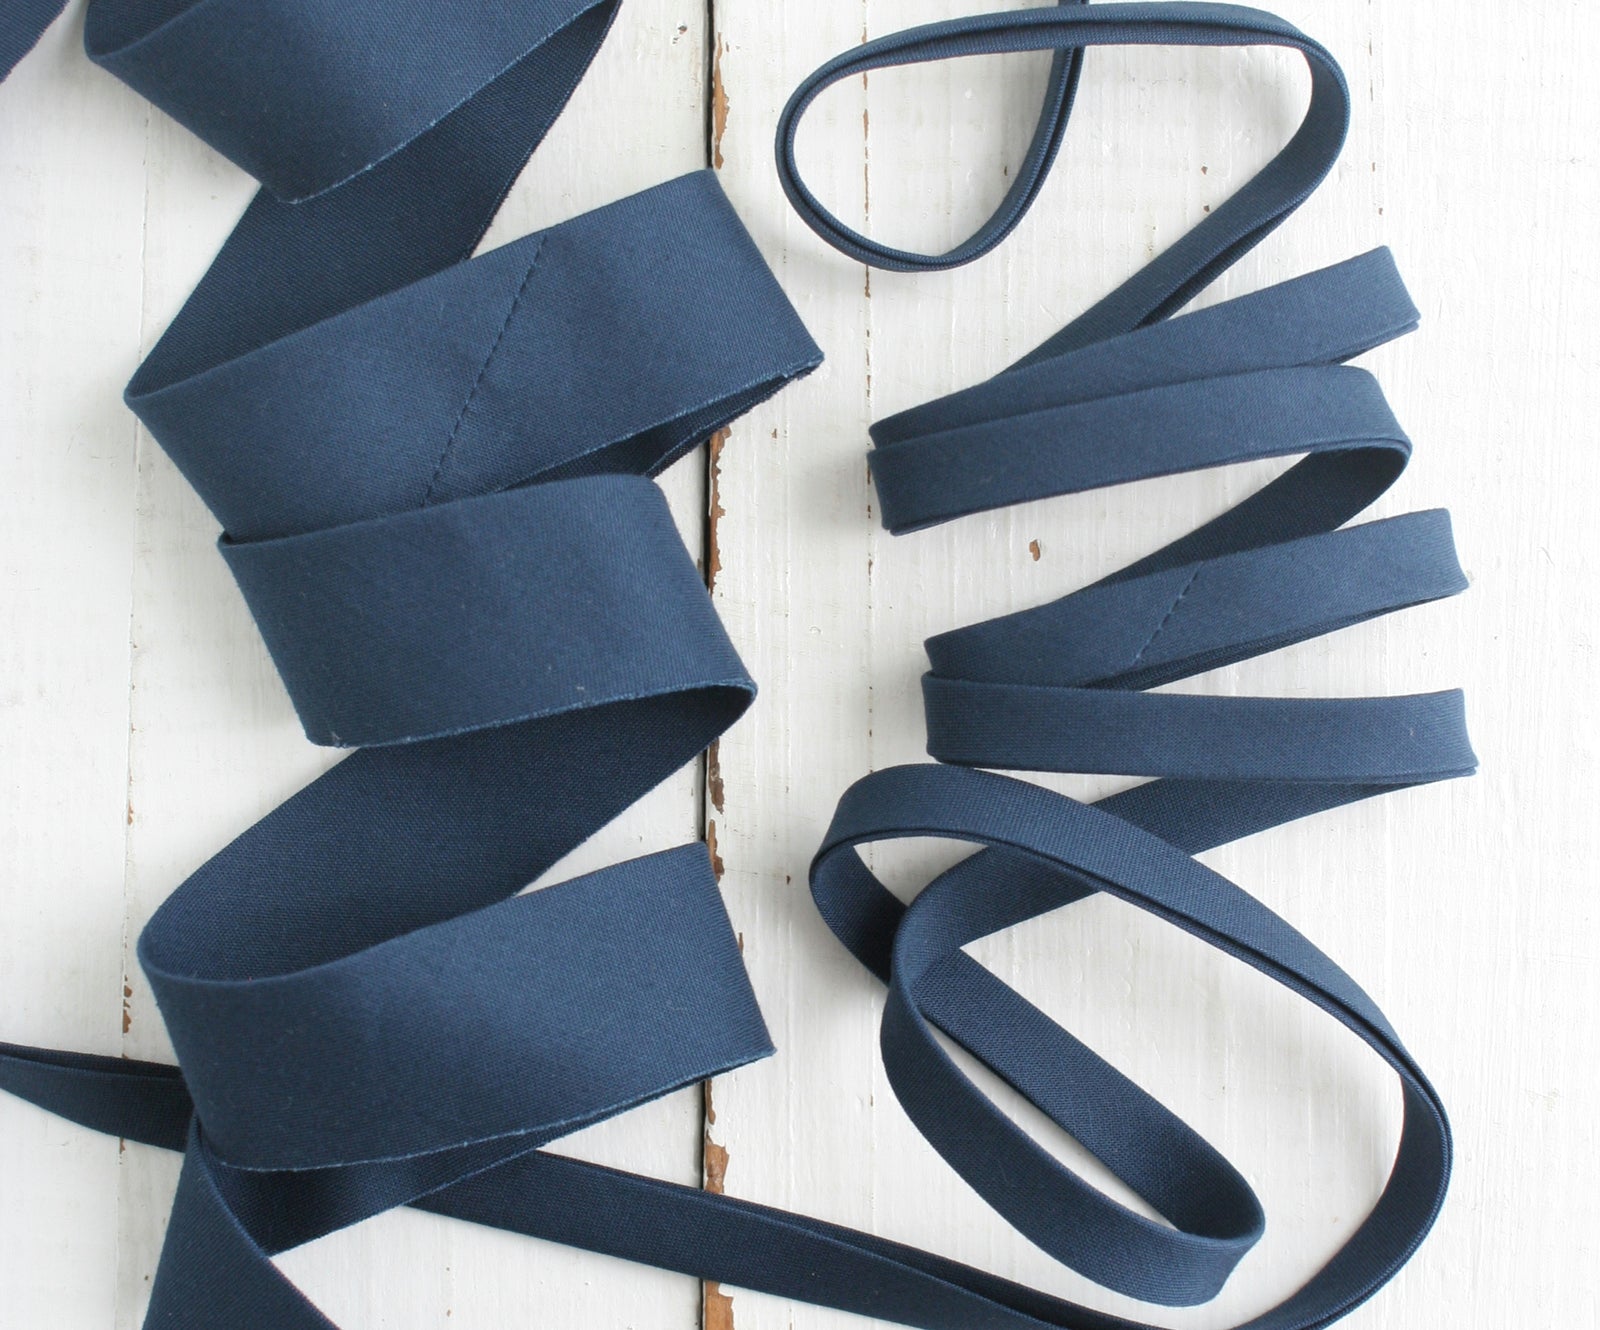
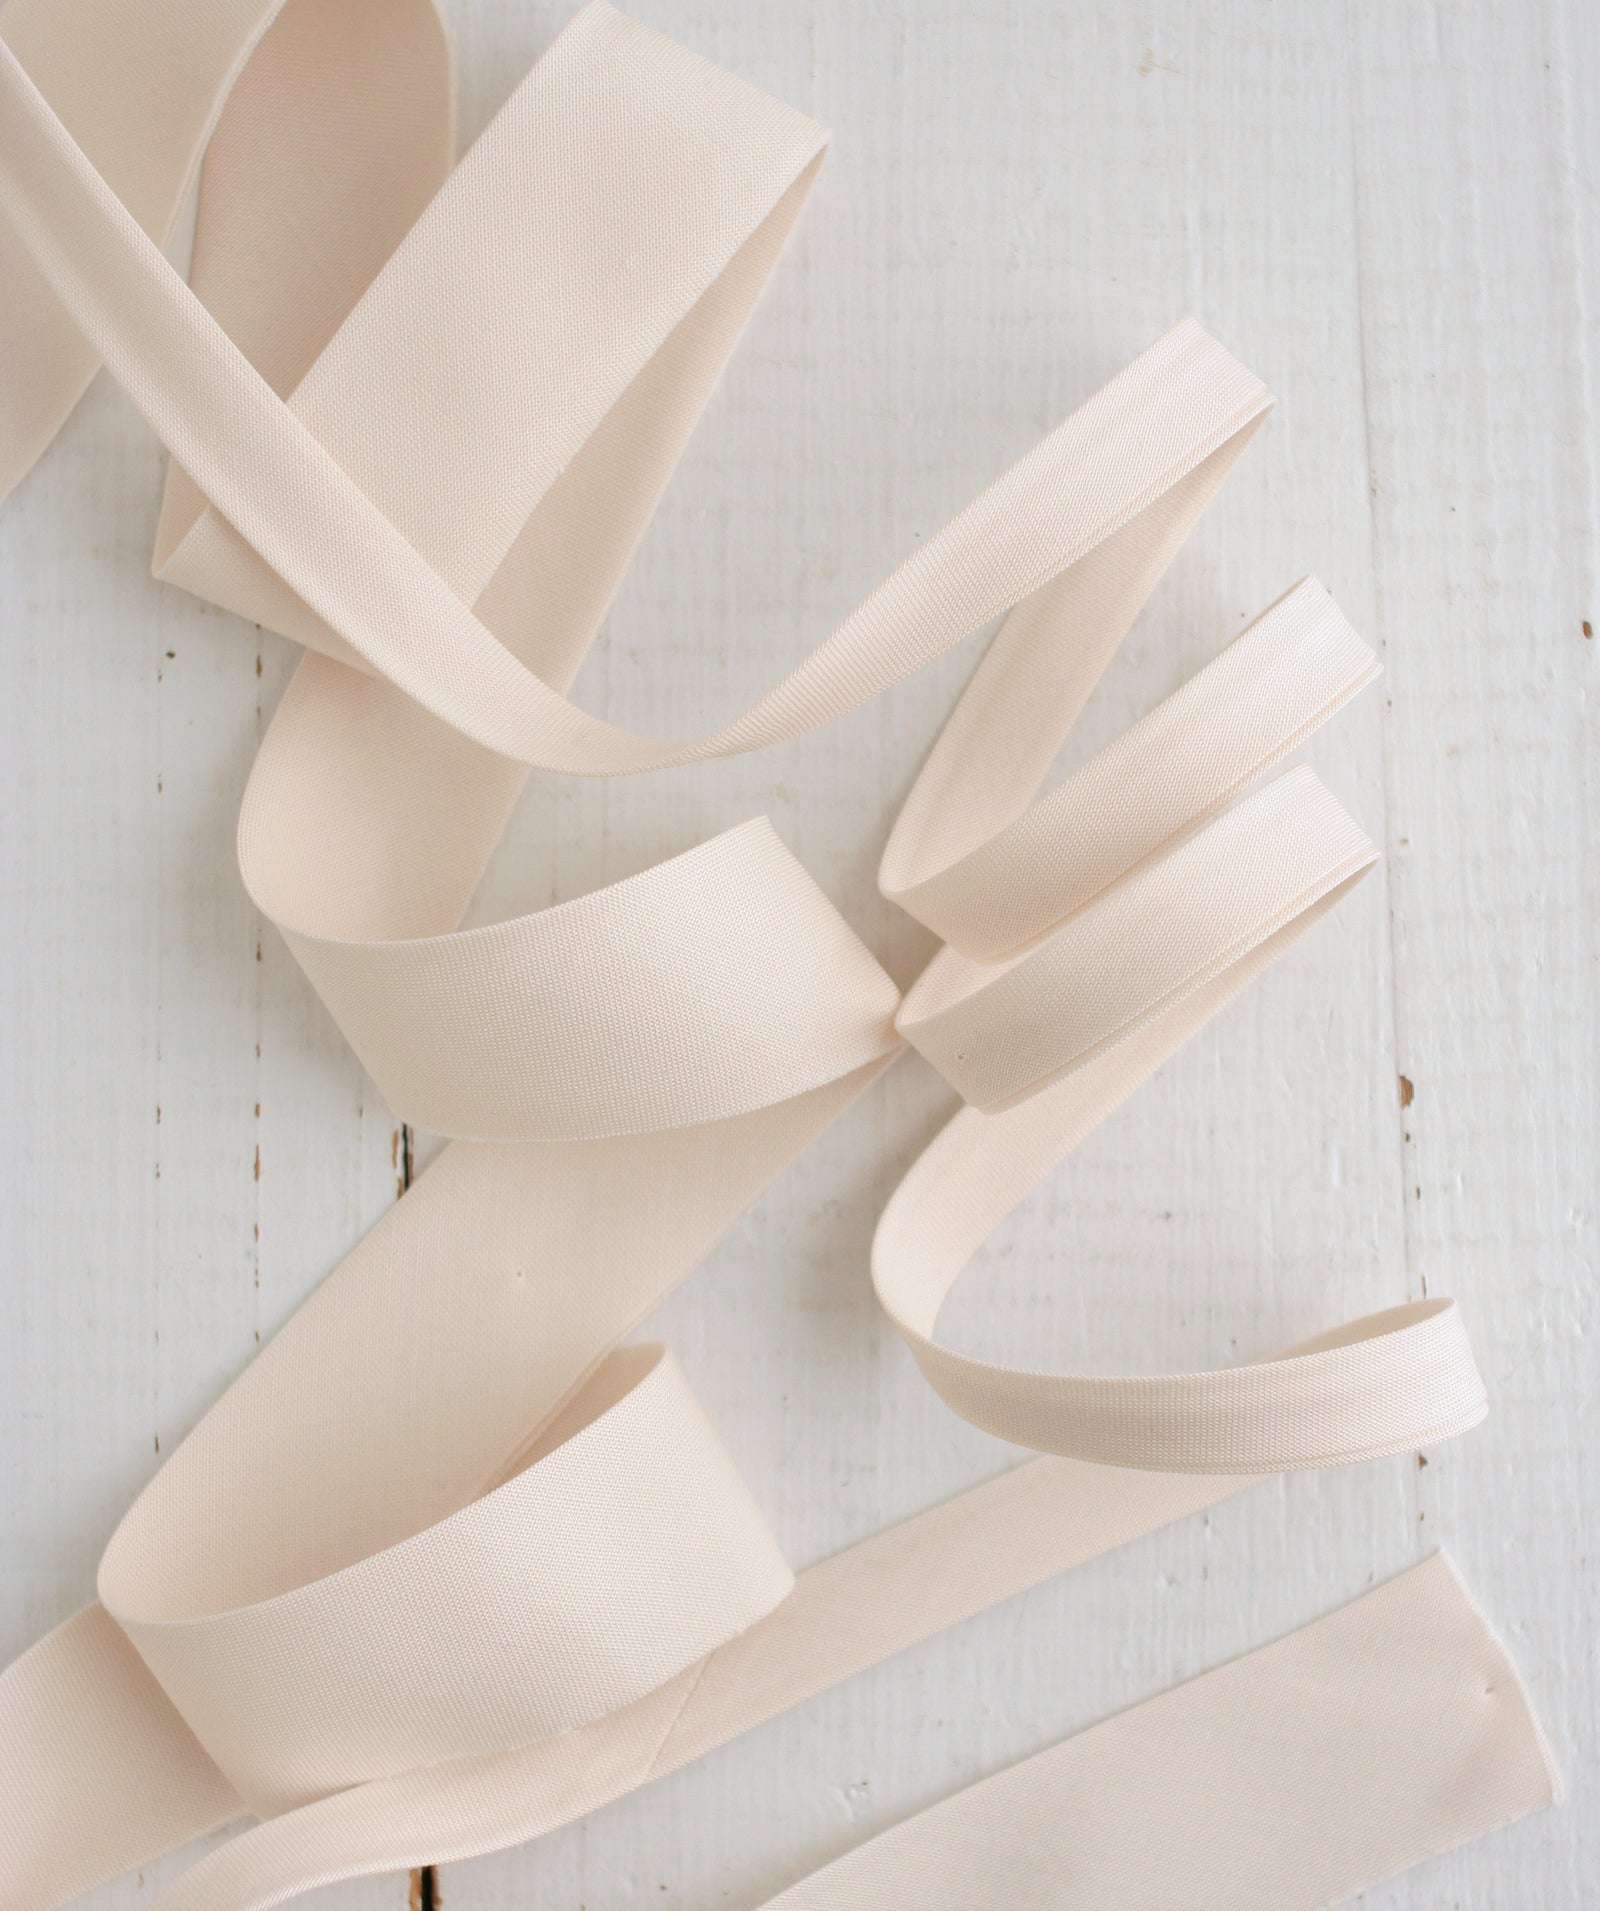
2–3 yards coordinating double-fold bias tape
-
Paper (kraft paper works well for a skirt template)
-
Thread
-
Scissors
-
Sewing machine
-
Safety pin or Bodkin
Step 1: Take Your Measurements
I wanted a maxi skirt that wasn’t too full, so mine measured:
-
Waist width (flat): 20"
-
Bottom width (flat): 40"
👉 Formula: Decide how wide you want the bottom, divide that number in half to get your waist width.
Remember, the waistband gathers up with elastic, so it’s very forgiving.
Step 2: Prep Your Quilt Panel (and Lining)
You’ll cut the skirt on the fold, so make a quilt panel large enough for your measurements. Mine was at least 40" x 80". If you’re adding a lining, prep the same amount of lining fabric.

Step 3: Make a Skirt Template
Optional, but highly recommended! I made one from kraft paper:
-
Waist: 10"
-
Bottom: 20"
-
Length: 40"
Draw a straight line from waist to hem. Place on the fabric fold, cut 2 pieces from your quilt top, and 2 from the lining.

Step 4: Sew It Together
-
Place quilt pieces right sides together and sew side seams (½" seam allowance).
-
Repeat with lining.
-
Press seams open or to one side.
Step 5: Create the Waistband
Note: This method works best if you’re using a lining.
-
Place quilt layer inside lining, right sides together. Sew around the waist with a ½" seam.
-
Flip right side out, then topstitch ⅛" from the top.
-
Sew another line 1¼–1½" down to create a casing. Leave a 2–3" gap.
-
Thread elastic through with a safety pin or Bodkin, adjust fit, then sew ends of elastic together.
-
Close the gap in the casing.

Step 6: Finish the Hem with Bias Tape
Tall girls rejoice—this skirt keeps its full length! Instead of hemming:
-
Sew double-fold bias tape to the skirt’s outer layer with a ¼" seam.
-
Wrap bias tape around the edge and stitch it down.
-
For the lining, hem traditionally by folding under ½" twice and stitching.


All Done – Time to Twirl!
And that’s it! You’ve transformed a quilt top into a stylish quilted maxi skirt that’s unique, comfy, and oh-so-twirly. Whether you’re dancing in the kitchen or showing it off at a quilt show, it’s guaranteed to be a conversation starter.

✨ Pin this project for later and tag me if you make your own DIY quilt clothing —I’d love to see your quilted maxi skirt spin!