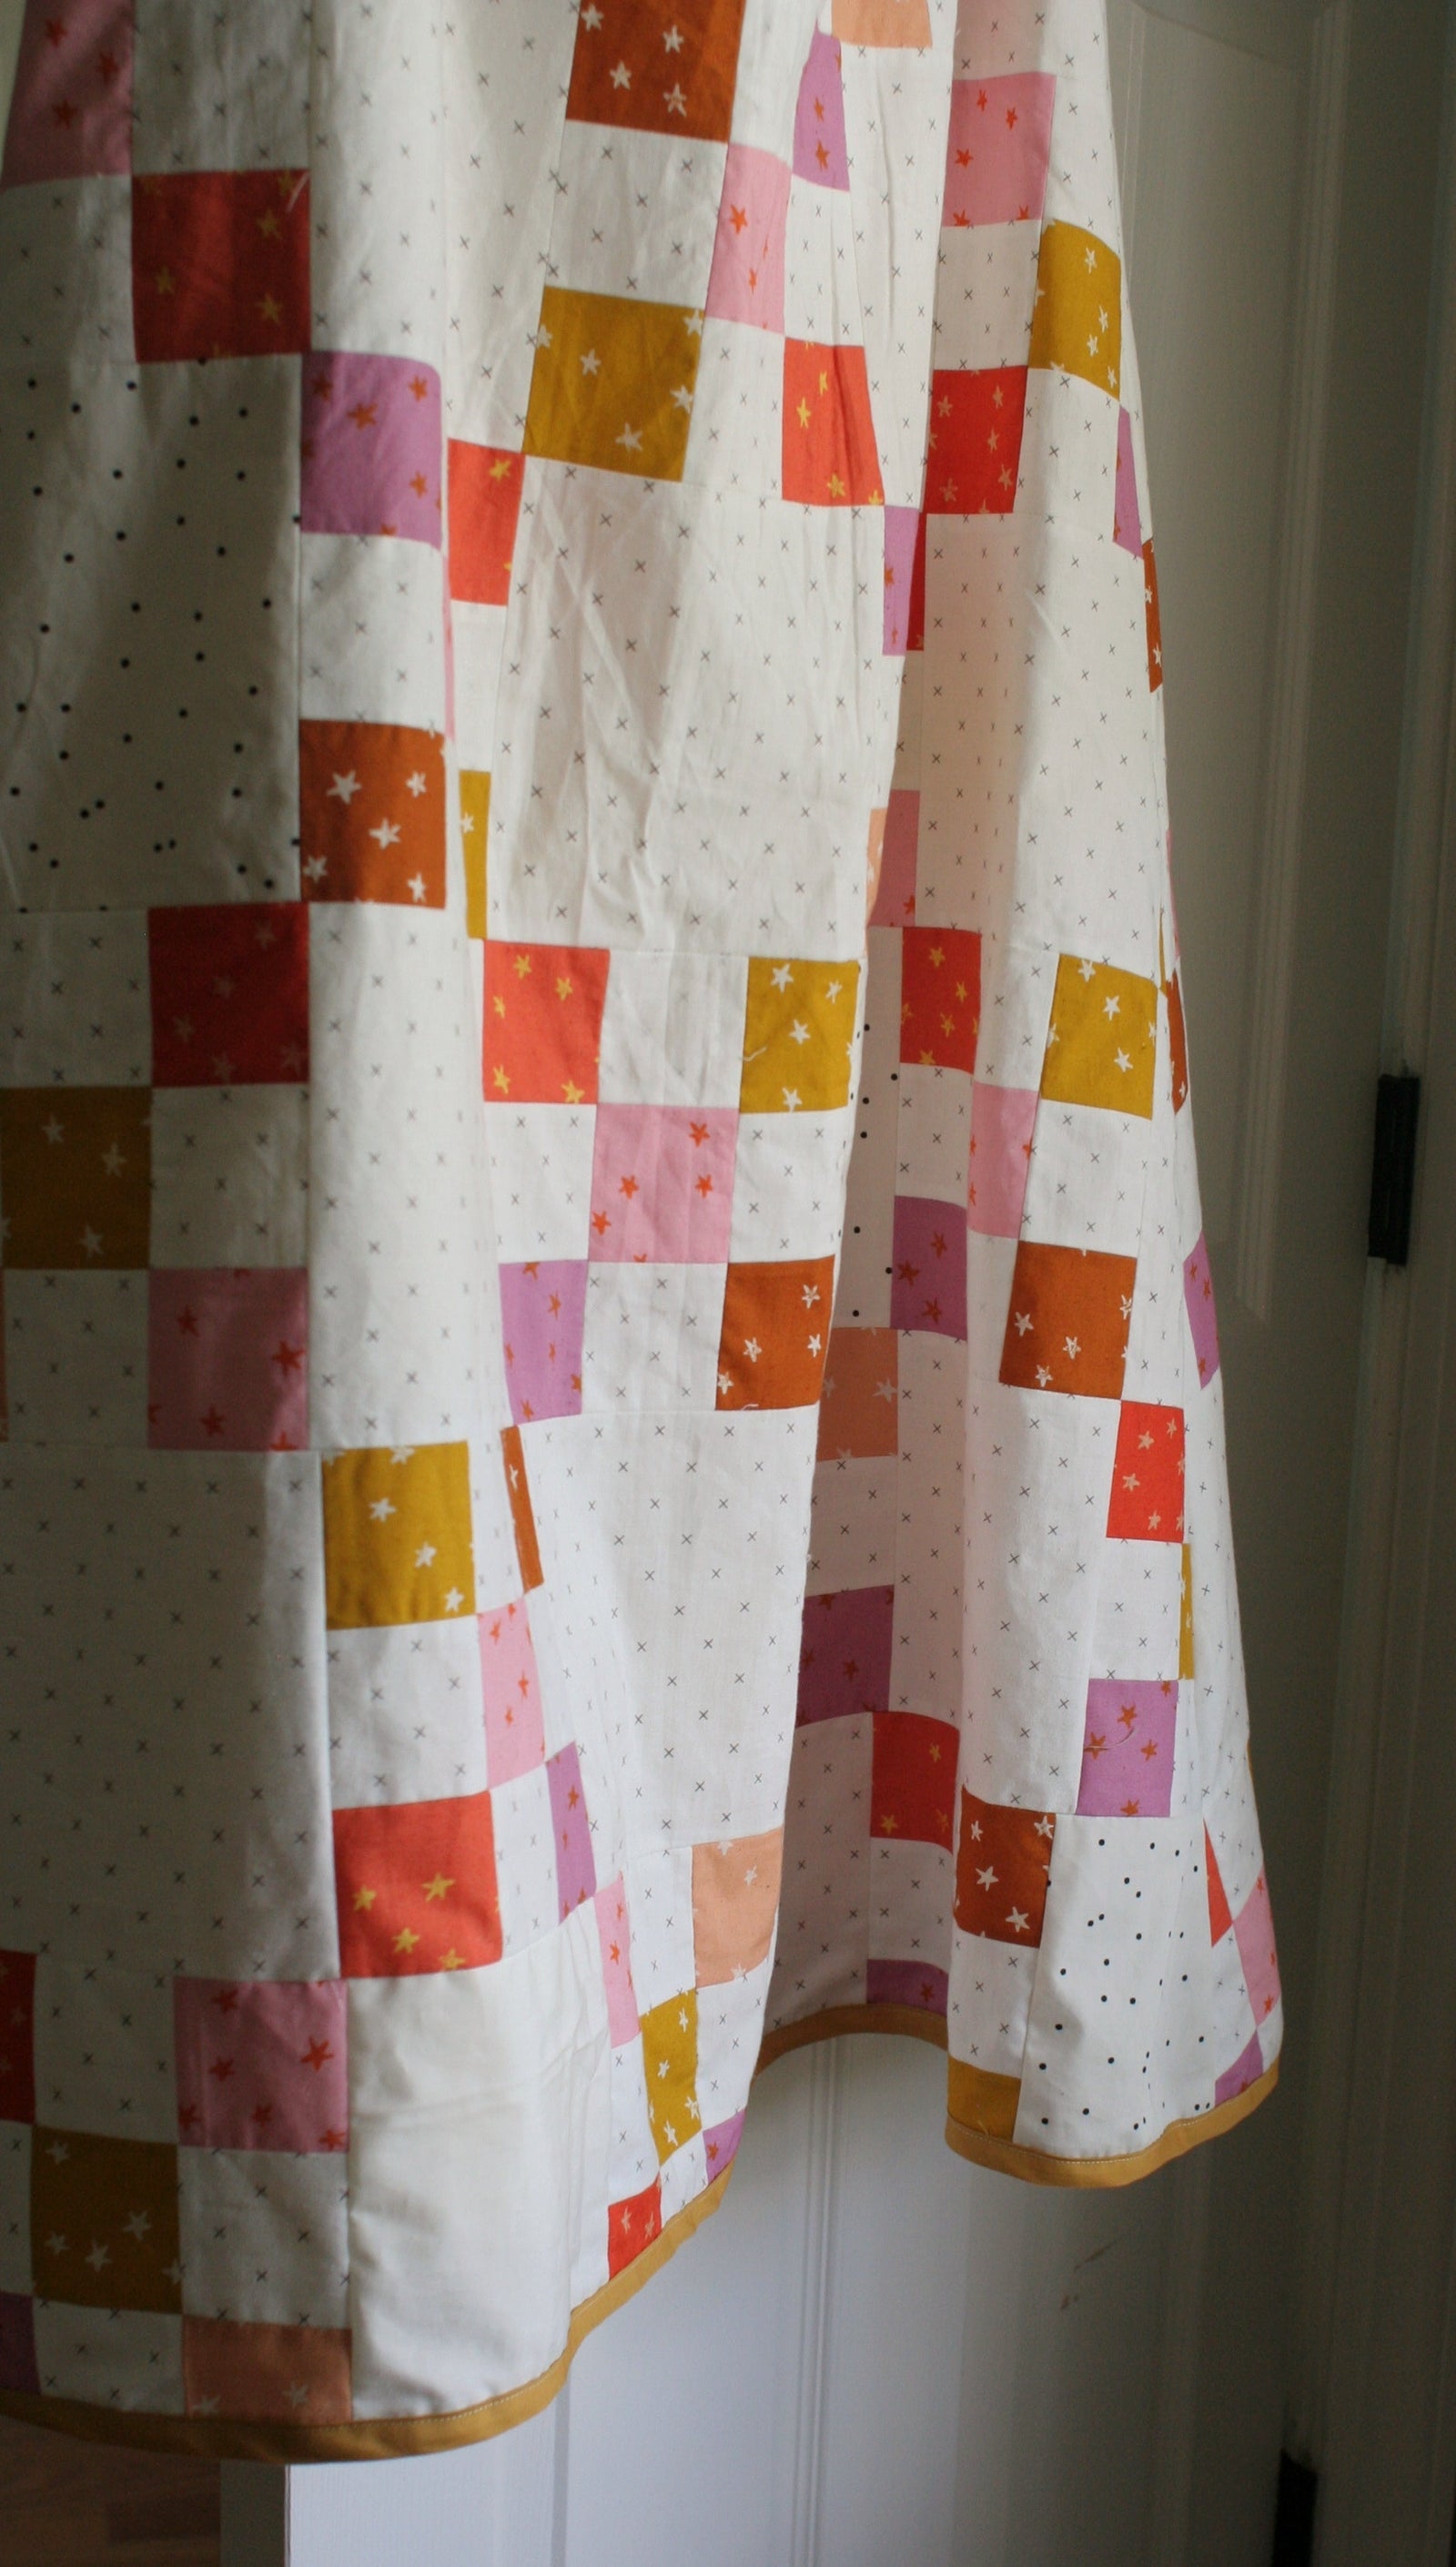
Introducing my latest make: The Puff Quilt! A soft, squishy labor of love that's perfect for gifting—or keeping for yourself.

Okay, rewind with me to QuiltCon 2023. I was there with my best friend, and we met up with Brittany from Lo & Behold Stitchery, who was showcasing her gorgeous Ombre Puff Quilt. My best friend fell hard for it.
So for her 40th birthday this year, I decided to make her one.

Brittany's Original Puff Quilt
I mostly followed Brittany’s tutorial (highly recommend starting there!) with a few tweaks to keep it simple and very on-brand for me—a proud Type-B quilter. Here's how I made it, what worked, and a few things I learned along the way.
Step 1: Avoid the Overthinking—Just Buy a Bundle
True to my Type-B nature, picking out a bunch of fabrics sounds like stress—not joy. So I asked my friend Morgan of Morgan Kelley Quilts, aka bundle magician, to help. I sent her an inspo pic and told her how many prints I wanted. She worked her magic and whipped up the perfect bundle for me.
Hot tip: If you’re wondering what fabrics to use for a puff quilt, just grab a curated bundle. It's quick, coordinated, and sanity-saving.


Step 2: Dig Into Your Stash for Puff Quilt Backs
Each puff square has a front and a back, but the back fabric doesn’t show—so use up those “meh” fabrics from your stash! I had a bunch of old yardage I didn’t love anymore, and it was perfect for the hidden part of the puffs.
You could also thrift an old sheet or repurpose one from home. This is one of those satisfying “use what you’ve got” quilt projects.

The backs

The fronts
Step 3: Find a Good Show—You’re Gonna Be Here Awhile
Now comes the sewing. And puff by puff, it adds up. I chain-pieced all my squares and it still took about 3–4 hours. But honestly? I didn’t mind it. It’s mindless in the best way.
Type-B quilters unite: repetitive, relaxing sewing is kind of our thing.


I was determined to figure out web piecingfor this quilt so all of my rows would stay in order. Thanks to watching (and rewatching) this videofrom Suzy Quilts, I did it! Since I'm type-B, I only webbed 3-4 rows at a time but I still! New quilting skill unlocked.
Step 4: Stuffing the Puffs (But Not Too Much!)
This is the part where I shout from the rooftops:
DO NOT OVERSTUFF YOUR PUFFS.
I get it—you want them to be super poofy. But don’t do it. The minute you try to sew rows together with overstuffed squares, it’s chaos. Your seams won’t line up, the fluff fights back, and you’ll sweat more than you did in your last workout.
They still look delightfully puffy with less filling, and your future self will thank you.

Step 5: Assembling the Puff Quilt
Here’s what worked for me when it came time to piece the whole thing together:
-
Get yourself some large curved safety pins. The tiny ones are cute, but not today.
-
I used a thrifted flat sheet for the backing. I waited weeks to find the perfect green in my local Buy Nothing group—and it was free!
-
I started hand-tying the quilt, got two ties in, and said “Nope.” So I switched to my mom’s machine and did a small, very tight zig-zag stitch at each corner where the puffs meet.
-
Pro tip: Don’t clip your threads in between. Just lift the needle, slide to the next corner, and keep going. Then clip them all at the end. Fast and neat.

You can just see the small zigzag stitches in each corner. This is before I clipped the threads so you can see the thread from where I moved from one stitch on to the next.

Here's what the stitches look like on the back, before the threads were clipped.
Final Step: Binding… or Not
Okay, this might be controversial for someone who's profession is making binding... but I didn’t attach binding. 🙈
Instead, I trimmed the backing about 1.5" past the edge, folded it over twice, and stitched it down by machine.
It’s easy, done, and still looks great. Totally in line with my type-B quilting philosophy.

Final Thoughts: Puff Quilts Are Made for Type-B Makers
If you’ve ever wanted to make a puff quilt but felt overwhelmed—don’t! This project is Type-B friendly, beginner-approved, and budget-conscious if you shop your stash and thrift.
Whether you're gifting it or keeping it, puff quilts are cozy, fun to make, and just a little bit addictive.