Bow Book Sleeve Tutorial: A Step-by-Step Guide for Customizing Your Bible or Book Sleeve

Are you looking for a DIY book sleeve that fits your Bible or favorite books? This Bow Book Sleeve tutorial is perfect for anyone who needs a durable, custom sleeve with extra features like a pocket for pens and notes. I originally created this pattern to protect my Bible, which often gets tossed into my “mom bag” along with everything else. But after searching for the right design and not finding anything that met all my needs, I decided to create my own. To my surprise, it worked!
In this tutorial, I’ll walk you through the process of making your very own Bow Book Sleeve. Please note that while this isn't a full pattern, I’ve made sure to explain everything clearly so you can adapt it to fit your book or Bible.
Finished Size: 13" x 9" – Perfect for a 9" x 6.5" x 2" Bible or Book
Want to make a sleeve for a different size? No worries! I’ve included notes on how to modify my measurements for other sizes. This tutorial will work for a variety of books or Bibles, and you can personalize it however you like.
Note: All seams are ¼” unless otherwise specified.
What You’ll Need:
-
Stabilizer or Batting: I used THIS ONEfor a stiffer feel and because it's what I already had on hand. Not a sponsored link.
-
Outer Fabric: Can be a single piece or pieced together.
-
Lining Fabric
-
Ties Fabric
-
Zipper Pocket Fabric
-
13" or longer zipper or zipper tape with pull
-
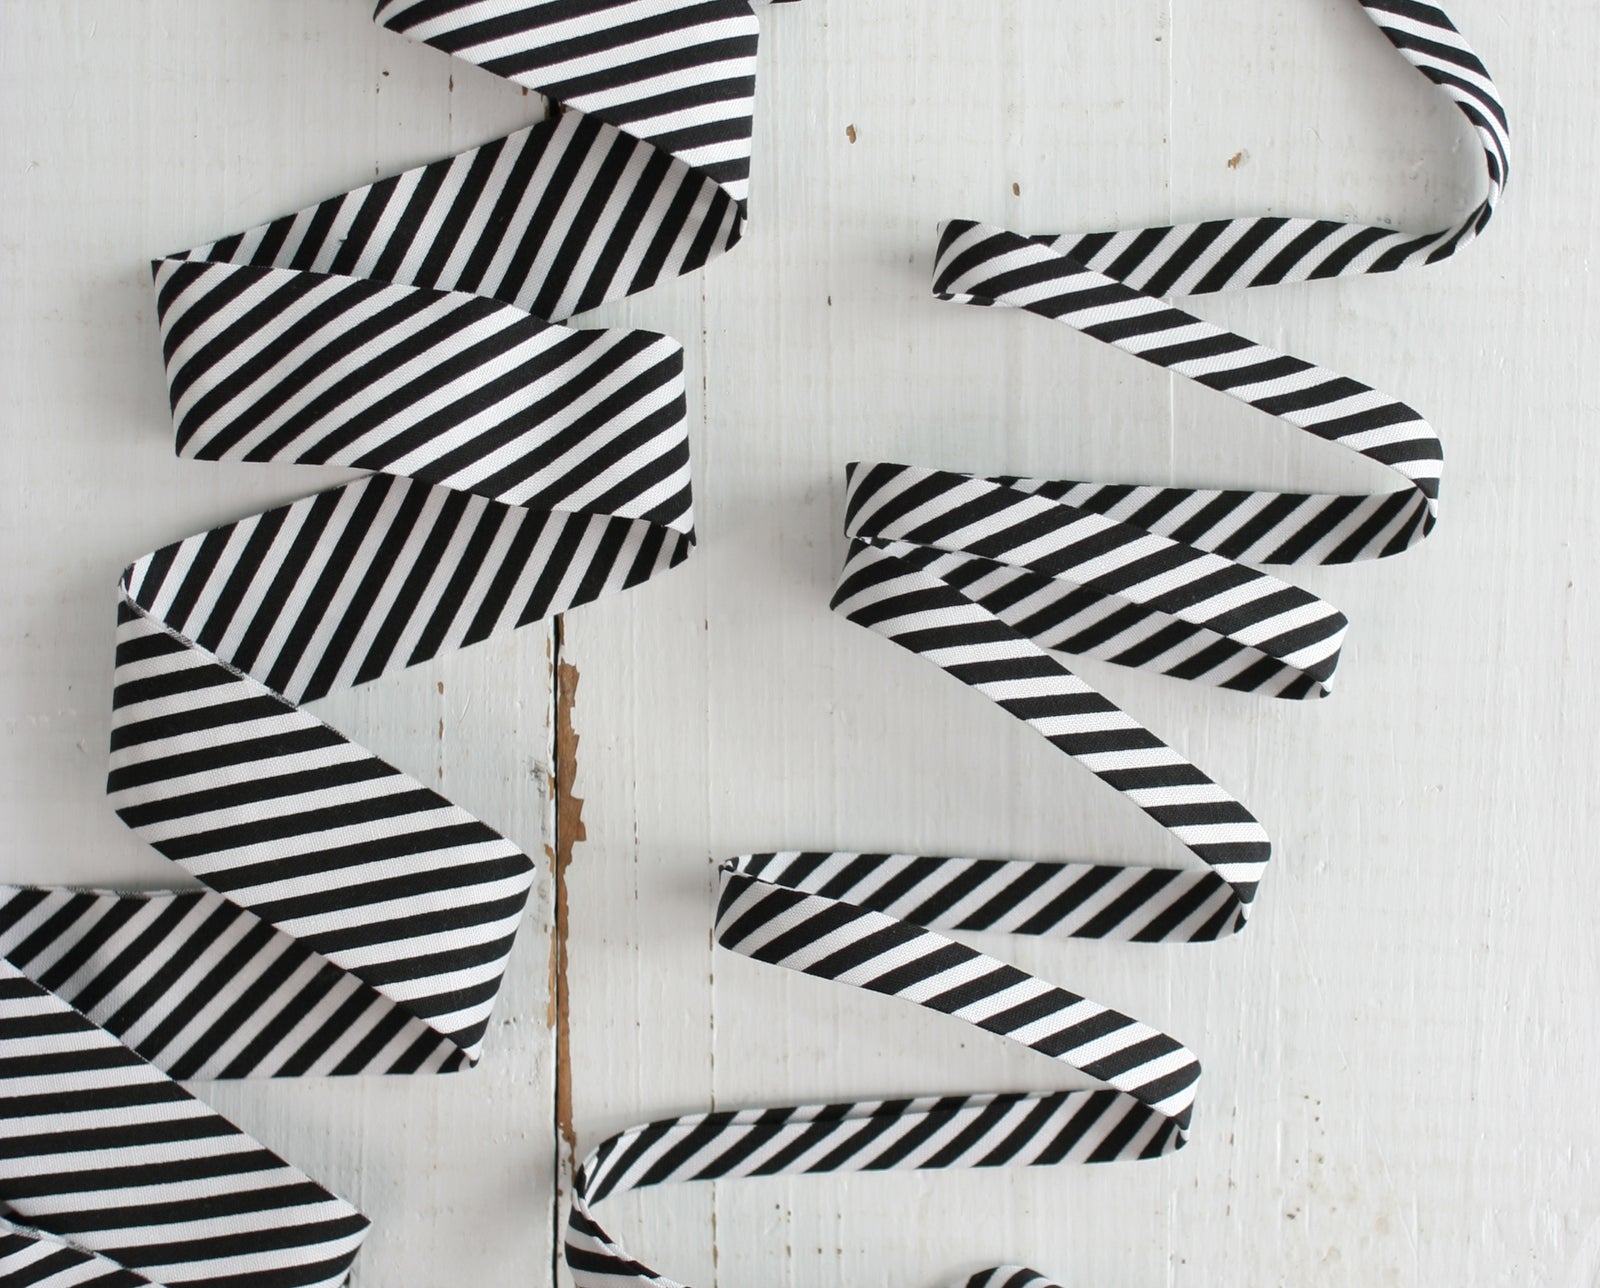
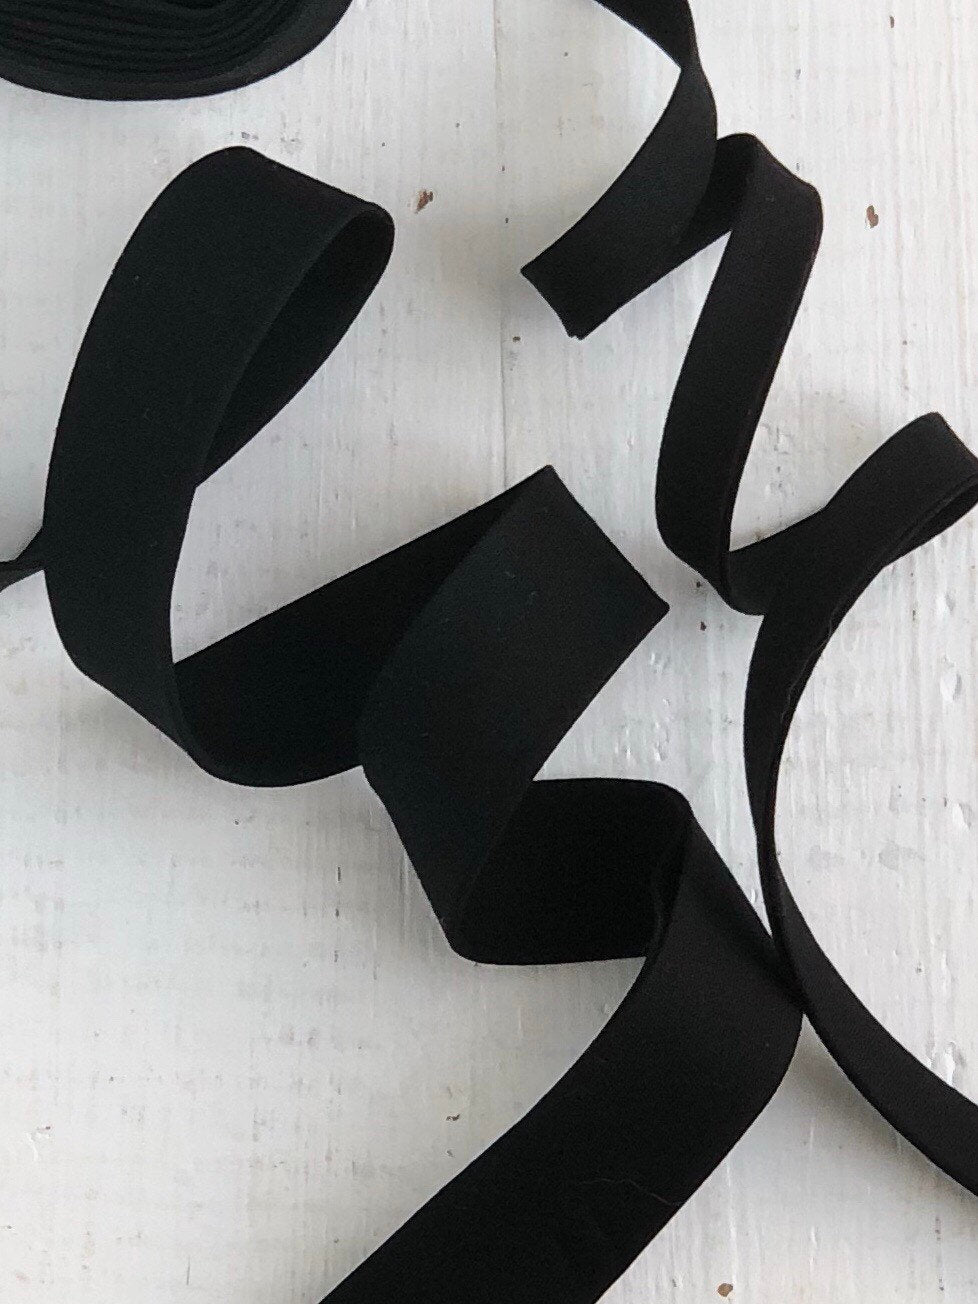
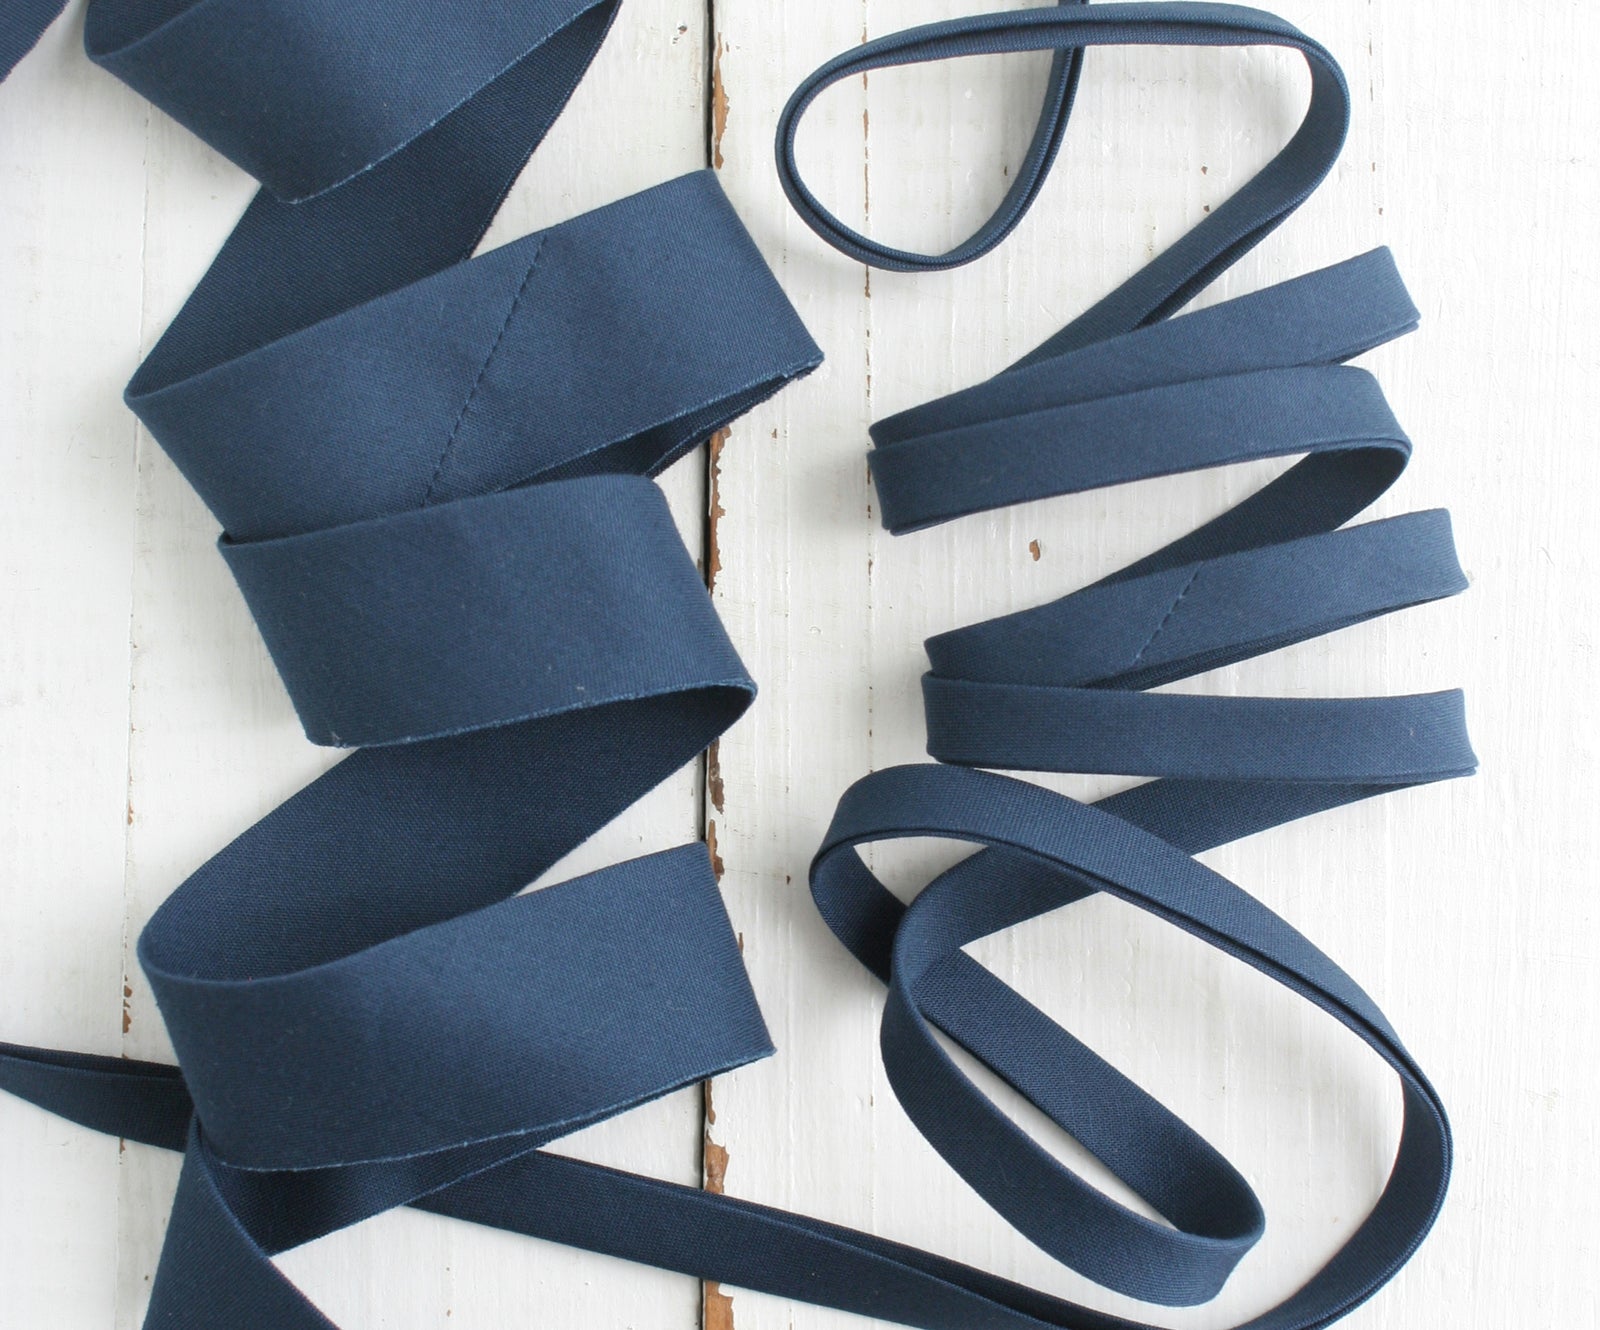
Double Fold Bias Tape for zipper edging
-
Wonder Clips or any similar tool
-
Sewing Machine with walking foot
-
Zipper Foot (Optional but helpful)
-
Quilt Label (Optional)
-
Bodkin or Turning Tool
Cut List:
-
Quilted panel - cut (2) 13 x 8.5 pieces
-
1 piece of fabric for the bow ties (cut 3” x WOF)
-
2 pieces of fabric for the lining (same size as outer shell, see directions below)
These are the cuts that I used for a finished size of 13x8 (for a Bible that was 9x6.5x2). To modify for a different size, measure your book and cut the following:
- add 2 inches on each side for a 2" thick book. Add additional width for a thicker book or consider adding a boxed bottom.
- add 3 inches to the length
Step-by-Step Instructions for the Bow Book Sleeve:
Step 1: Prepare the Outer Fabric
Cut your stabilizer and quilt it to your outer fabric using your preferred method. I used a walking foot for easier stitching. Cut out the front and back panels for the outer shell.

Step 2: Add the Zipper
Determine where you want your zipper on the front panel. I placed mine about 3 inches down from the top. Cut your fabric panel where you want the zipper.
Step 3: Attach the Zipper
Cut double-fold bias tape to the length of your zipper. Lay it on top of the zipper and sew along the edges, securing the tape. Attach the zipper to the front fabric panel by placing the bias tape facing up and sewing along the edge. Repeat for the other side of the zipper.


Step 4: Add the Pocket Lining
Cut the pocket lining the same size as the front panel. Lay the lining right side up, then place the front panel on top. Use clips to secure them and sew a basting stitch (⅛”) around all edges to hold the lining in place.

Optional: If you want to add a quilt label, now’s the time to add it to the back panel.
Step 5: Sew the Outer Shell
Place the front and back panels right sides together and sew along three sides (leave the top open) using a ¼” or ½” seam allowance.
Step 6: Make the Bow Ties
Cut a 3” x WOF strip for the bow ties. Cut the strip in half to create two pieces (3” x 22” each). Fold each strip in half and press. Sew down the long side with a ¼” seam. Turn the strips right-side out using a bodkin or turning tool and press.

Step 7: Sew the Lining
Cut two lining pieces the same size as the outer shell. Sew along both sides and the bottom, leaving a 3-4 inch opening at the bottom to later turn the bag out. Leave the top open.
Step 8: Assemble the Bag
With the outer shell right-side out and the lining inside out, insert the outer shell into the lining. Center the bow ties and make sure the straps face down. Use clips to secure everything together, then sew a ¼” or ½” seam around the top.

Step 9: Finish the Bag
Turn the bag right-side out through the hole in the lining. Fold the edges of the hole under and sew it closed with a ⅛” seam. Topstitch around the entire top of the bag, securing the lining in place and giving a polished finish.

Customize Your Bow Book Sleeve
You can easily adapt this tutorial to fit any size book or Bible. If you don’t want a tie closure, you could swap it for a button closure instead. Customize the design, fabrics, and features to match your personal style!

I hope this optimized version will help boost your post’s visibility! Let me know if you need help with anything else. Happy sewing! 😊
Karen


