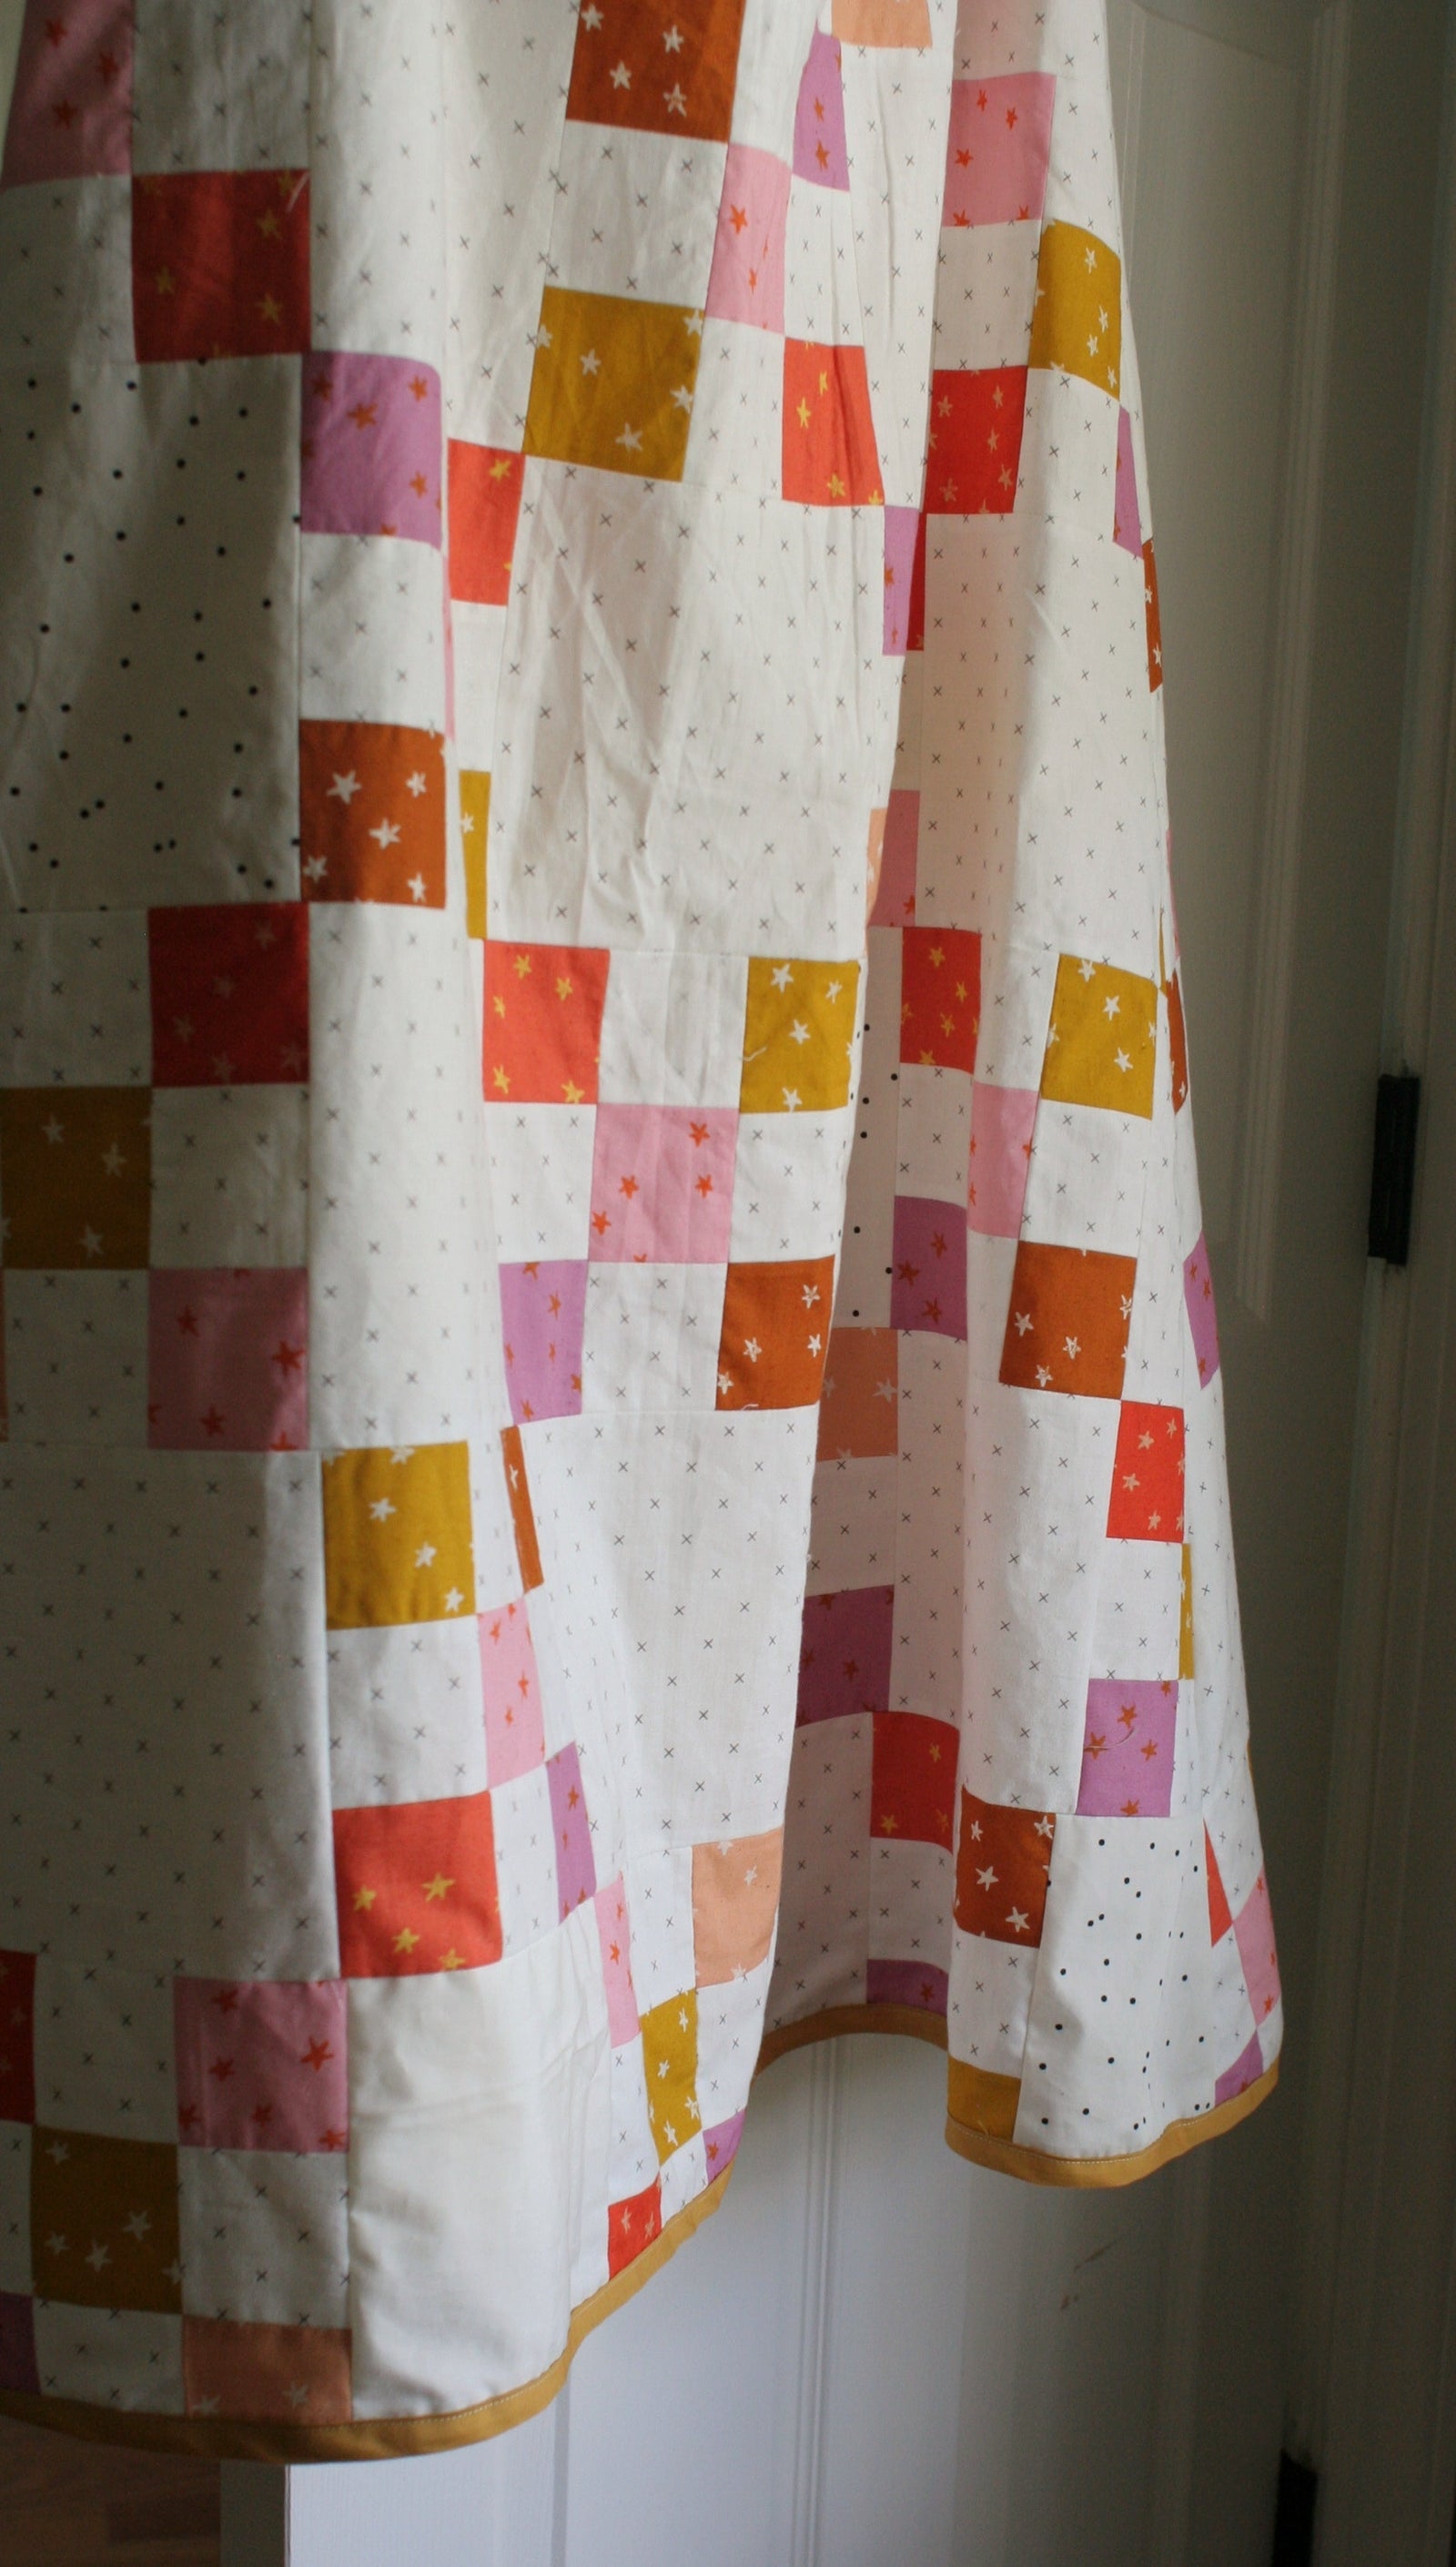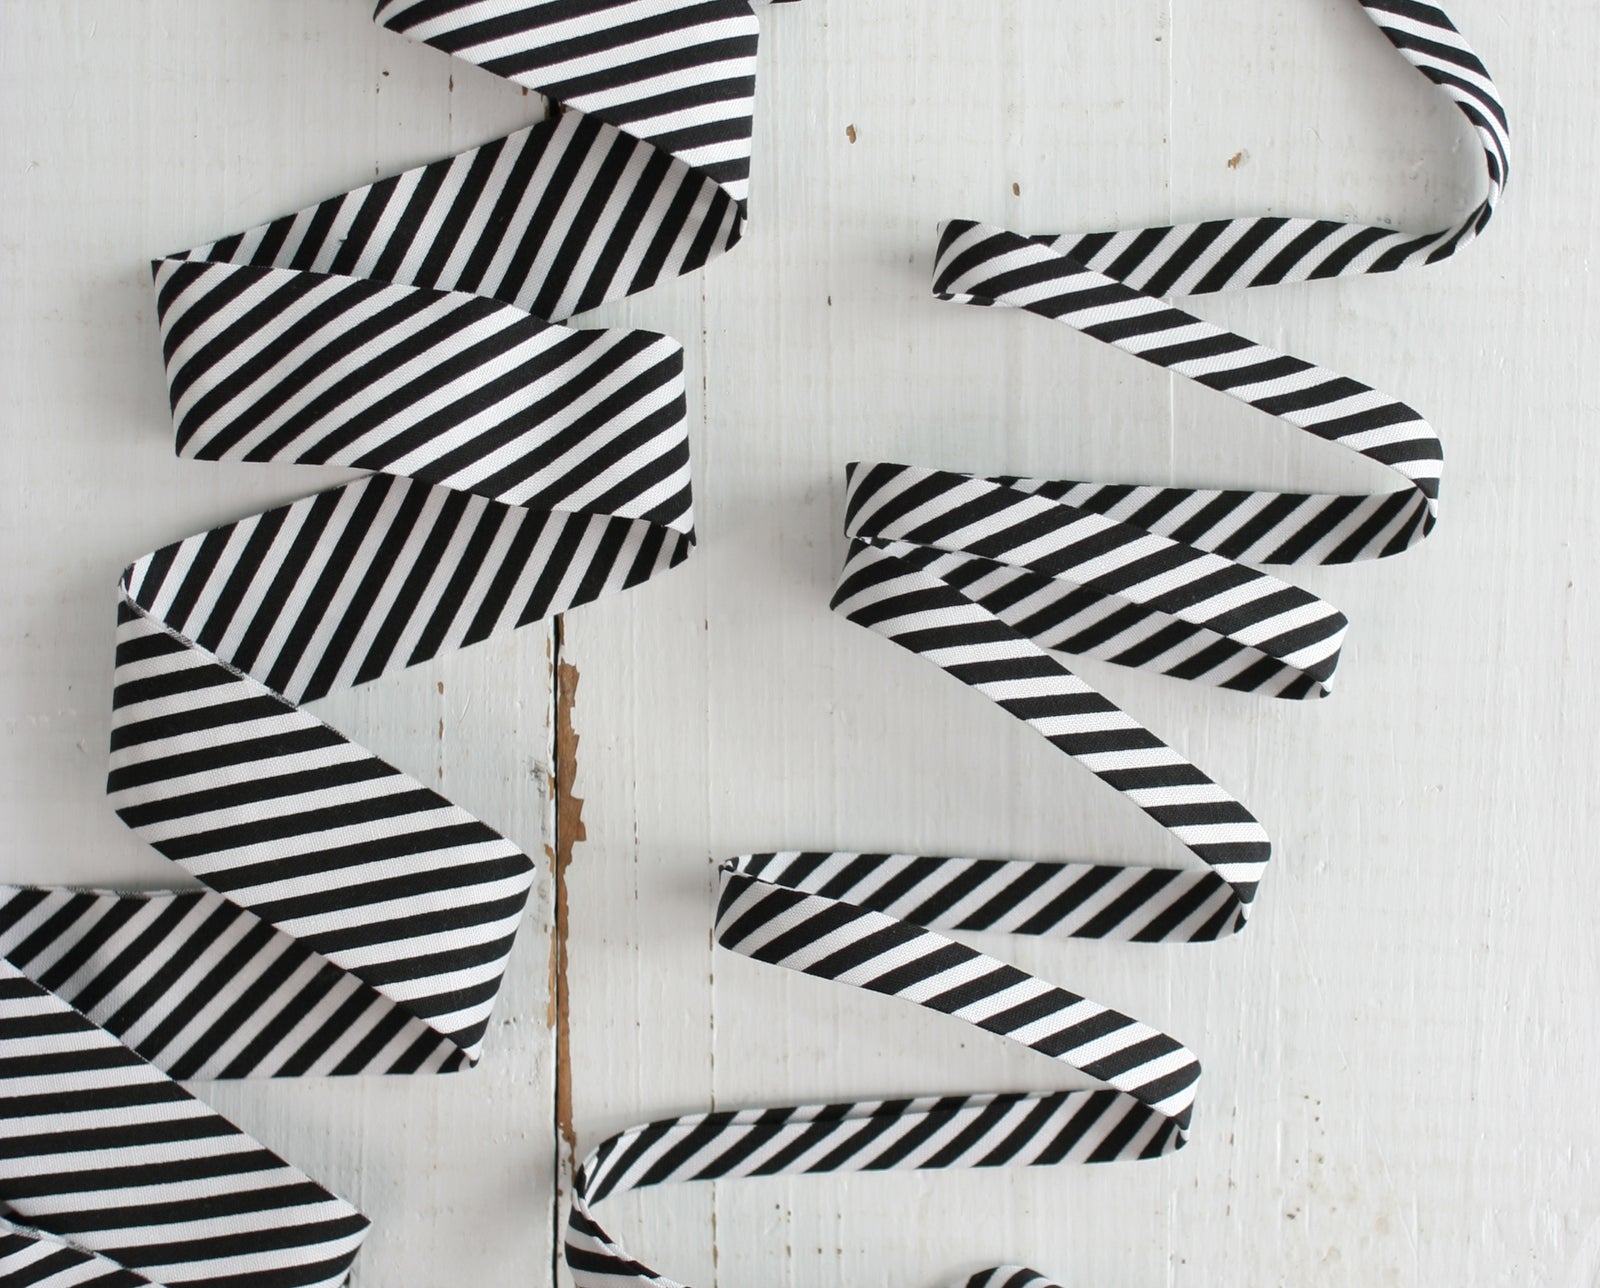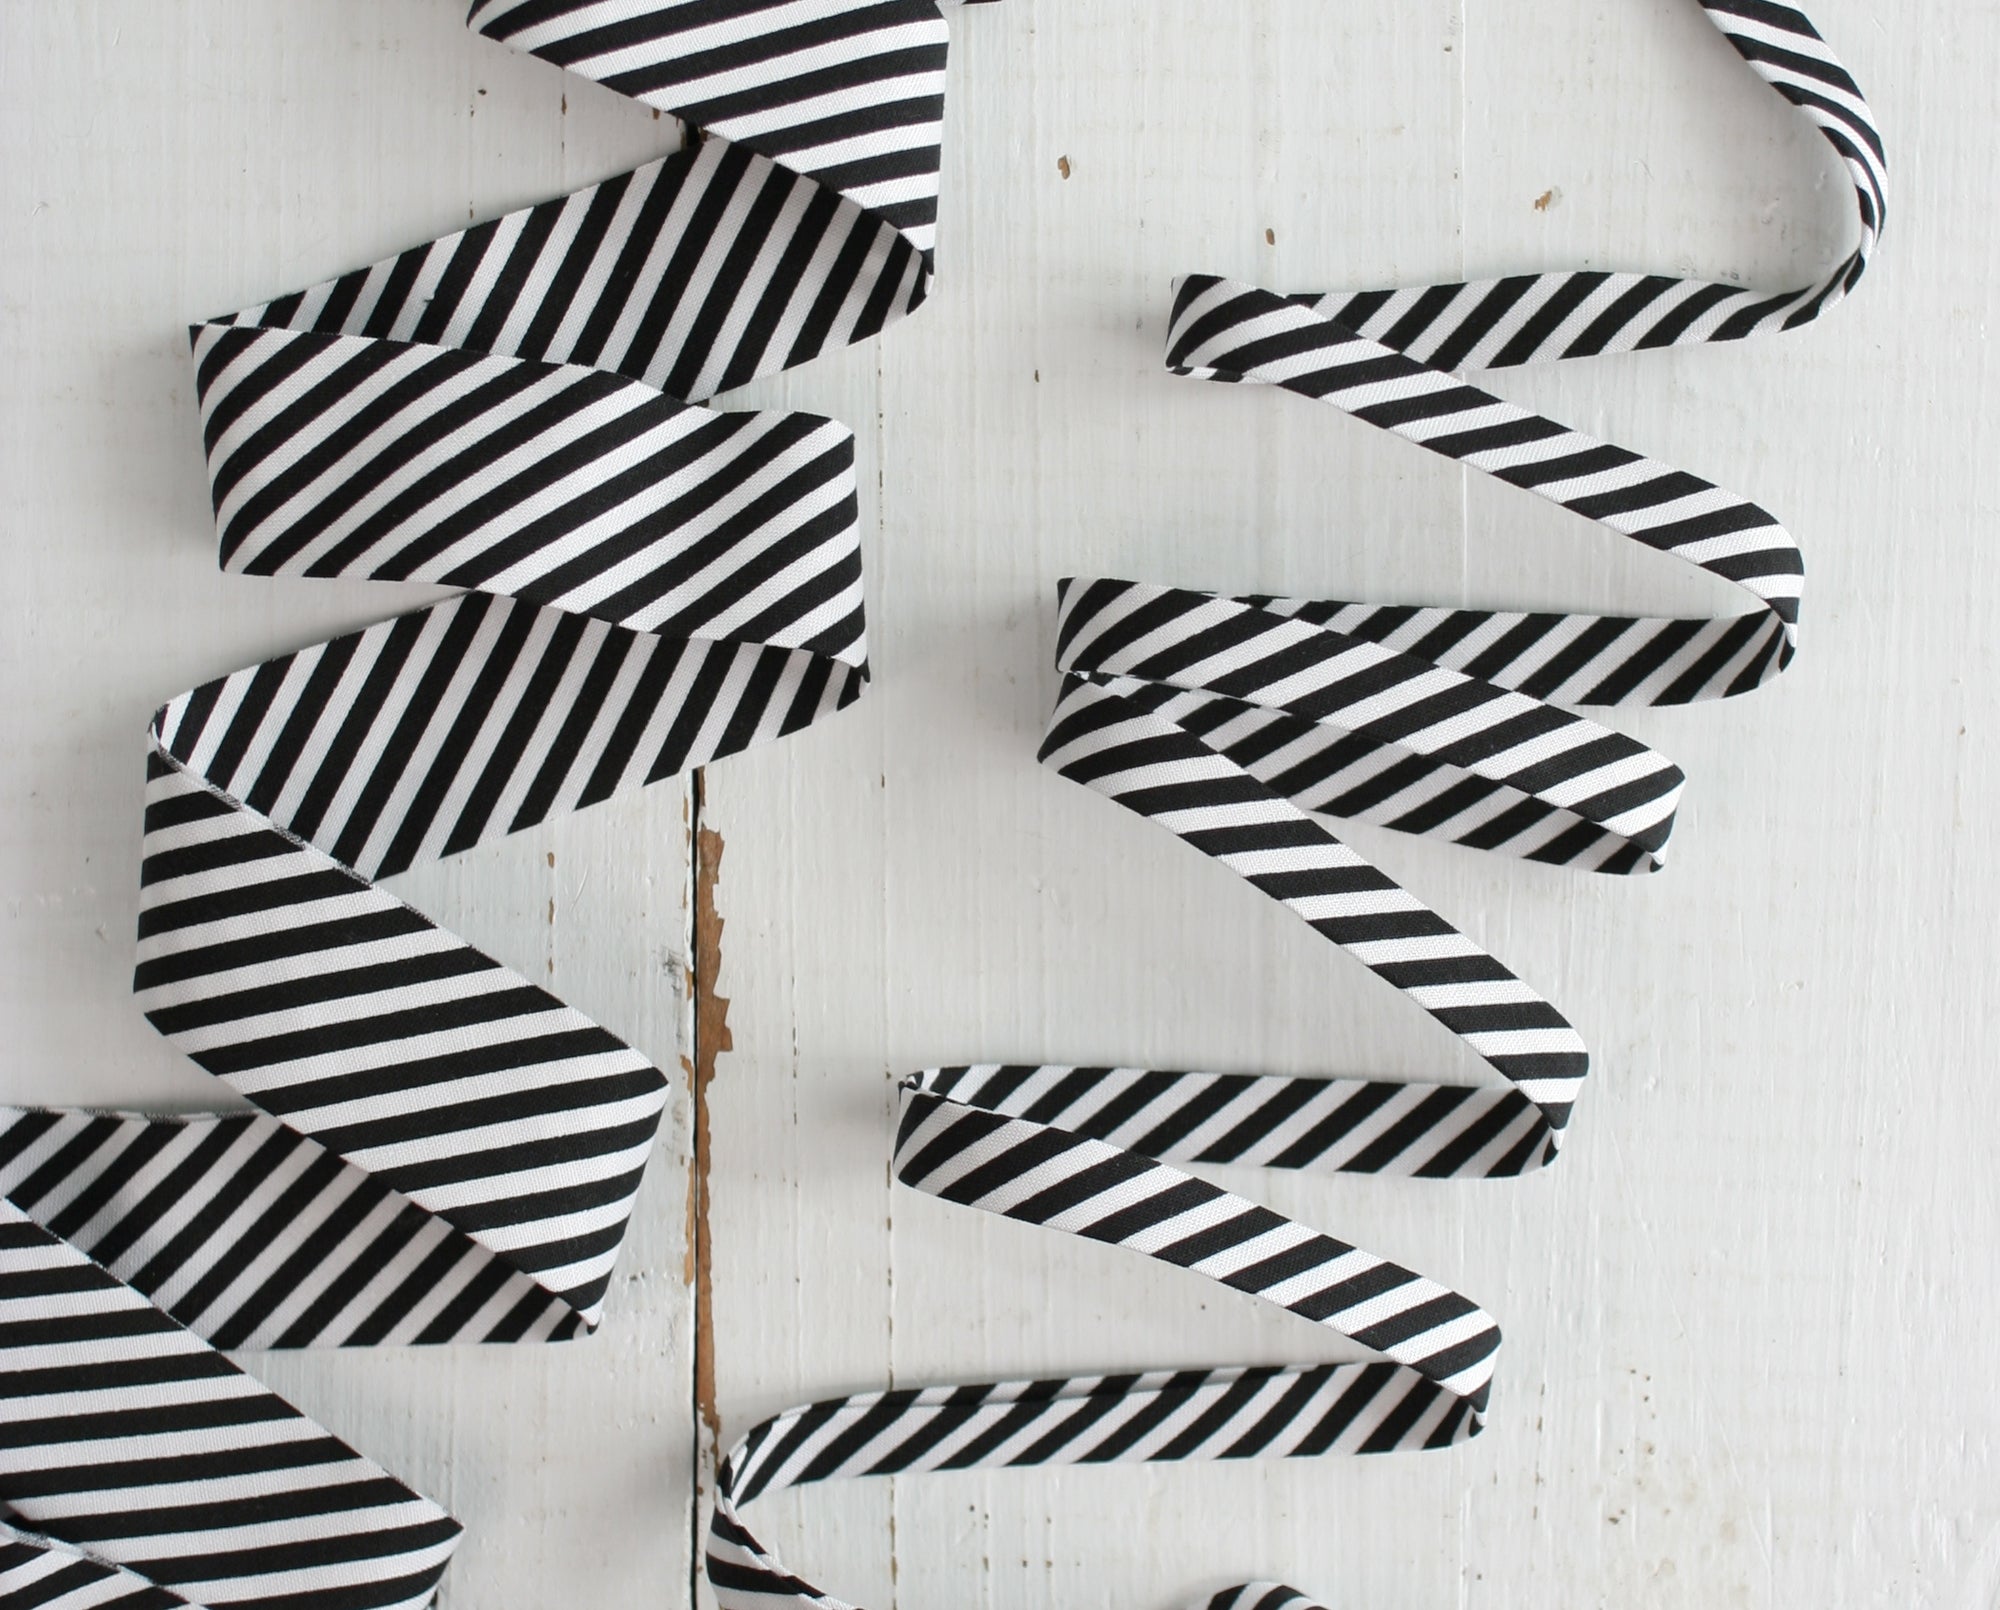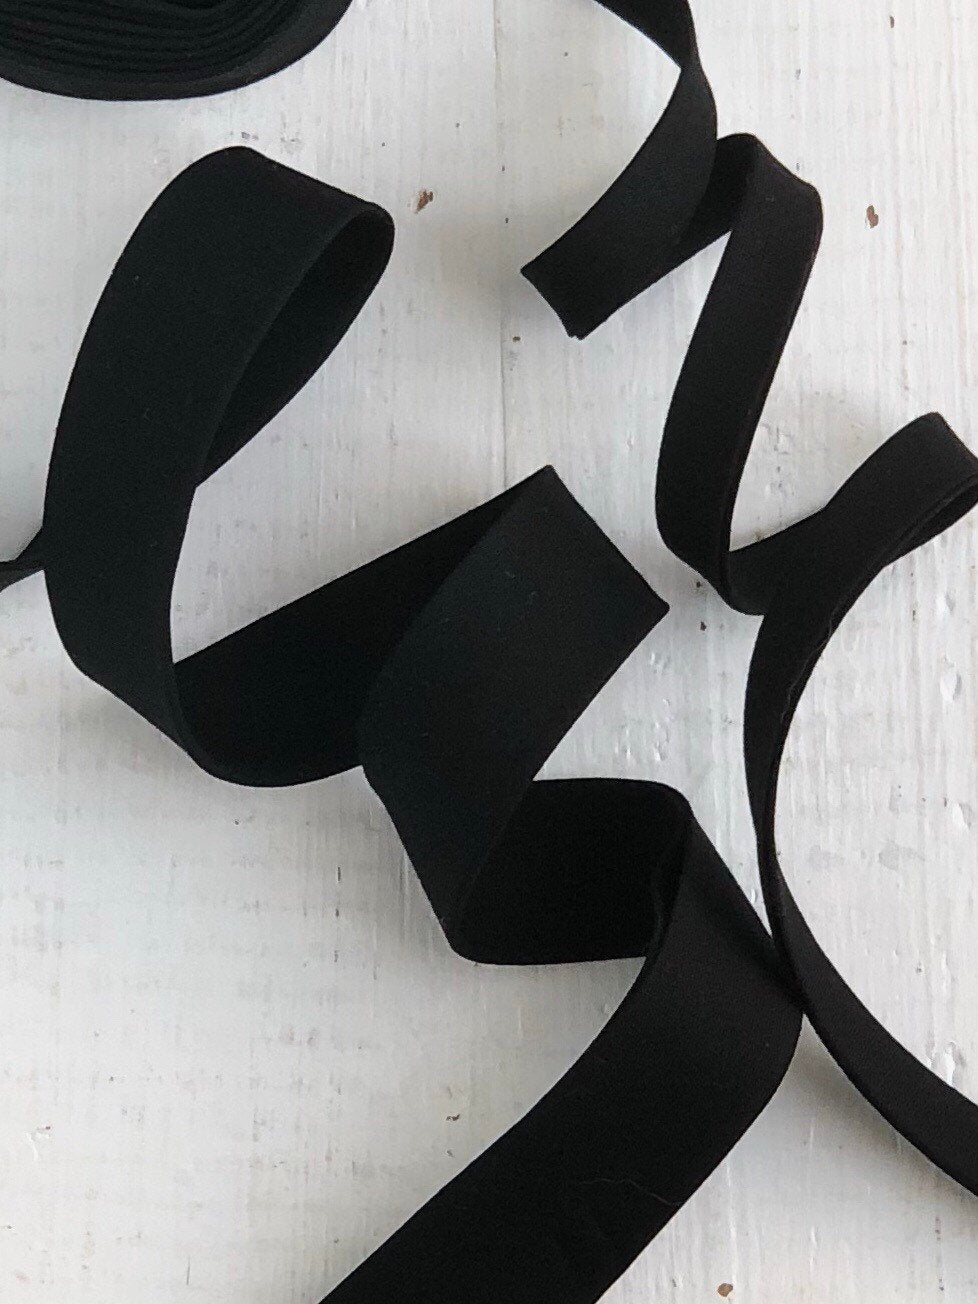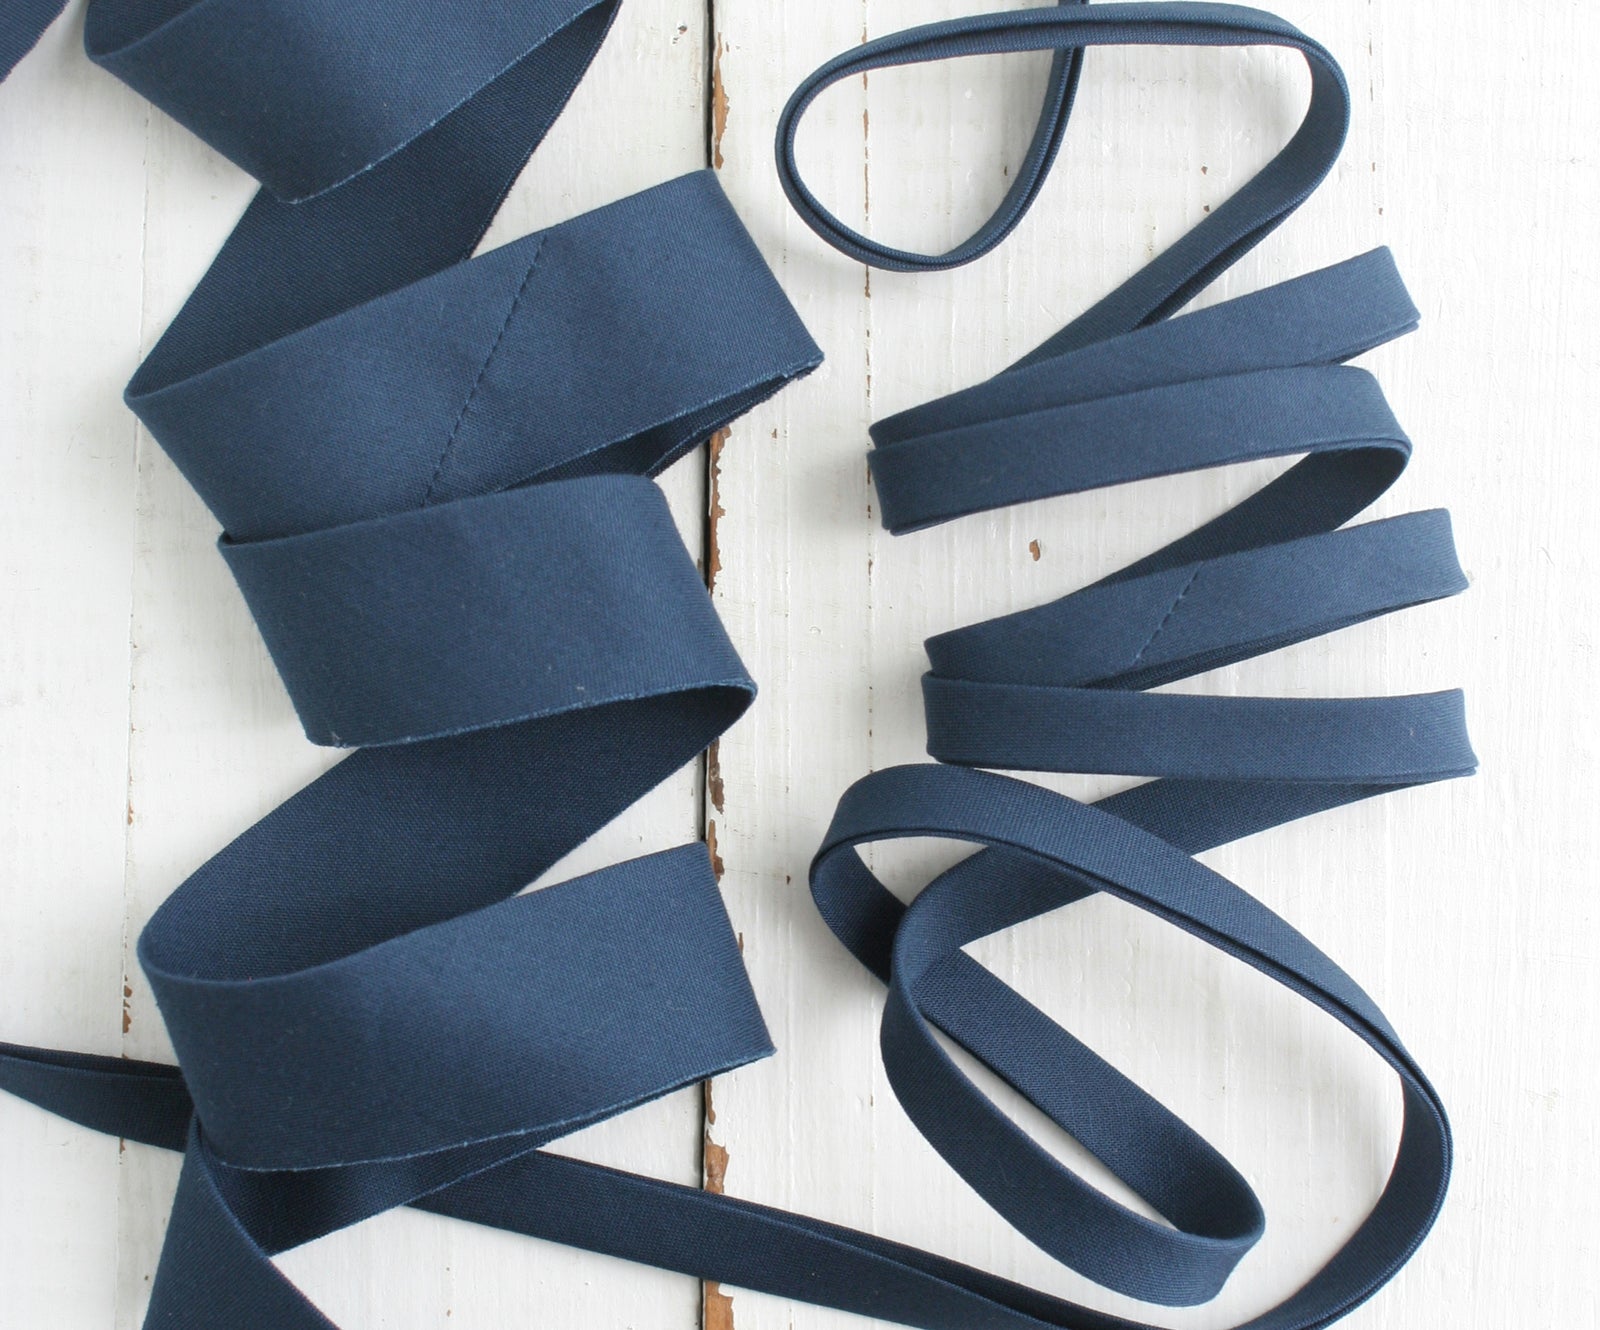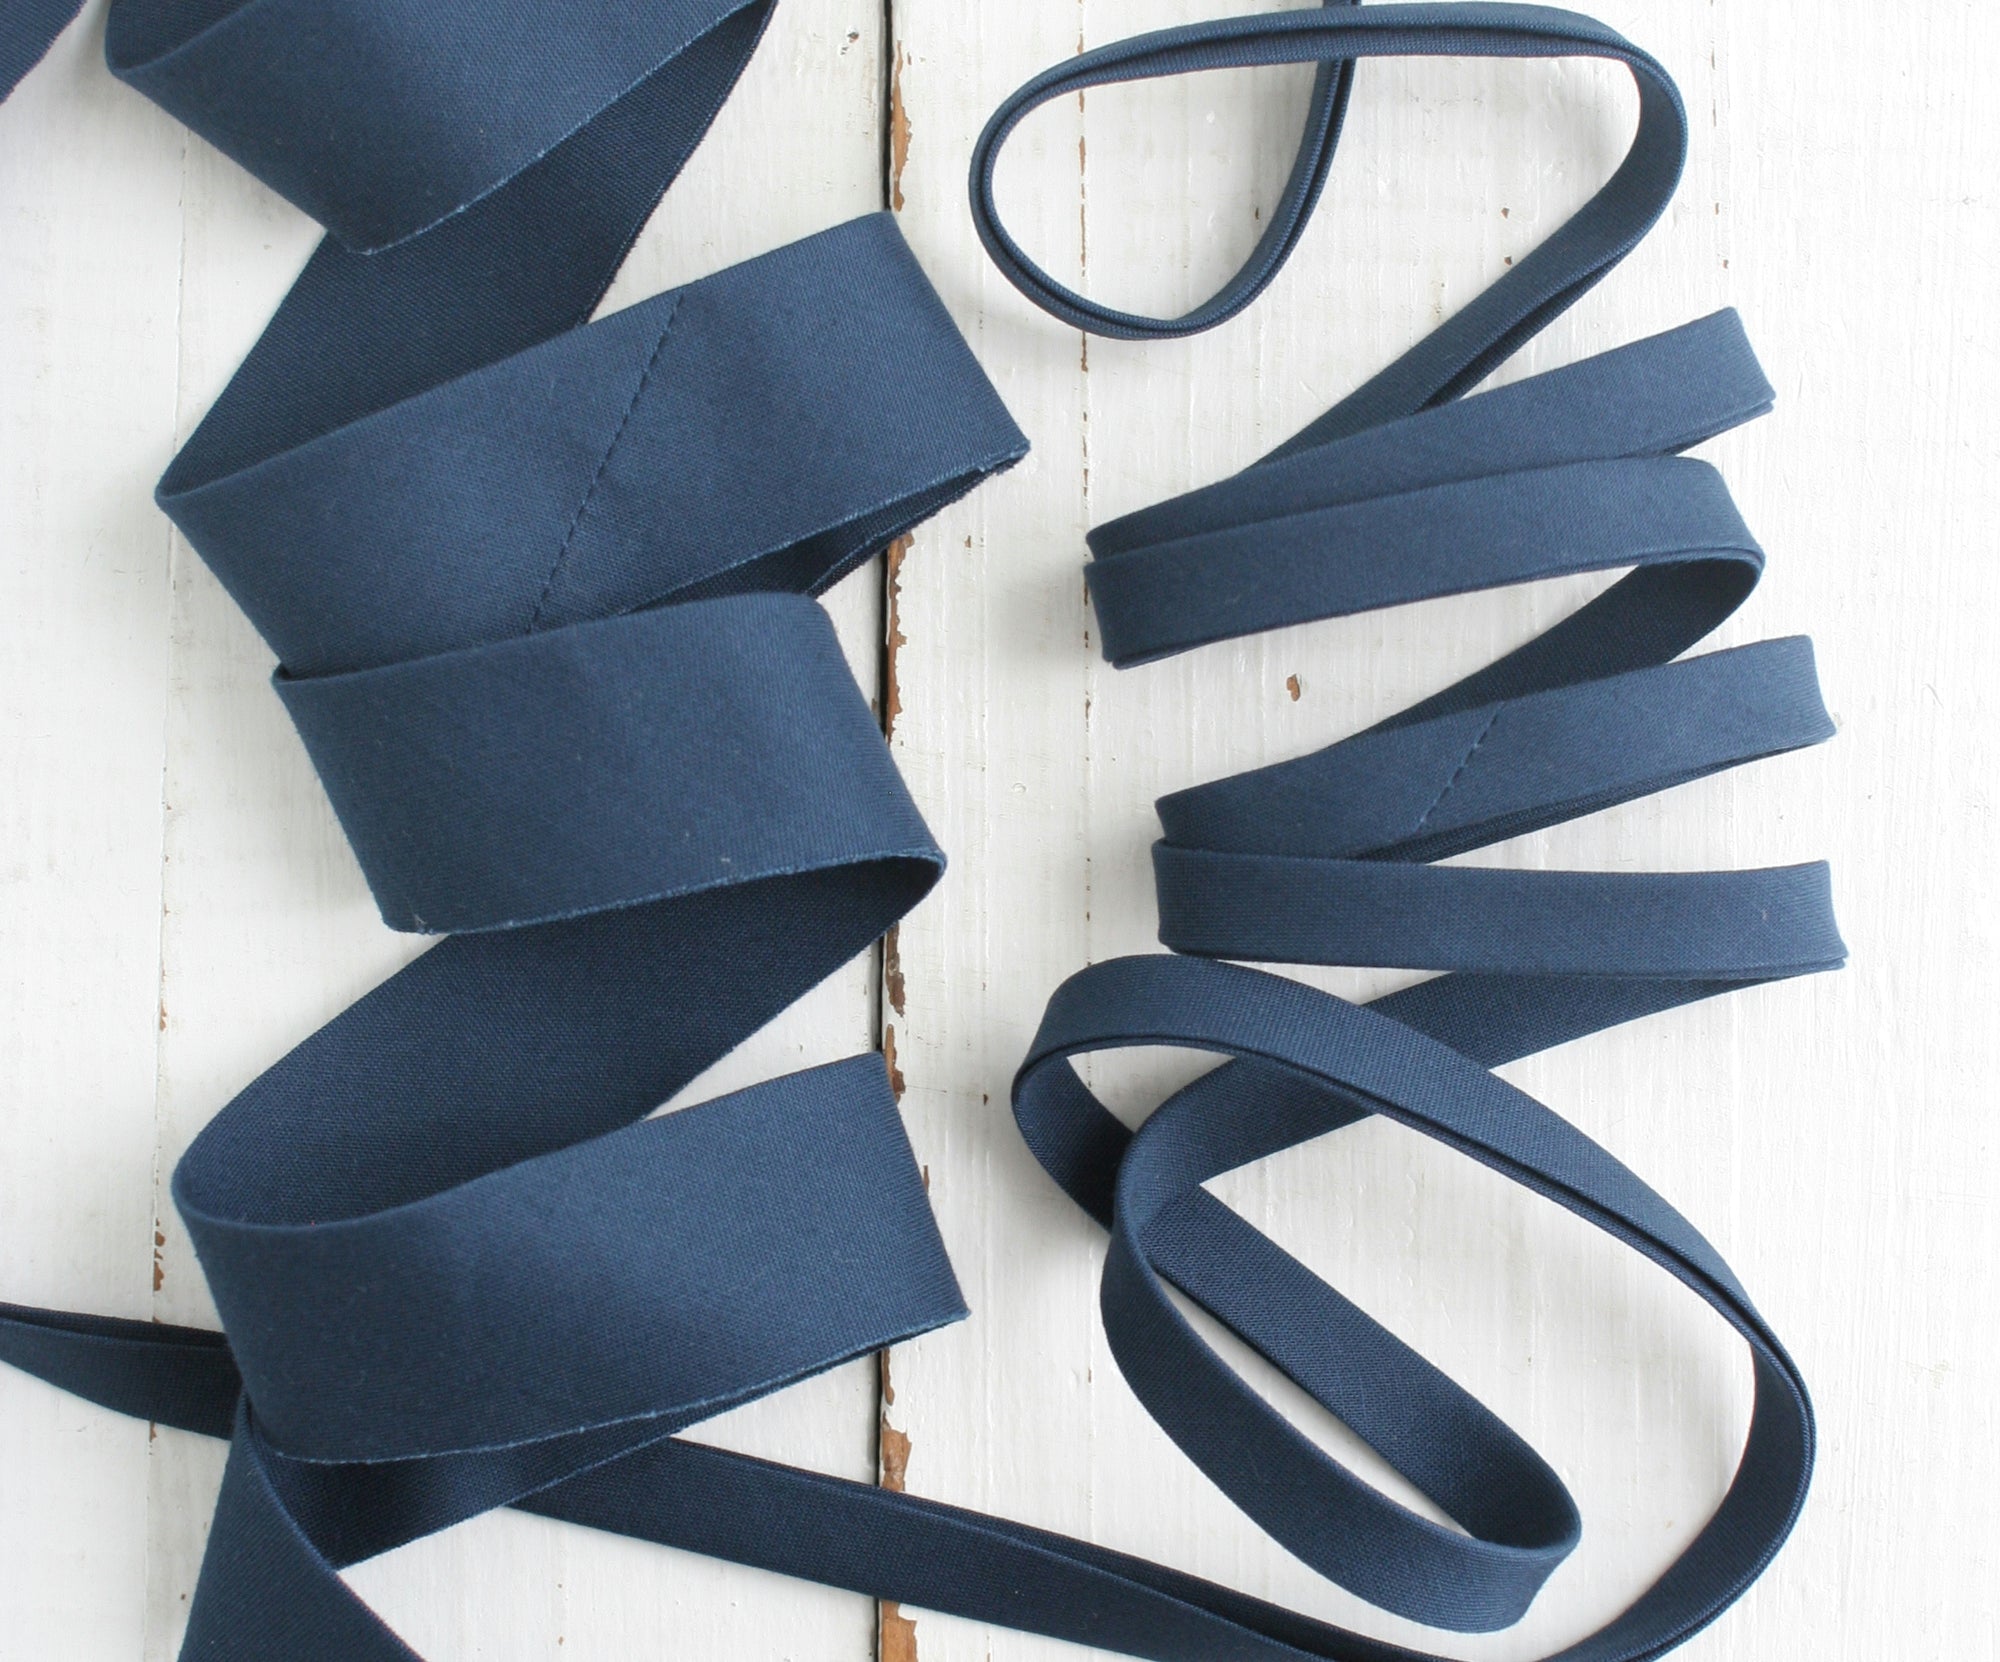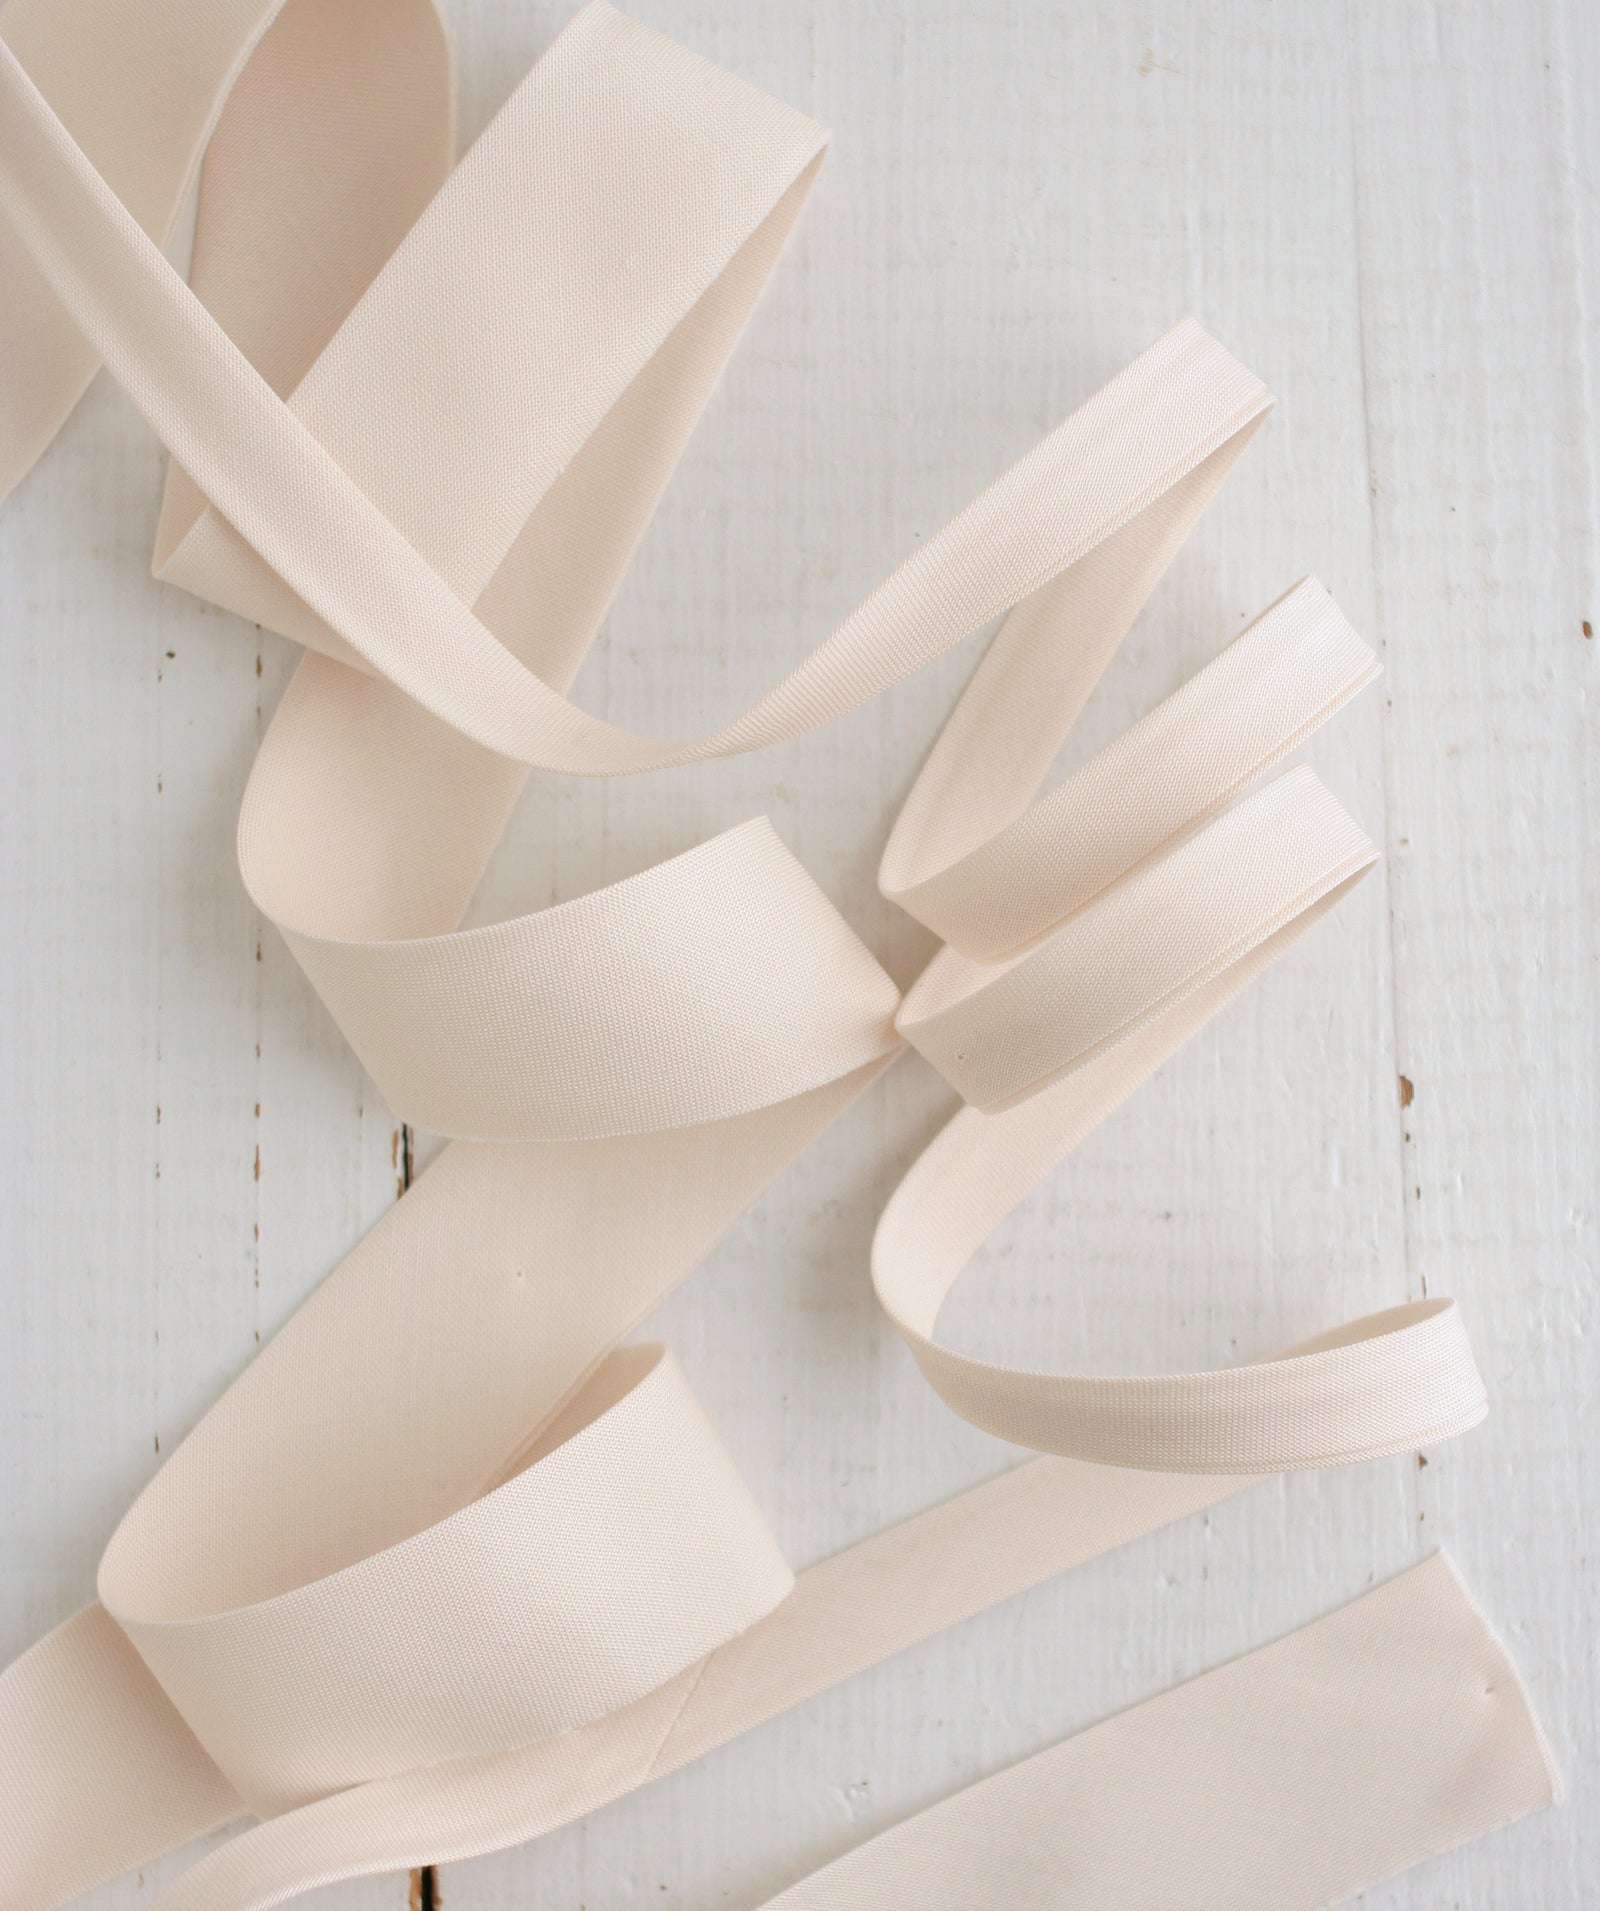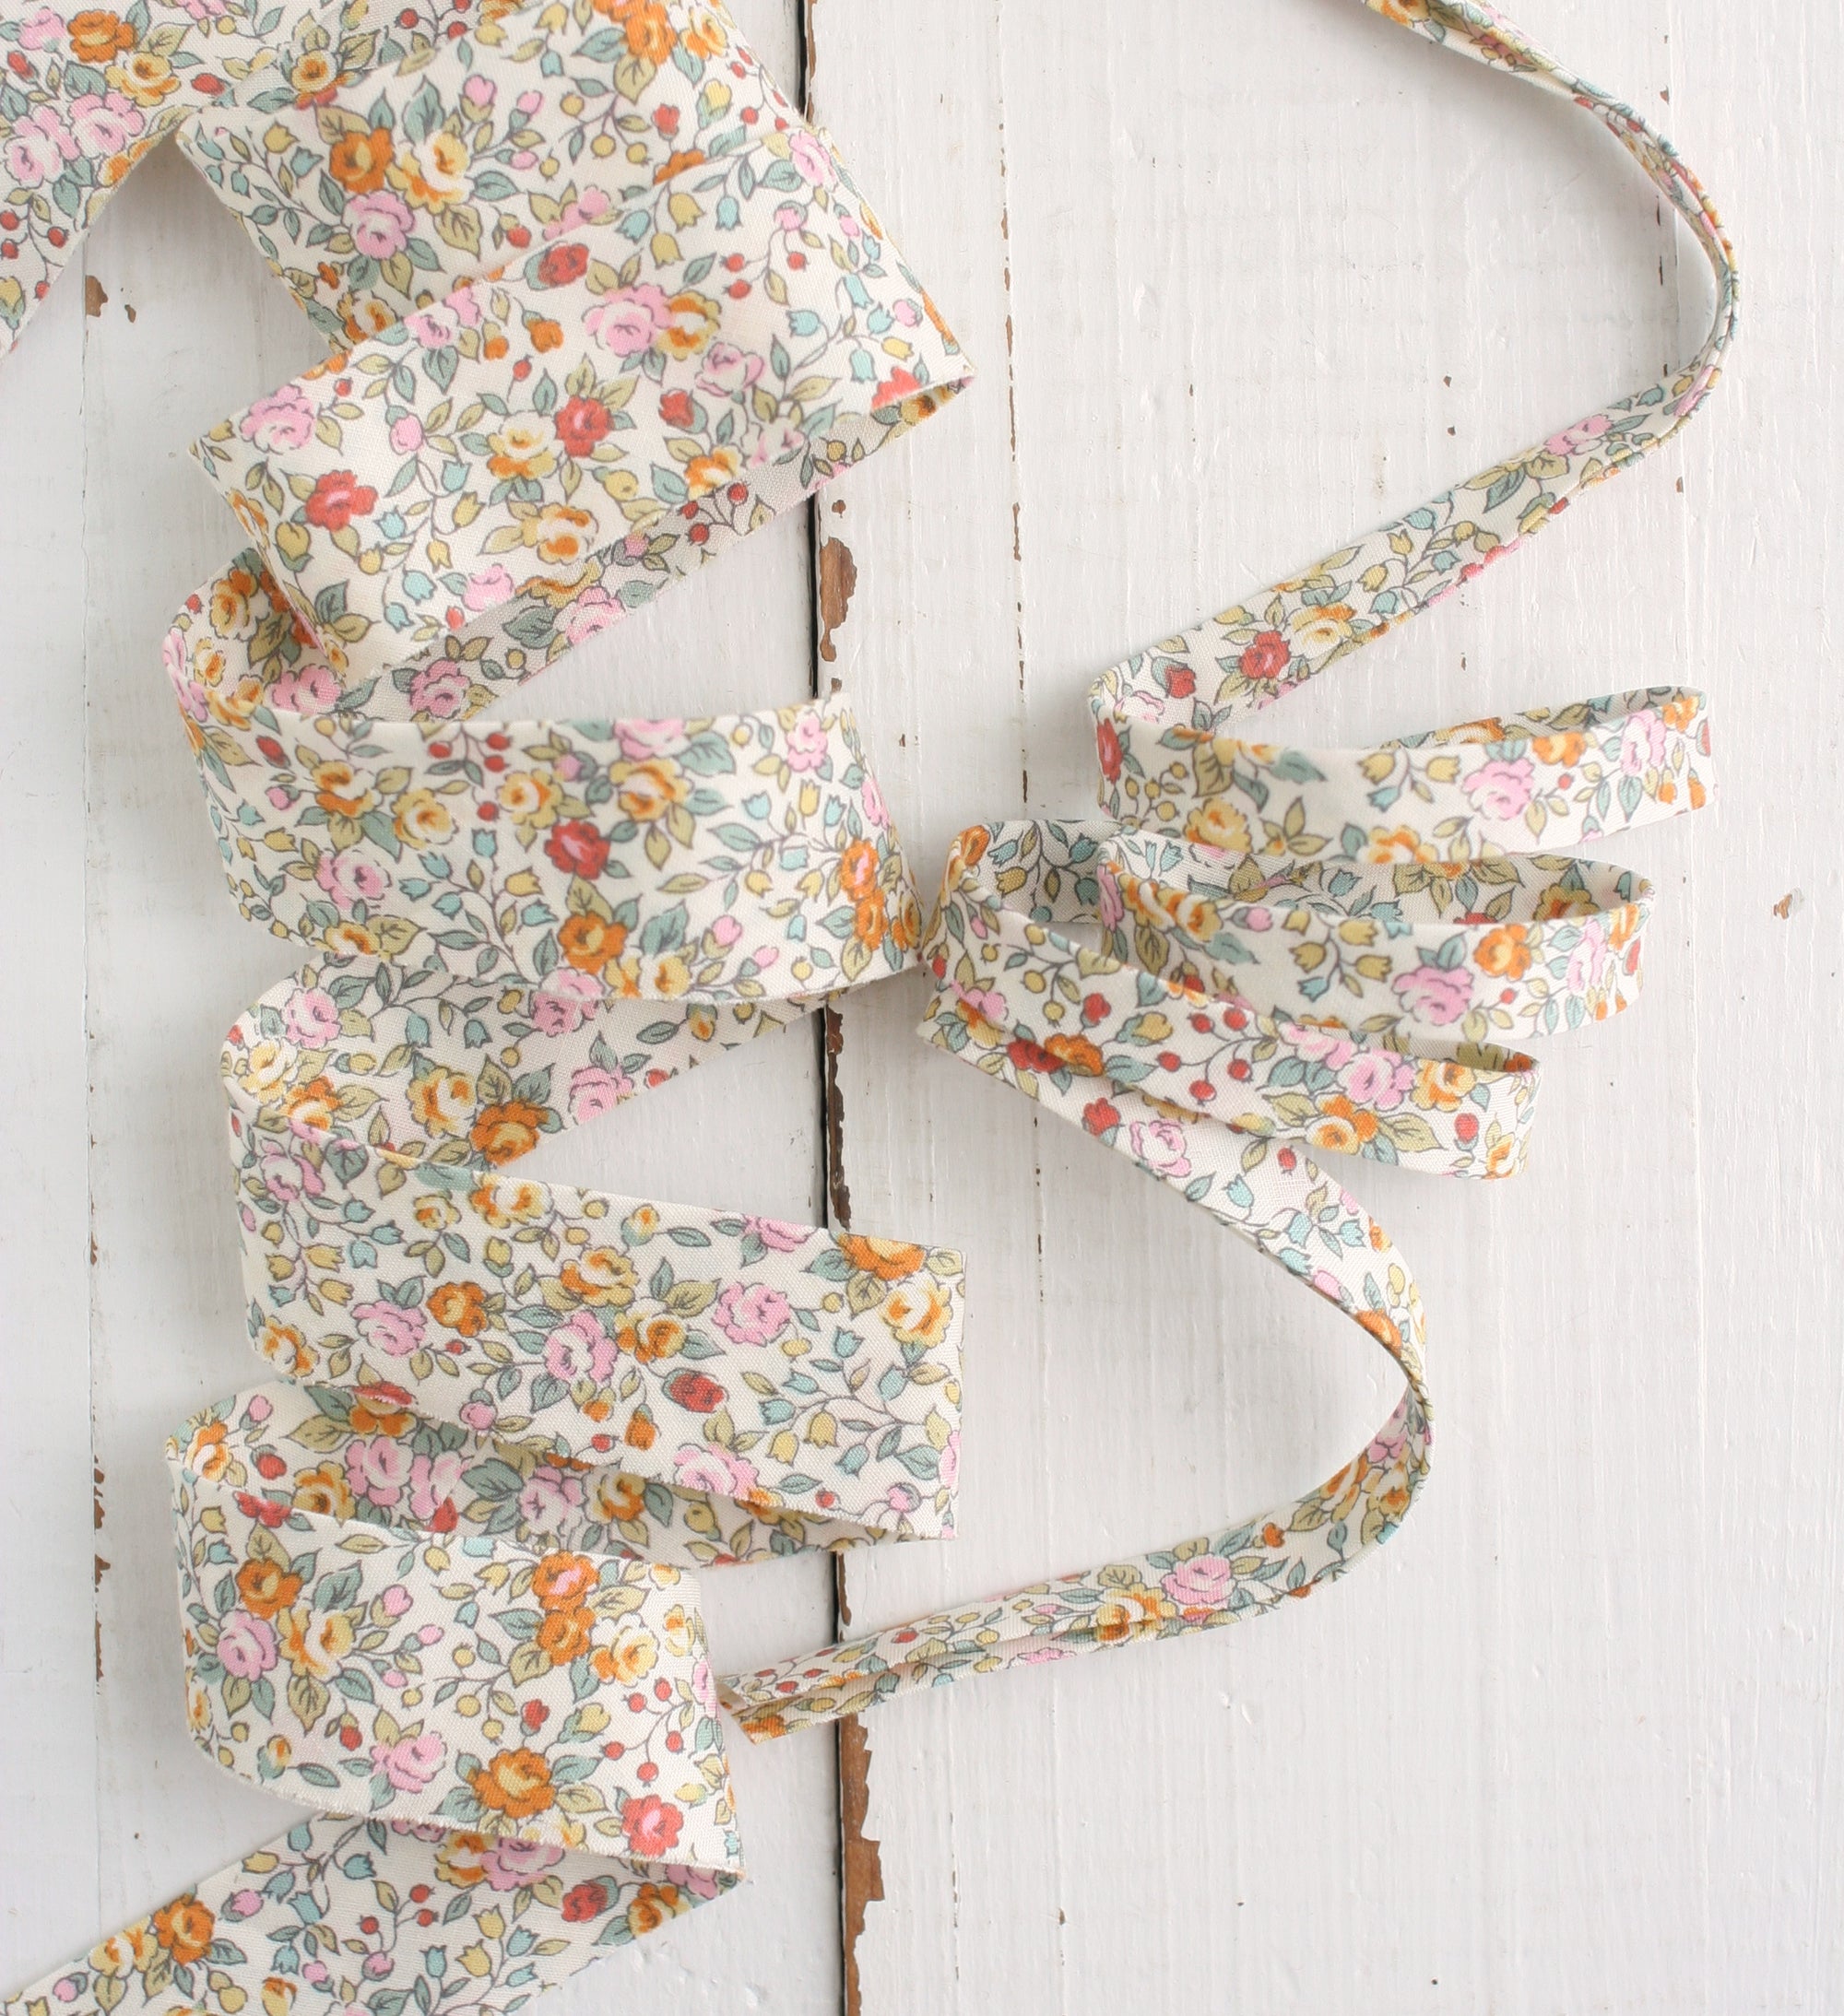

After 10 years of cutting, piecing, sewing, and pressing bias binding, I figure it’s probably time to let y’all in on some of the tips and tricks I’ve picked up along the way.
None of these are going to completely change your life. But they might make binding a little easier, and that's why we're here friends.

Episode 1: How to Piece Bias Tape or Binding with a Mitered Seam
Maybe you want to make a scrappy binding. Maybe you need to join several lengths of bias tape to make it long enough for your quilt coat. Either way, you want those nice, tidy mitered seams to reduce bulk (and, let’s be honest, because they just look prettier).
But how?
Don’t worry. I’ve got you. And it’s easier than it sounds.
First things first: What is a mitered seam?
“Mitered seam” sounds fancy. Like it involves a complicated technique and possibly a trip to Home Depot.
It doesn’t.
A mitered seam is simply a seam sewn on a 45-degree angle instead of straight across. That angle keeps the seam from folding directly on top of itself when your binding is folded, which means less bulk, an easier time sewing through it, and a binding that lays nice and flat.
One important note: This technique works beautifully with strips cut on the bias. If you try it with straight-cut strips, there’s a much higher chance of stretching that seam out of shape.
Ask me how I know. 😉
Step 1: Lay out your strips
Place the ends of two binding strips (or bias tape — these steps work for either!) on top of each other with the right sides facing up.

Step 2: Cut at a 45-degree angle
Cut the ends of both strips at a 45-degree angle.
And please don’t stress about getting this absolutely perfect. Eyeball it. Do your best. It’s binding, not brain surgery.

Step 3: Flip and overlap
Flip the top strip over so the right sides are now facing each other.
Line up the angled edges, leaving about ¼" of overhang at the top and bottom.

Step 4: Sew
Sew a straight seam from the point where the strips cross at the top all the way to the point where they cross at the bottom.

Step 5: Trim and press
Trim off those little dog ears, then open up your binding.


Look at you. You just made a mitered seam.
Give the seam a quick press open, and your binding is ready to go.
No complicated techniques. No trip to Home Depot. Just a 45-degree angle and a little confidence.
And now you know how to make your binding longer, scrappier, and a whole lot flatter.
Happy sewing friends!
Karen