Quick and Easy DIY Bias Tape Bow Bookmarks for Valentine's Day

Valentine's Day is almost here! If you're like me, it has a way of sneaking up on you—especially when you're trying to sneak in a nap! So this year, I’m focusing on quick and easy Valentine’s Day crafts. And guess what? I’ve found the perfect project to combine my love for crafting and reading: DIY bias tape bow bookmarks. These are simple, functional, and so cute, making them the ideal craft for any crafter looking to add a little love to their books this season.

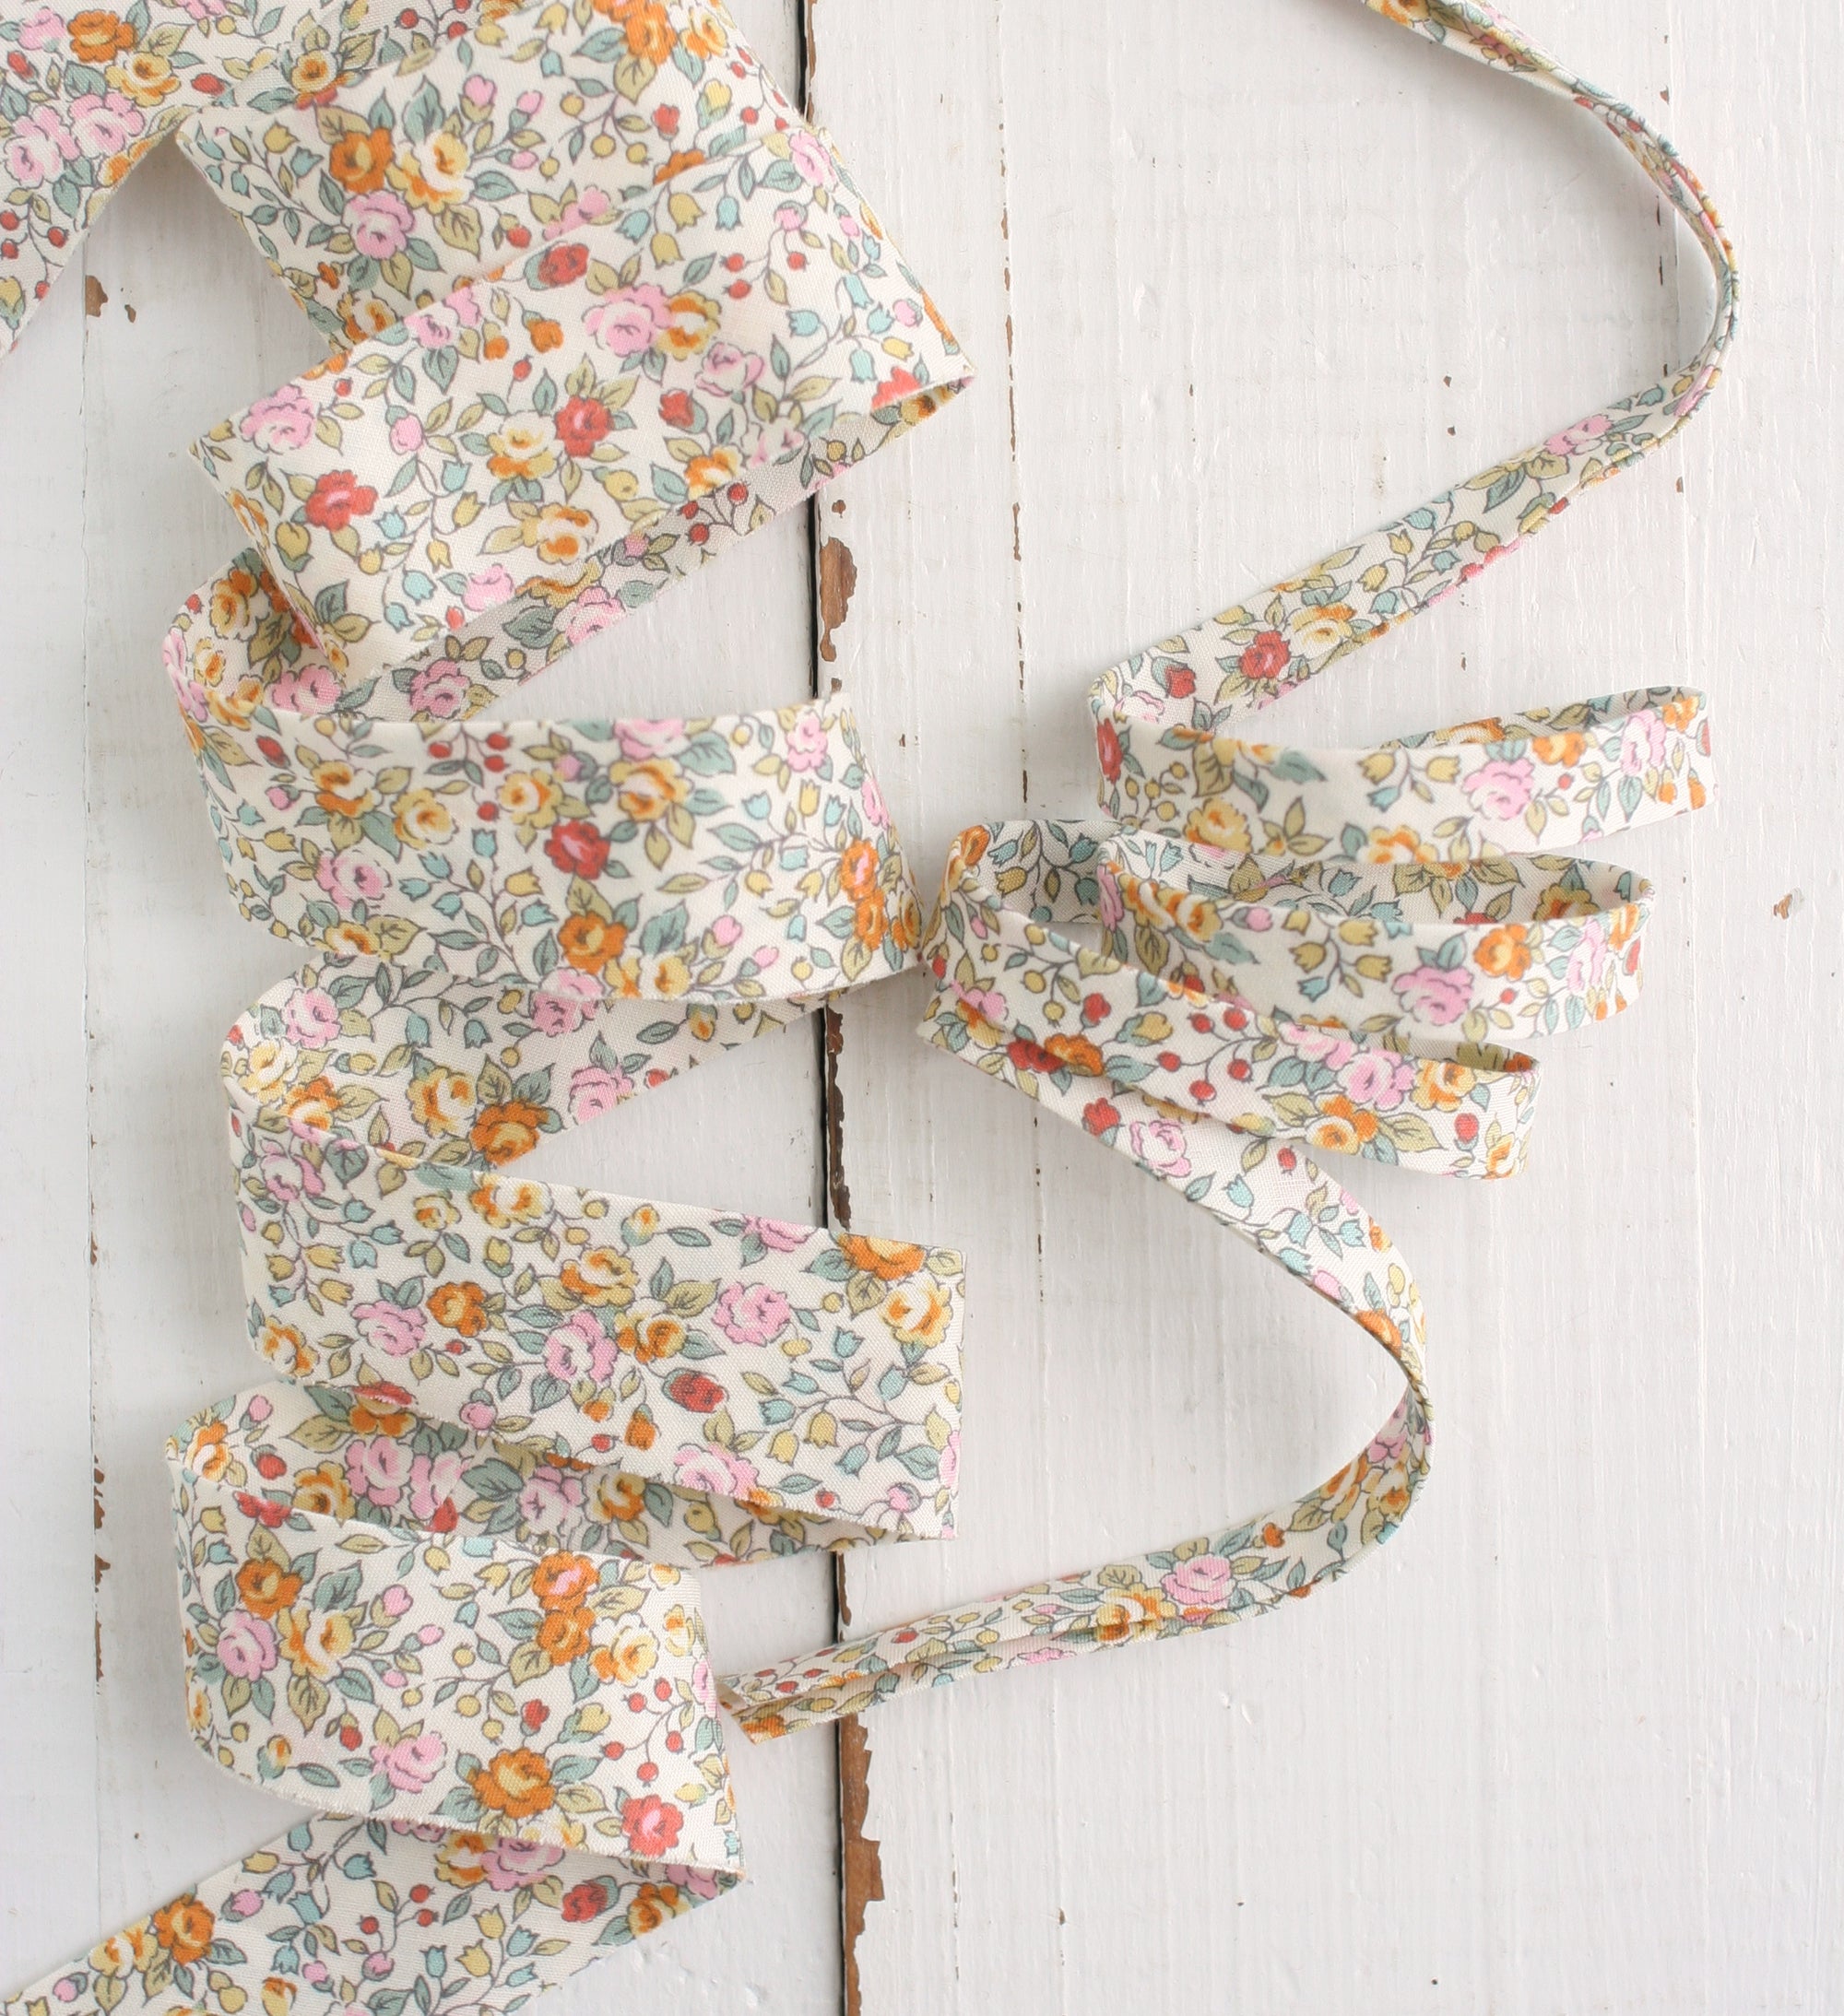
And let’s be real—one of the best parts? You can use your favorite Bessie Pearl bias tape to create these adorable bookmarks! As a self-proclaimed book nerd, anything that’s both beautiful and practical is a win in my book. (Pun intended!)
Materials Needed for Bias Tape Bow Bookmarks:
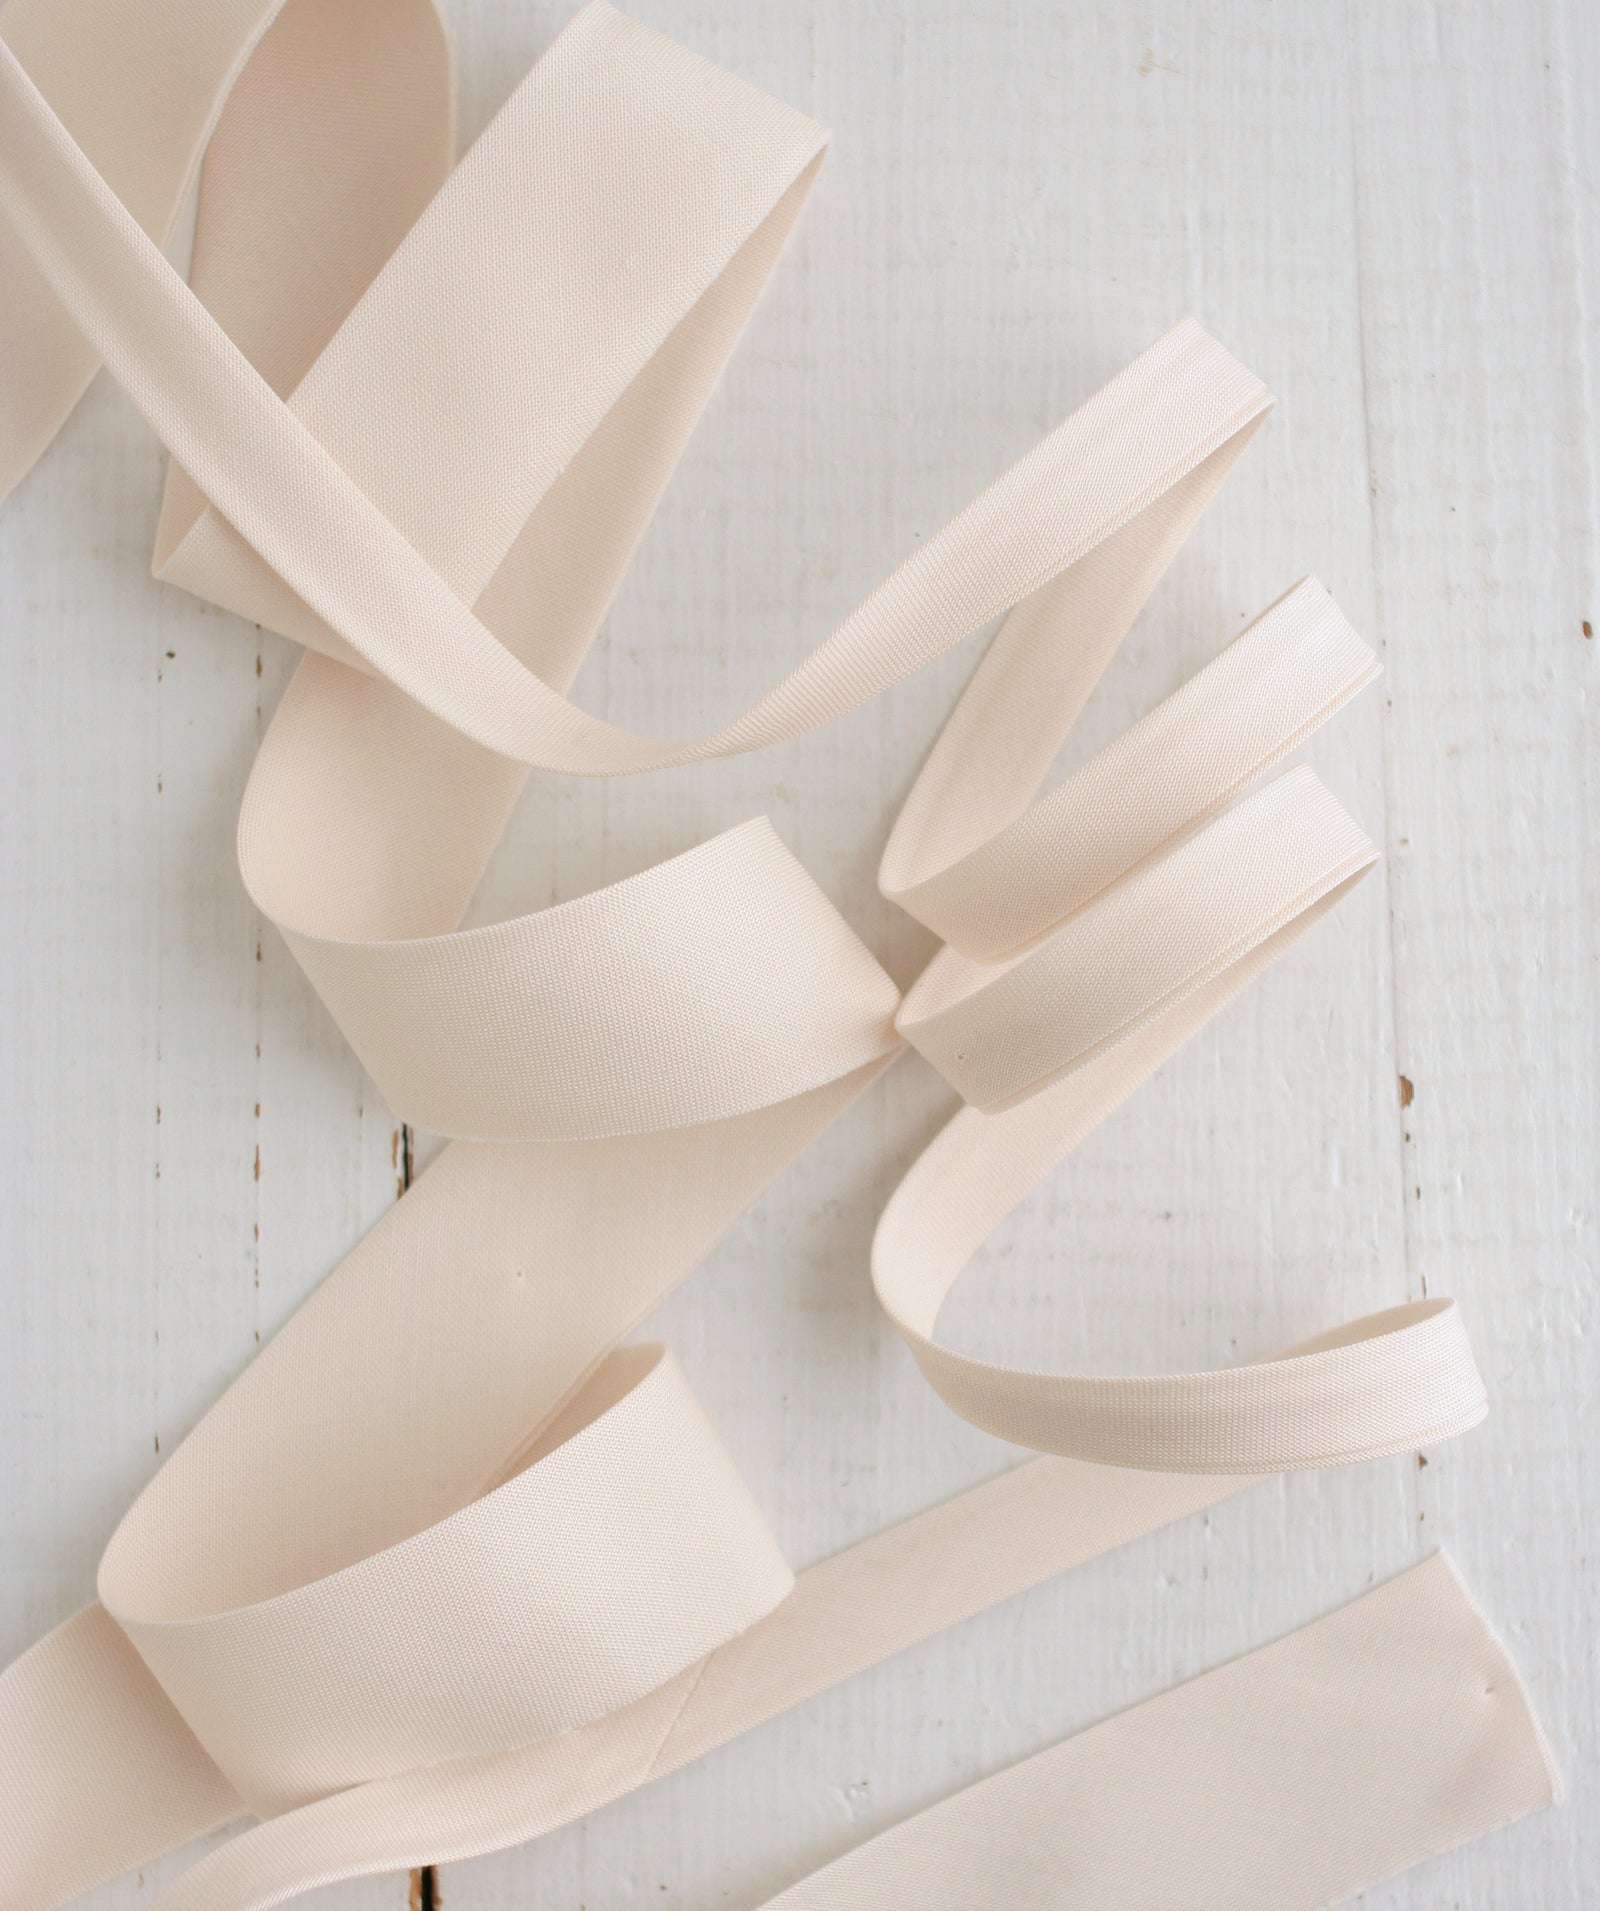
- 10-12 inches of 1/2” double-fold bias tape
- Large paperclip
- Hot glue gun
- Scissors
- (Optional) Fray Check or clear nail polish to seal bias tape ends
Step-by-Step Tutorial to Create Your Bias Tape Bow Bookmarks:
Step 1: Cut the Bias Tape
Start by cutting a piece of double-fold bias tape to the length you prefer for your bow. I typically use around 12 inches, but you can go shorter (10 inches) if you prefer a smaller bow. The beauty of using bias tape is that it doesn’t fray easily, which makes it perfect for projects like this.

Step 2: Tie the Bias Tape into a Bow
Here’s where it gets fun! To make your bow, pinch the center of the bias tape to create a loop. Take the remaining tape and wrap it around the loop, threading the end through to form a knot. If you need a visual guide, check out my reel [here] for a quick video tutorial. (Pro tip: Tying your bow is just like tying your shoes!)
Once you’ve tied the bow, adjust the loops and ends to get the perfect shape and size. Don’t forget to trim any excess tape!


Step 3: Attach the Bow to the Paperclip
Now, grab your large paperclip. Slip one loop of the paperclip through the knot on the back of the bow, and then position the bow over the top curve of the paperclip.

Step 4: Secure the Bow with Hot Glue
To keep your bow in place, add a dab of hot glue to the top curve of the paperclip, then gently slide your bow over it. The glue will hold the bow in place, making sure it stays secure as a cute little bookmark.

Optional: If you're worried about the ends of your bias tape bow fraying (though bias tape typically doesn’t fray much), use Fray Check, clear glue, or even clear nail polish to seal the ends.
Final Touches
Your DIY bias tape bow bookmark is ready to be gifted! You can add it to a Valentine’s Day card, or even better—use it as a sweet little gift for your book-loving friends or loved ones. A new book paired with a cute, functional bookmark? Perfect!

Why Bias Tape Is Perfect for Crafting
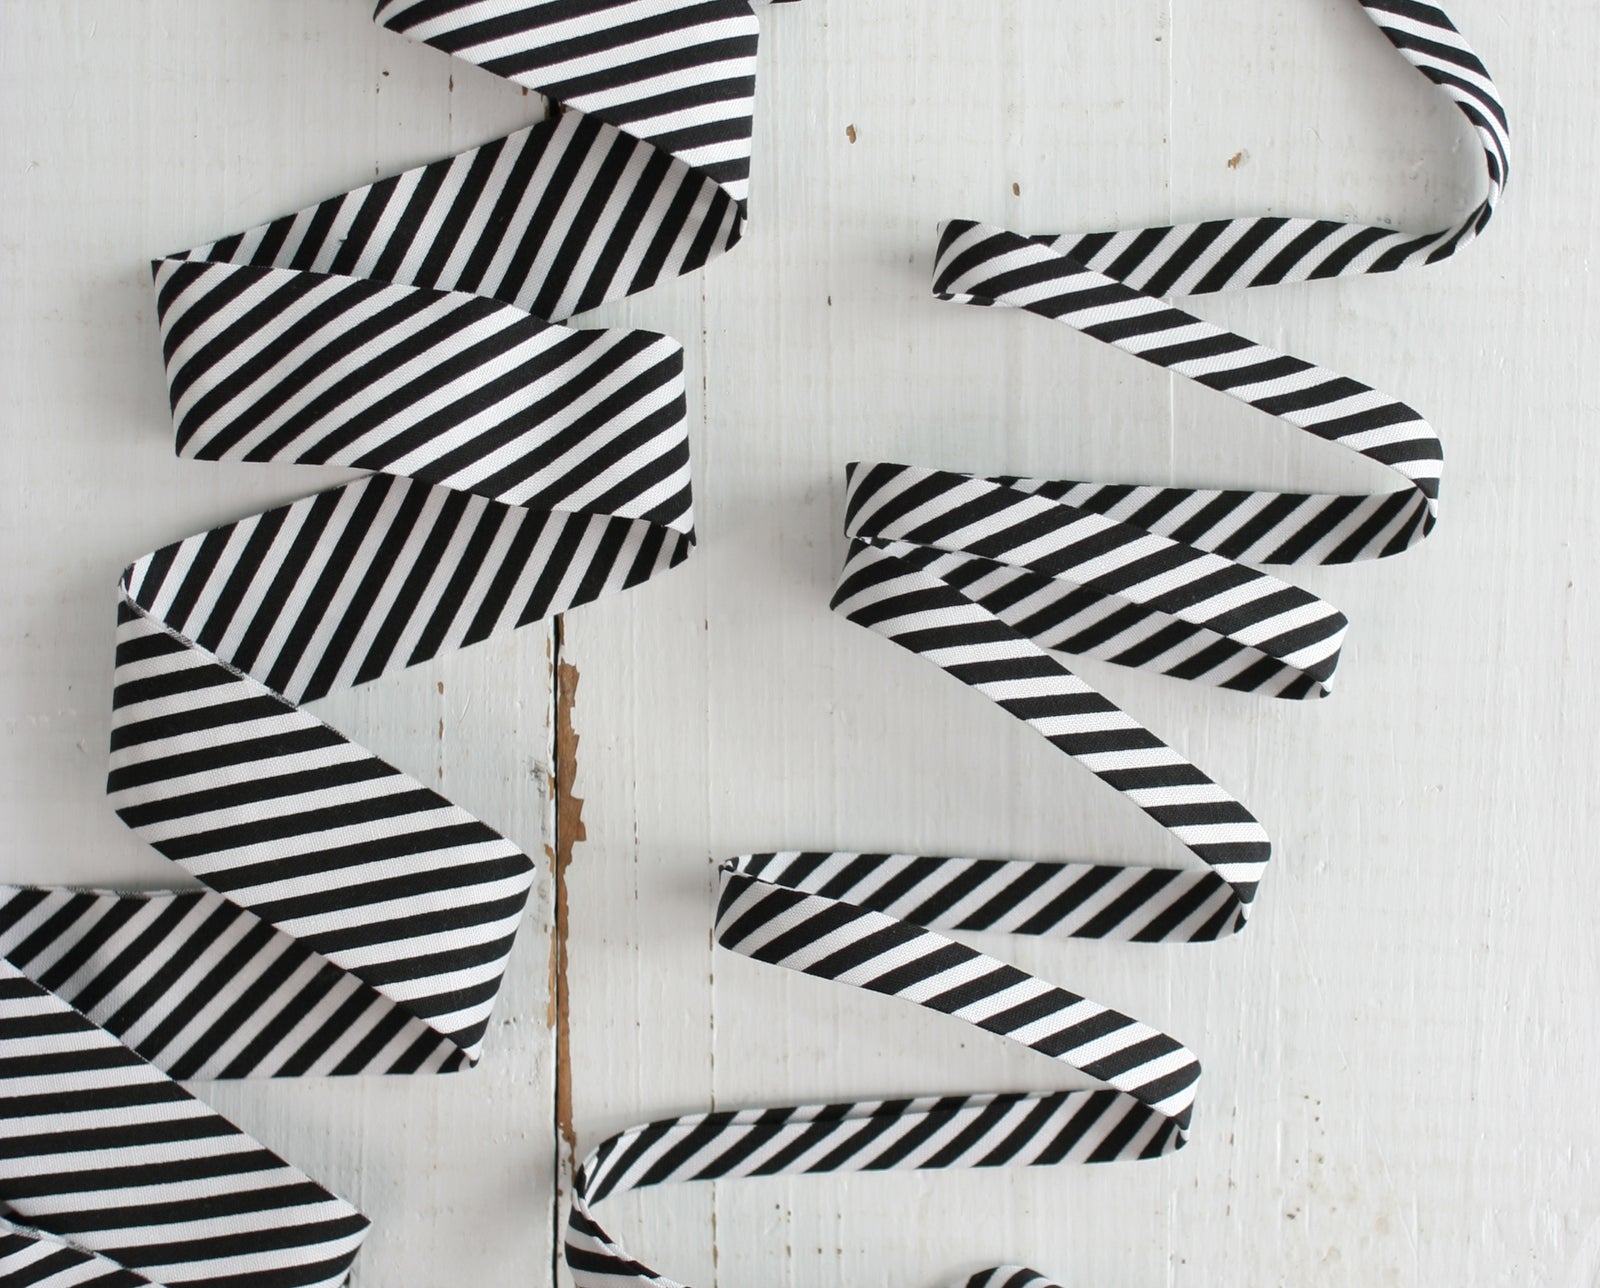
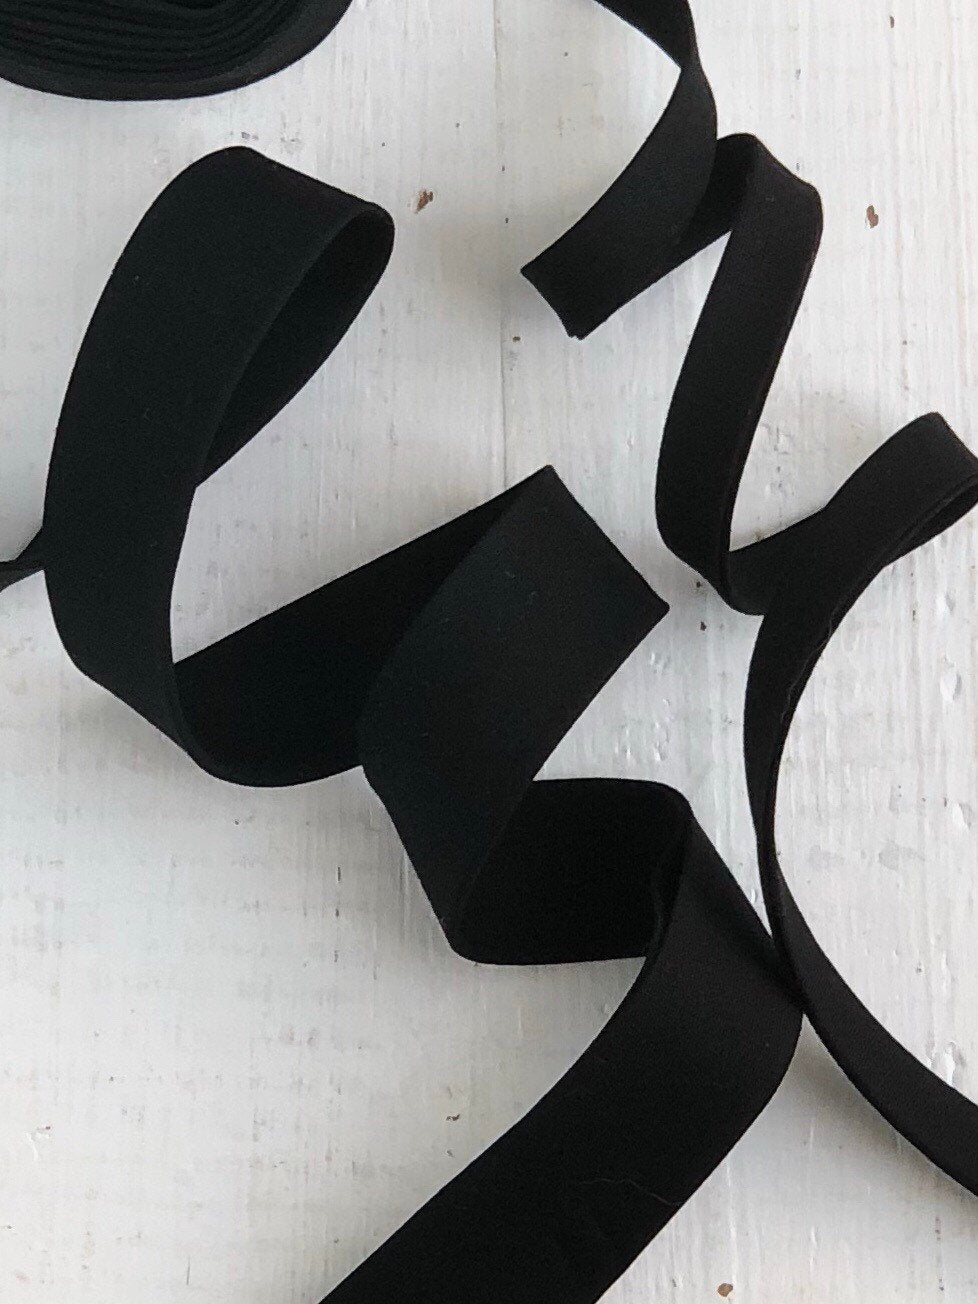
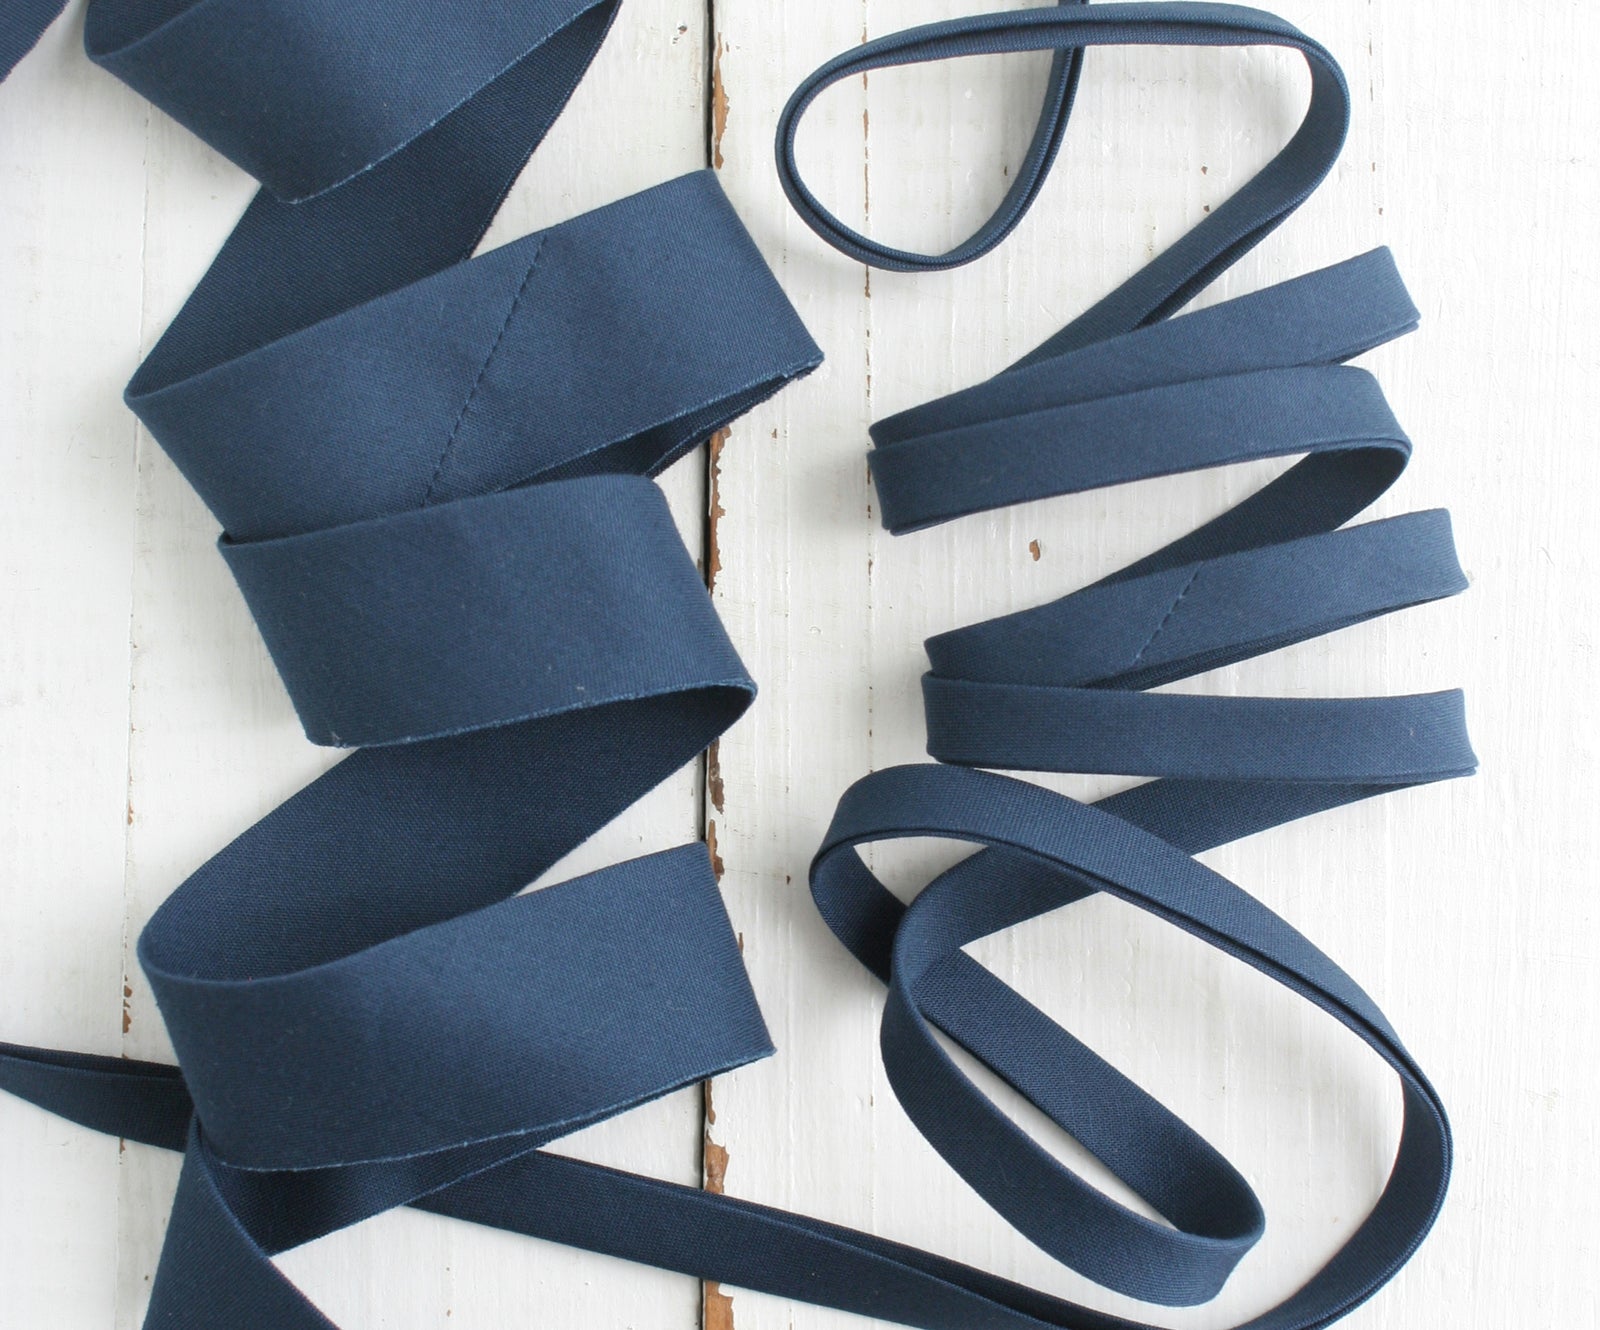
If you’re a crafter, you already know that bias tape is one of the most versatile and essential materials in your stash. Not only does it help create clean, finished edges, but it’s also available in tons of colors and patterns. Whether you're making bookmarks, headbands, or quilt bindings, double-fold bias tape is an easy, durable option that elevates any project.

I love using Bessie Pearl bias tapes in all my projects because the colors are vibrant, and we only ever use high quality cottons for our products which makes them soft and strong. Plus, it’s super easy to work with—making it ideal for quick crafts like these bow bookmarks.
Happy crafting, friends! I hope this Valentine’s Day DIY bookmark brings a little extra love into your life. Whether you’re making these for a friend, a loved one, or yourself, these bias tape bookmarks will make the perfect personal touch to any book!
Karen