Got 30 Minutes? Make an Easy Ironing Board Cover with Bias Tape!
Got 30 minutes? Then you’ve got time for this quick and easy upgrade to your ironing board cover!

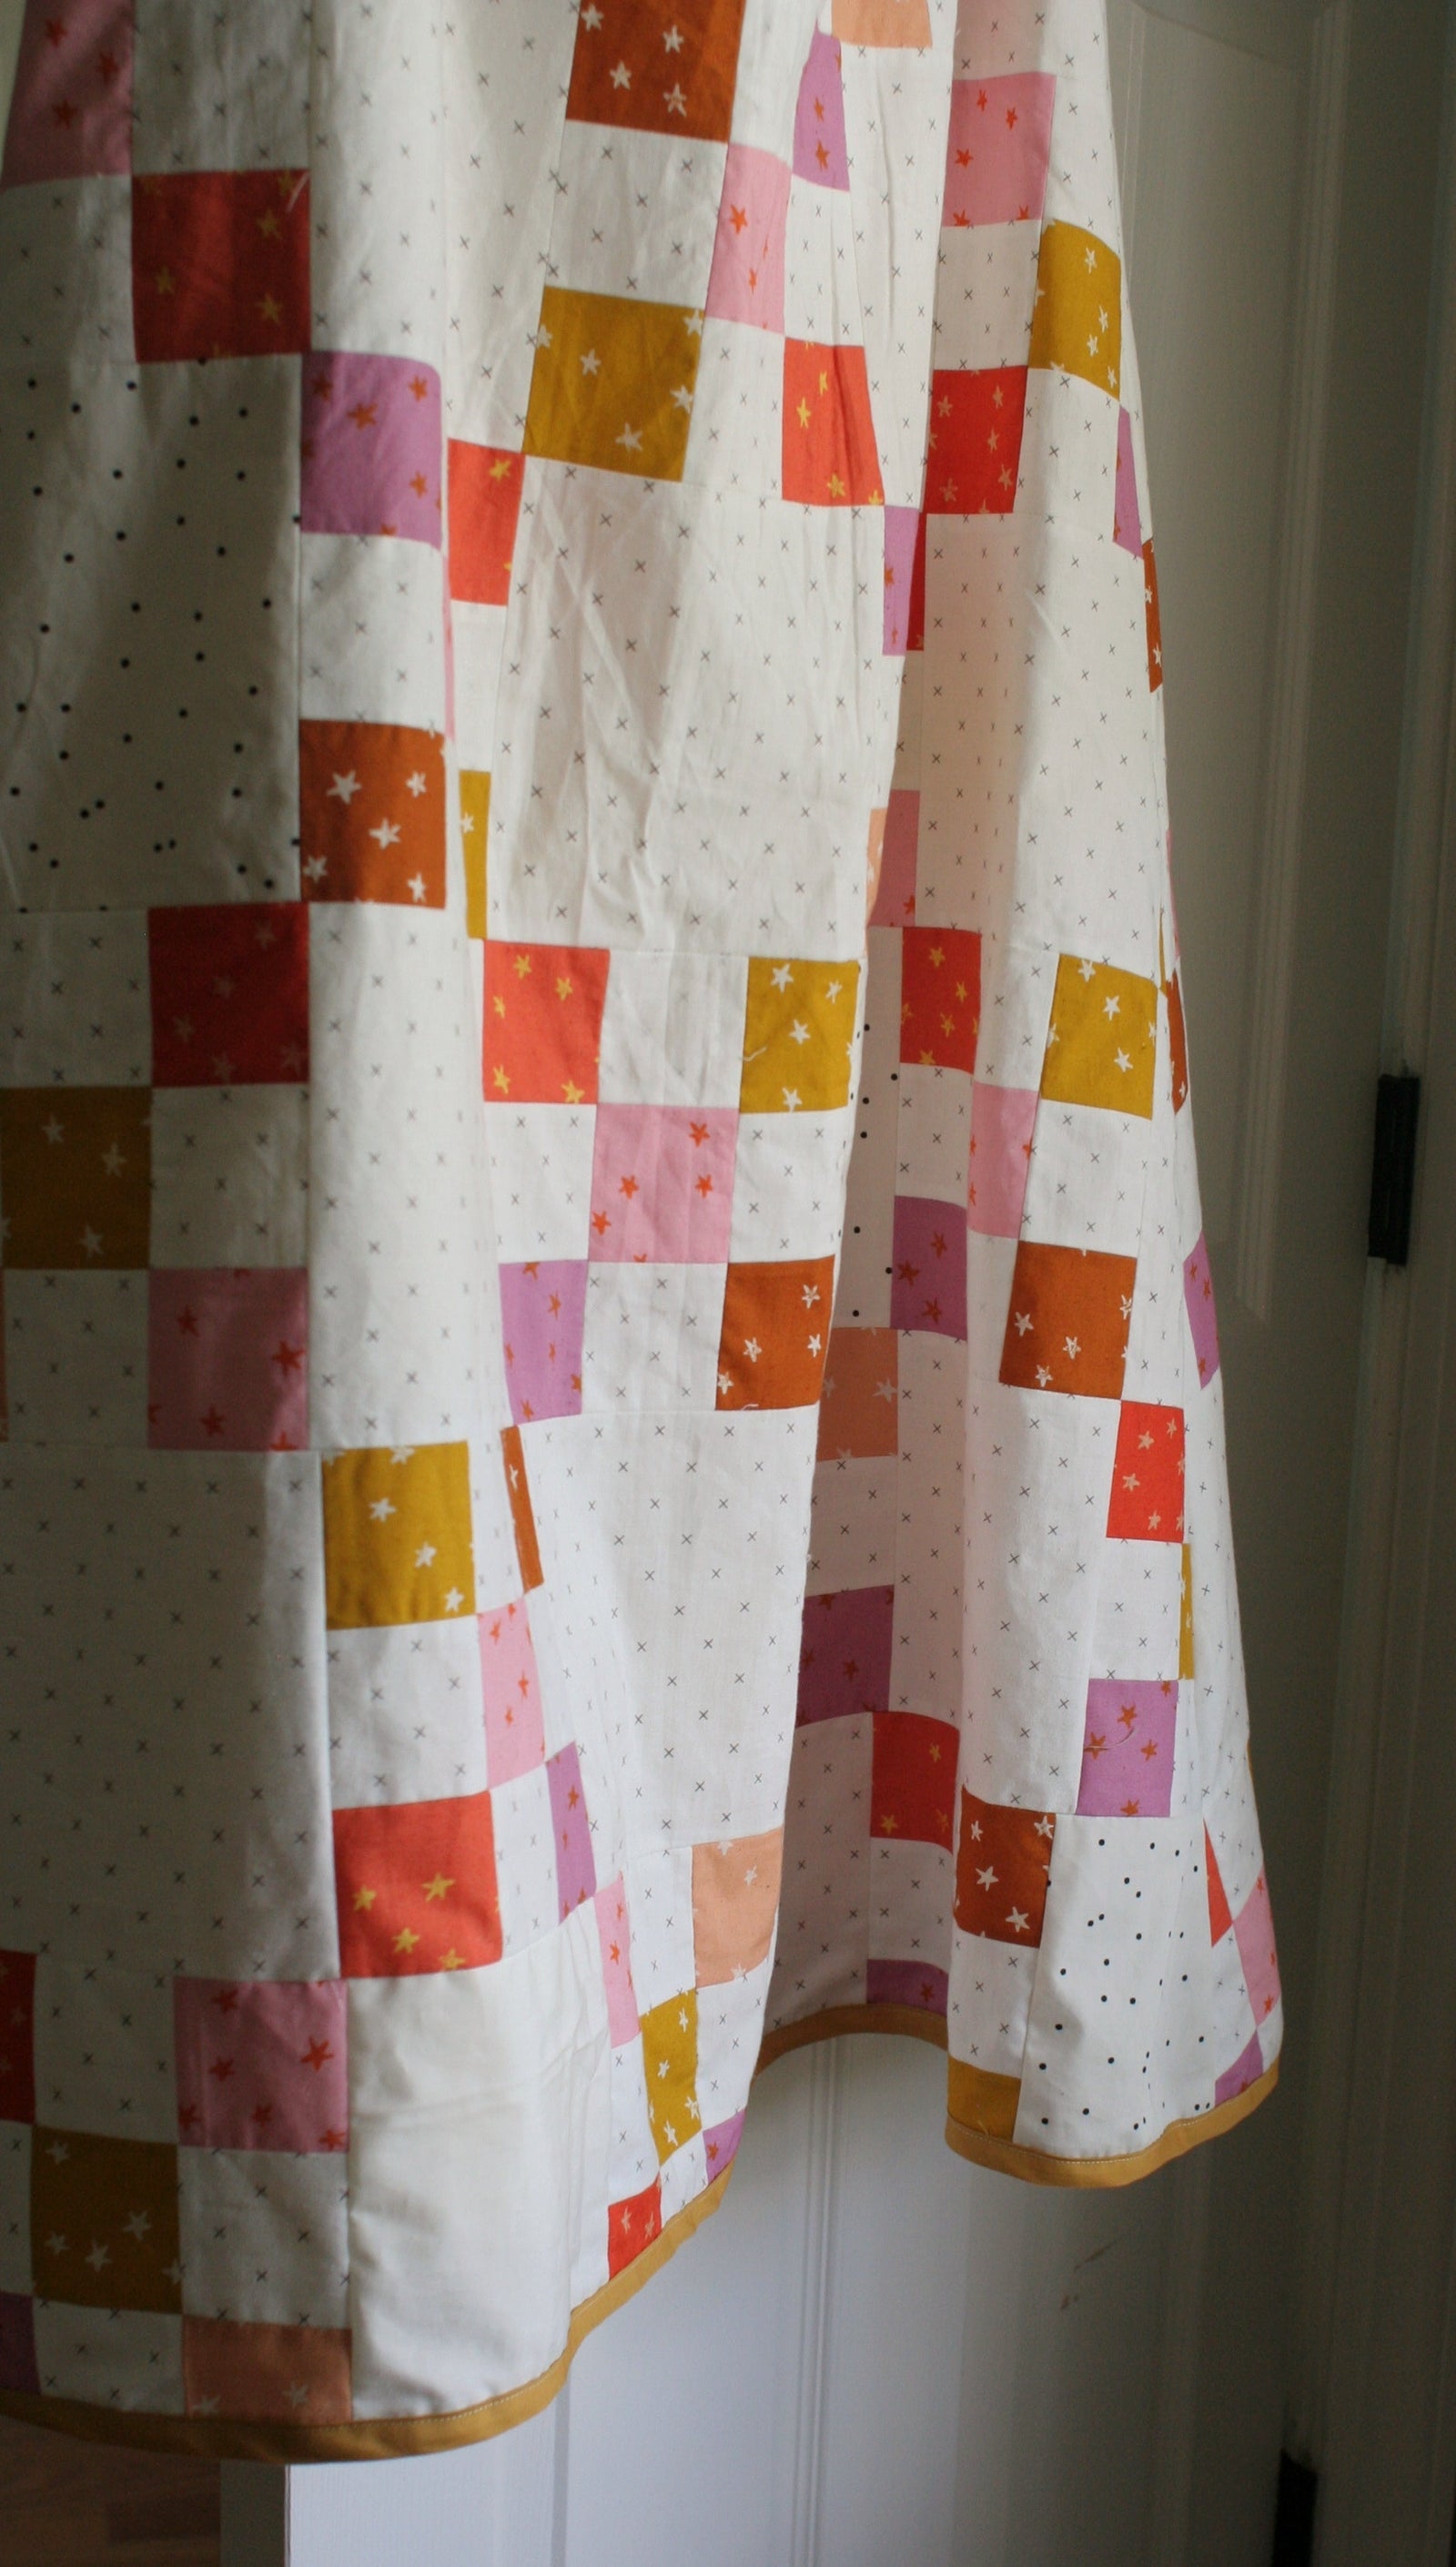
Ya'll have been around and know that I spend a lot of time ironing binding here at Bessie Pearl. Over time, my ironing board took quite a beating, and my ironing board cover was looking sad. But I was determined to give it an easy, affordable upgrade.

Just shameful, haha!
With just a few supplies that I already had, I made a new ironing board cover using bias tape for the casing. It’s the perfect way to finish the edges and make your cover both durable and stylish.

What You'll Need to Make Your Own Easy Ironing Board Cover:
- About 1.5 yards of fabric (depending on the size of your ironing board). Be sure to leave at least 4 inches of fabric on all sides.
- 1/4" elastic
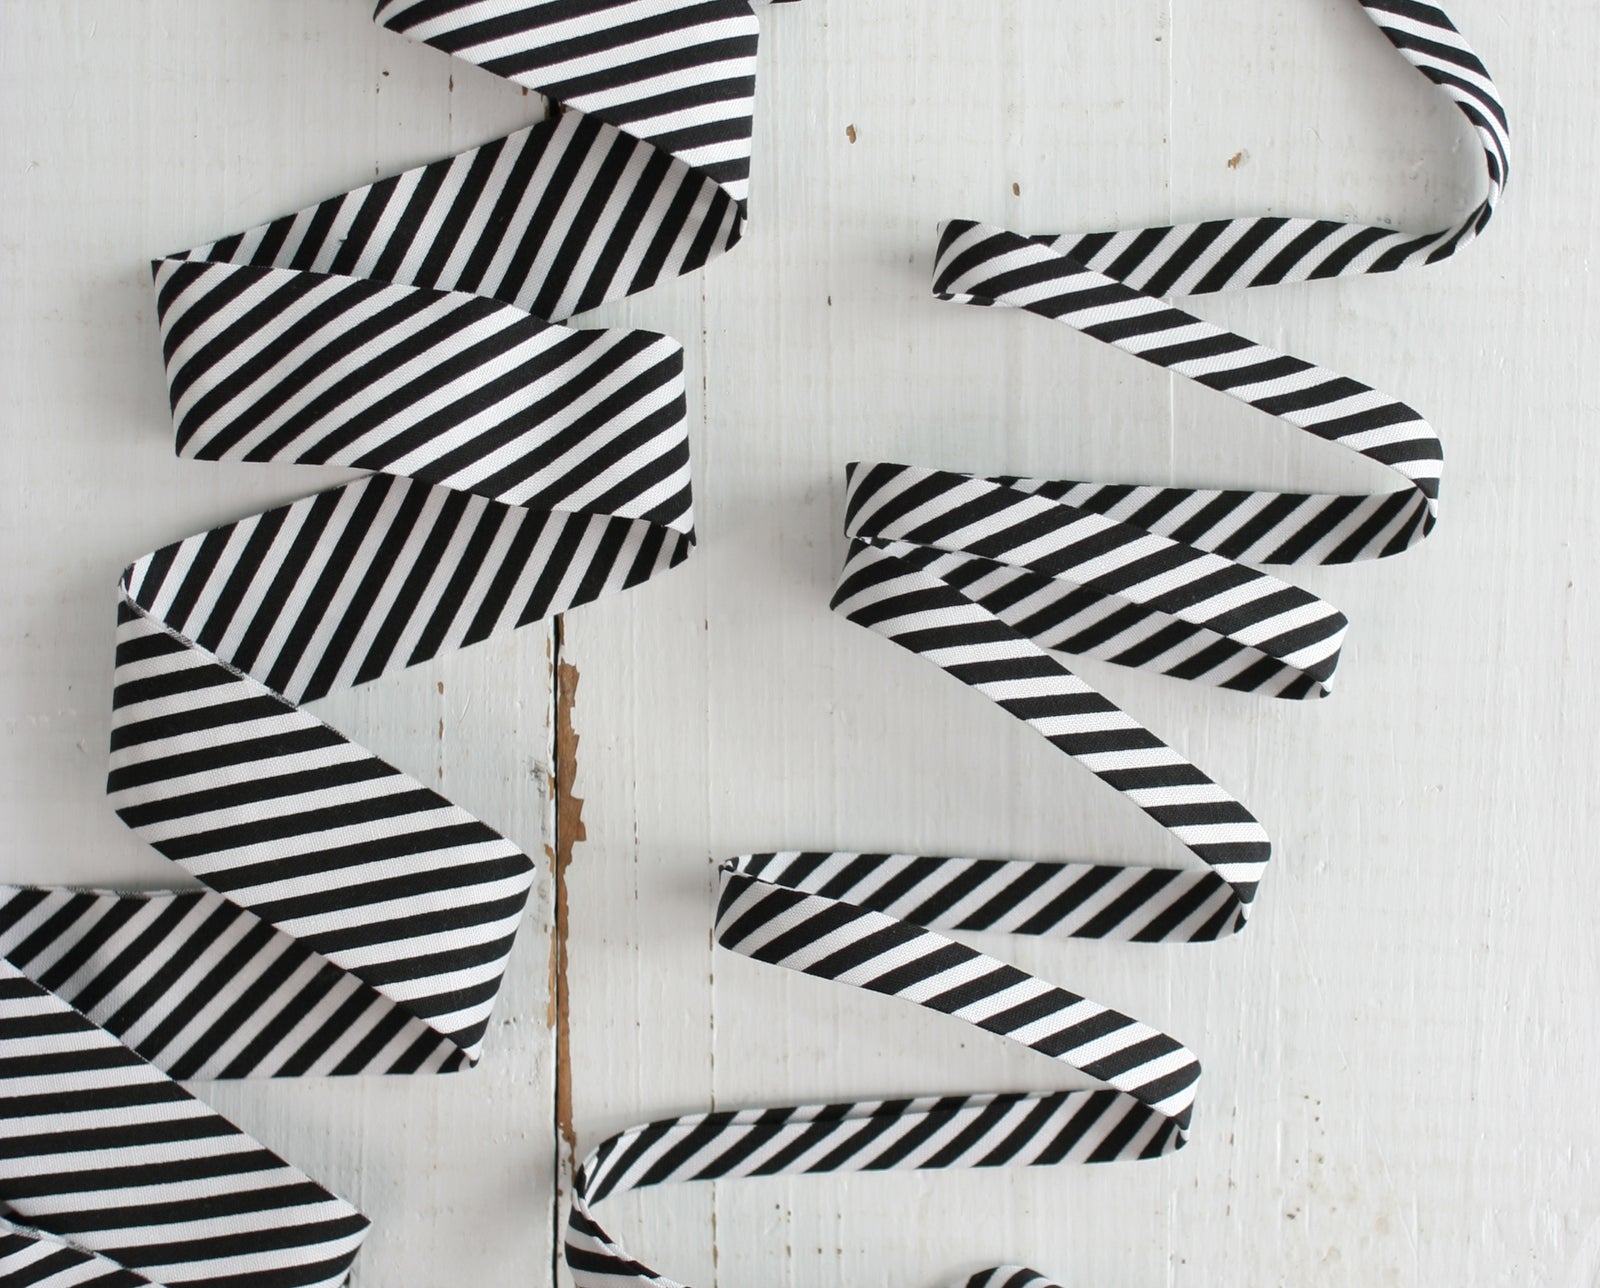
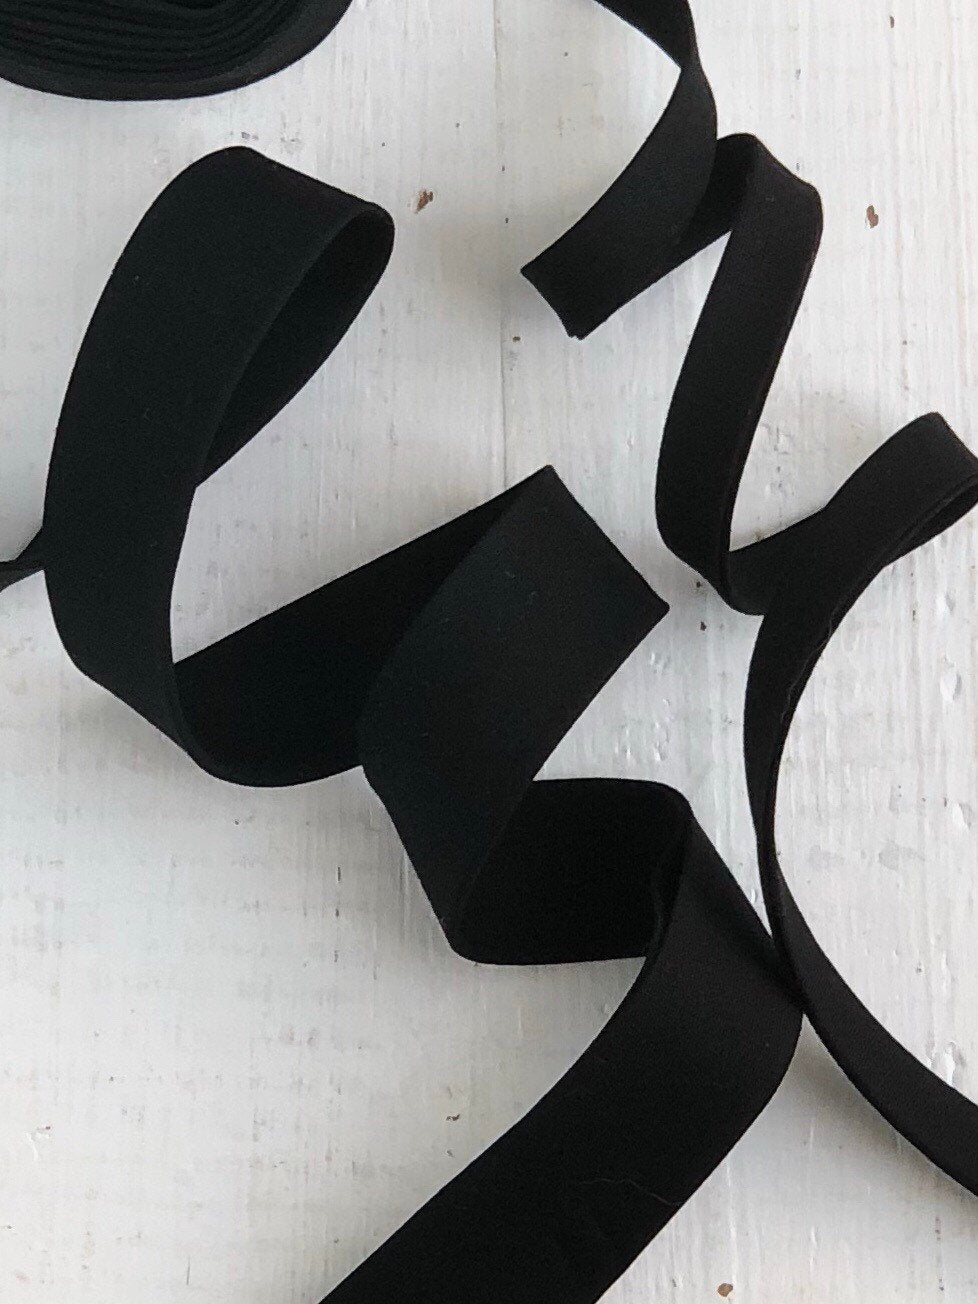
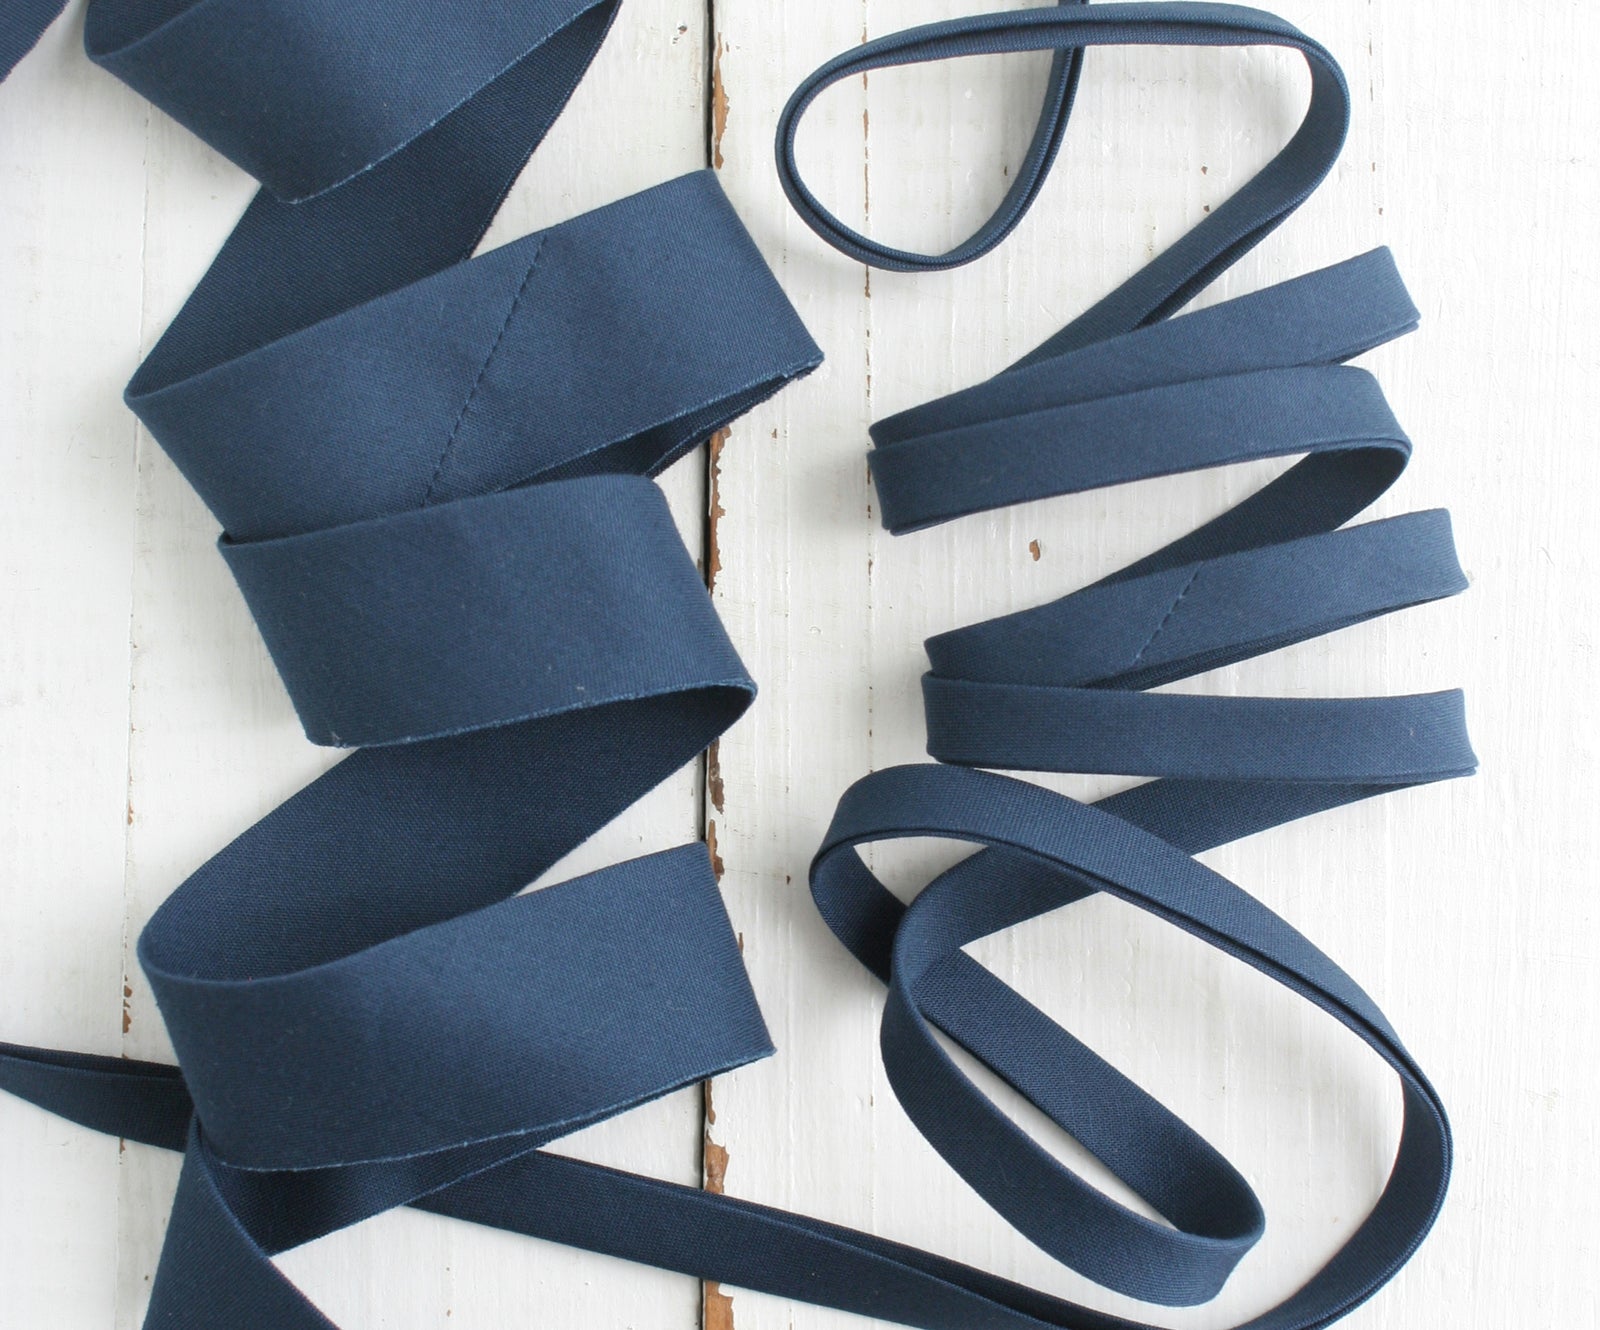
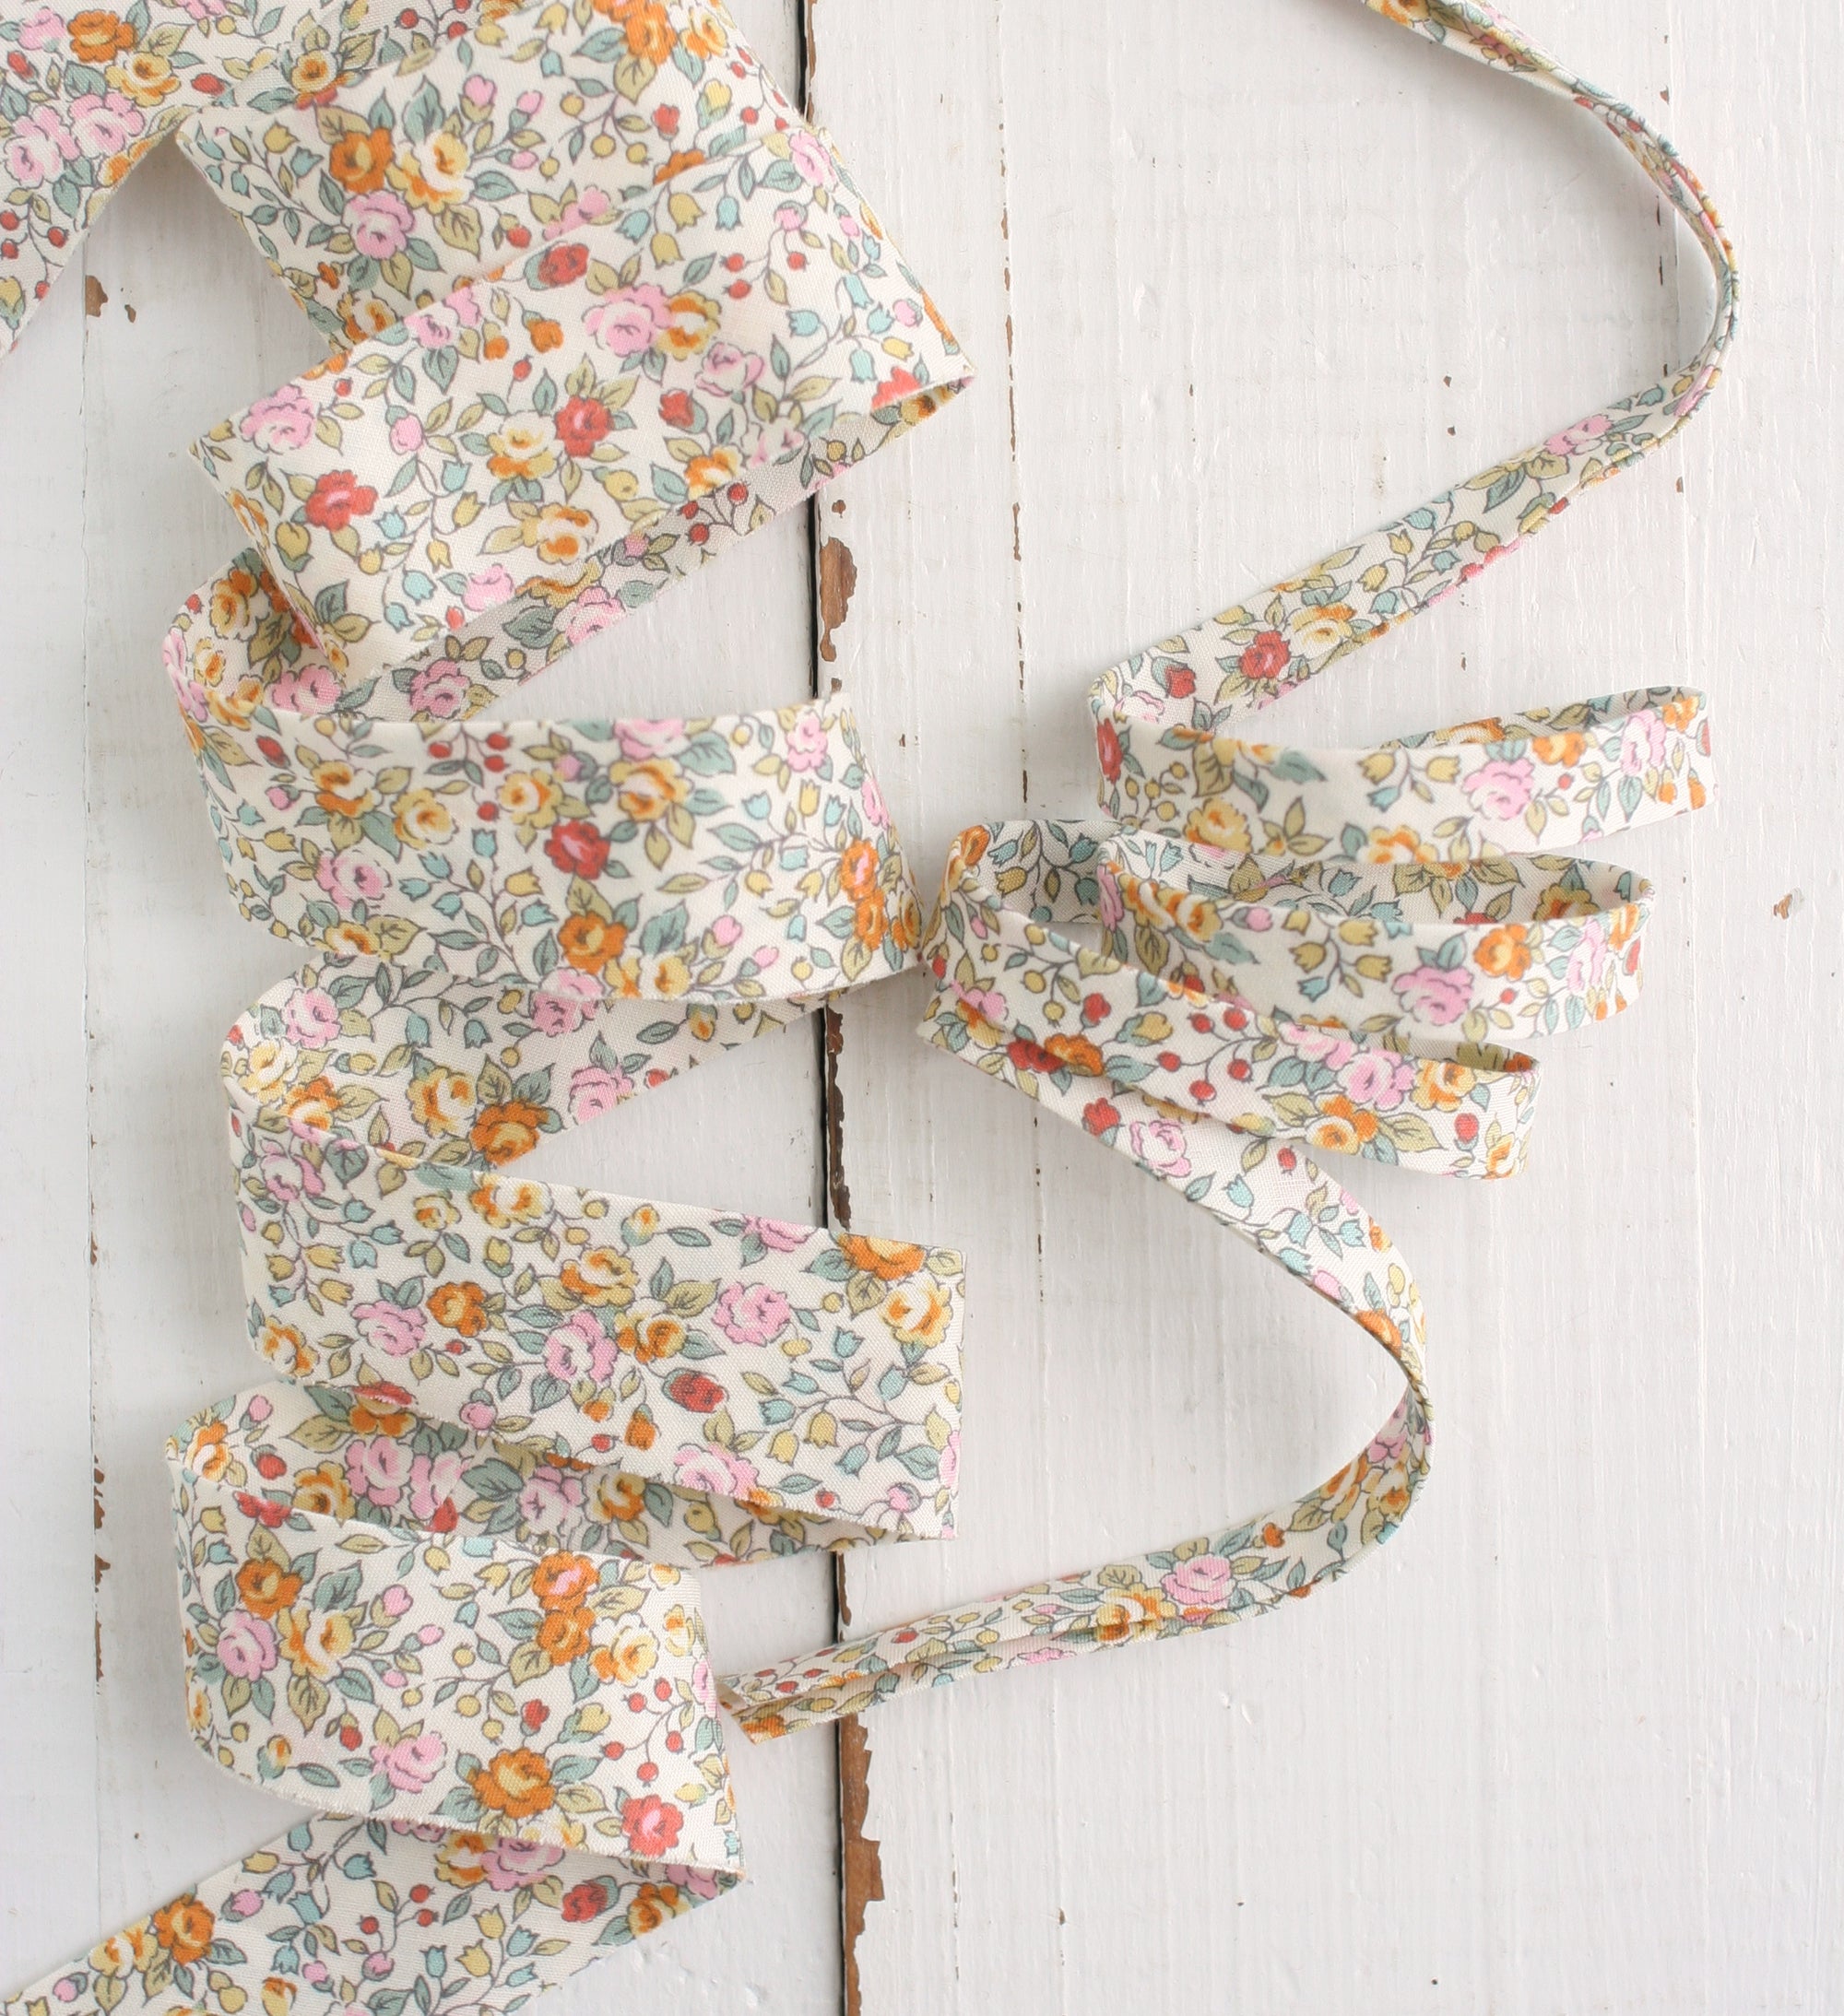
- 3 yards of Bessie Pearl double-fold bias tape (or enough to go around the perimeter of your ironing board)
- Scissors
Step 1: Cutting Your Fabric
Start by laying your fabric flat on the floor or another surface. Place your ironing board on top of the fabric and cut around the edges, leaving at least 4 inches of fabric around the board. This will give you enough room to make the casing with bias tape and secure the elastic.

Step 2: Creating the Casing with Bias Tape
If you’ve ever wondered, “What is a casing?” It’s just a fabric channel that your elastic will slide through. Creating the casing is a breeze with double fold bias tape, which makes the edges of your ironing board cover neat and professional-looking.
Start by opening up the bias tape and folding down one edge about ½ inch. Use the right fold line as your guide, then stitch the bias tape to the front side of your fabric. Take your time around the curves to make sure it’s even.

Once you reach the end, fold the edge under another ½ inch, leaving a small gap for the elastic to pass through. Don't worry about the gap because once you add the elastic, this gap get closed up in the gathering.

Now, flip the bias tape over and stitch it down on the other side, just like you would when finishing the edges of a quilt. Make sure not to pull the bias tape too tight along the edges, or the casing might be too small to fit the elastic.

Step 3: Adding the Elastic
Now comes the fun part—adding the elastic! If you’ve never used a bodkin, I highly recommend it for this step. It’s perfect for running elastic through a casing, and it’s easier to hold than a safety pin. If you don’t have one, a safety pin will work too.

Run the elastic through the casing from one end to the other. Once the elastic is through, sew the ends together. I like to create an “X” shape with my elastic ends and stitch over them a few times to secure them tightly.


When I look at this, I just see a really large shower cap. Anyone else?
Step 4: Enjoy Your New Ironing Board Cover!
Pop your new ironing board cover onto the board and admire your handiwork! I love how the cute strawberry fabric brightens up my sewing space. Best of all, I finished this project in under 30 minutes, thanks to the ease of using Bessie Pearl bias tape!

The strawberries make me so happy!
Share Your DIY Ironing Board Cover!
If you post your finished ironing board cover on Instagram, tag me @bessiepearl! I’d love to see your creations.