How to Join Quilt Binding Ends: 2 Easy Ways
You’re *this close* to finishing your quilt, so let's wrap it up! There are many ways to join quilt binding ends, but I prefer to keep it simple and stress-free. In this guide, I’ll share two easy methods to join your quilt binding ends—no special rulers or complicated math required.

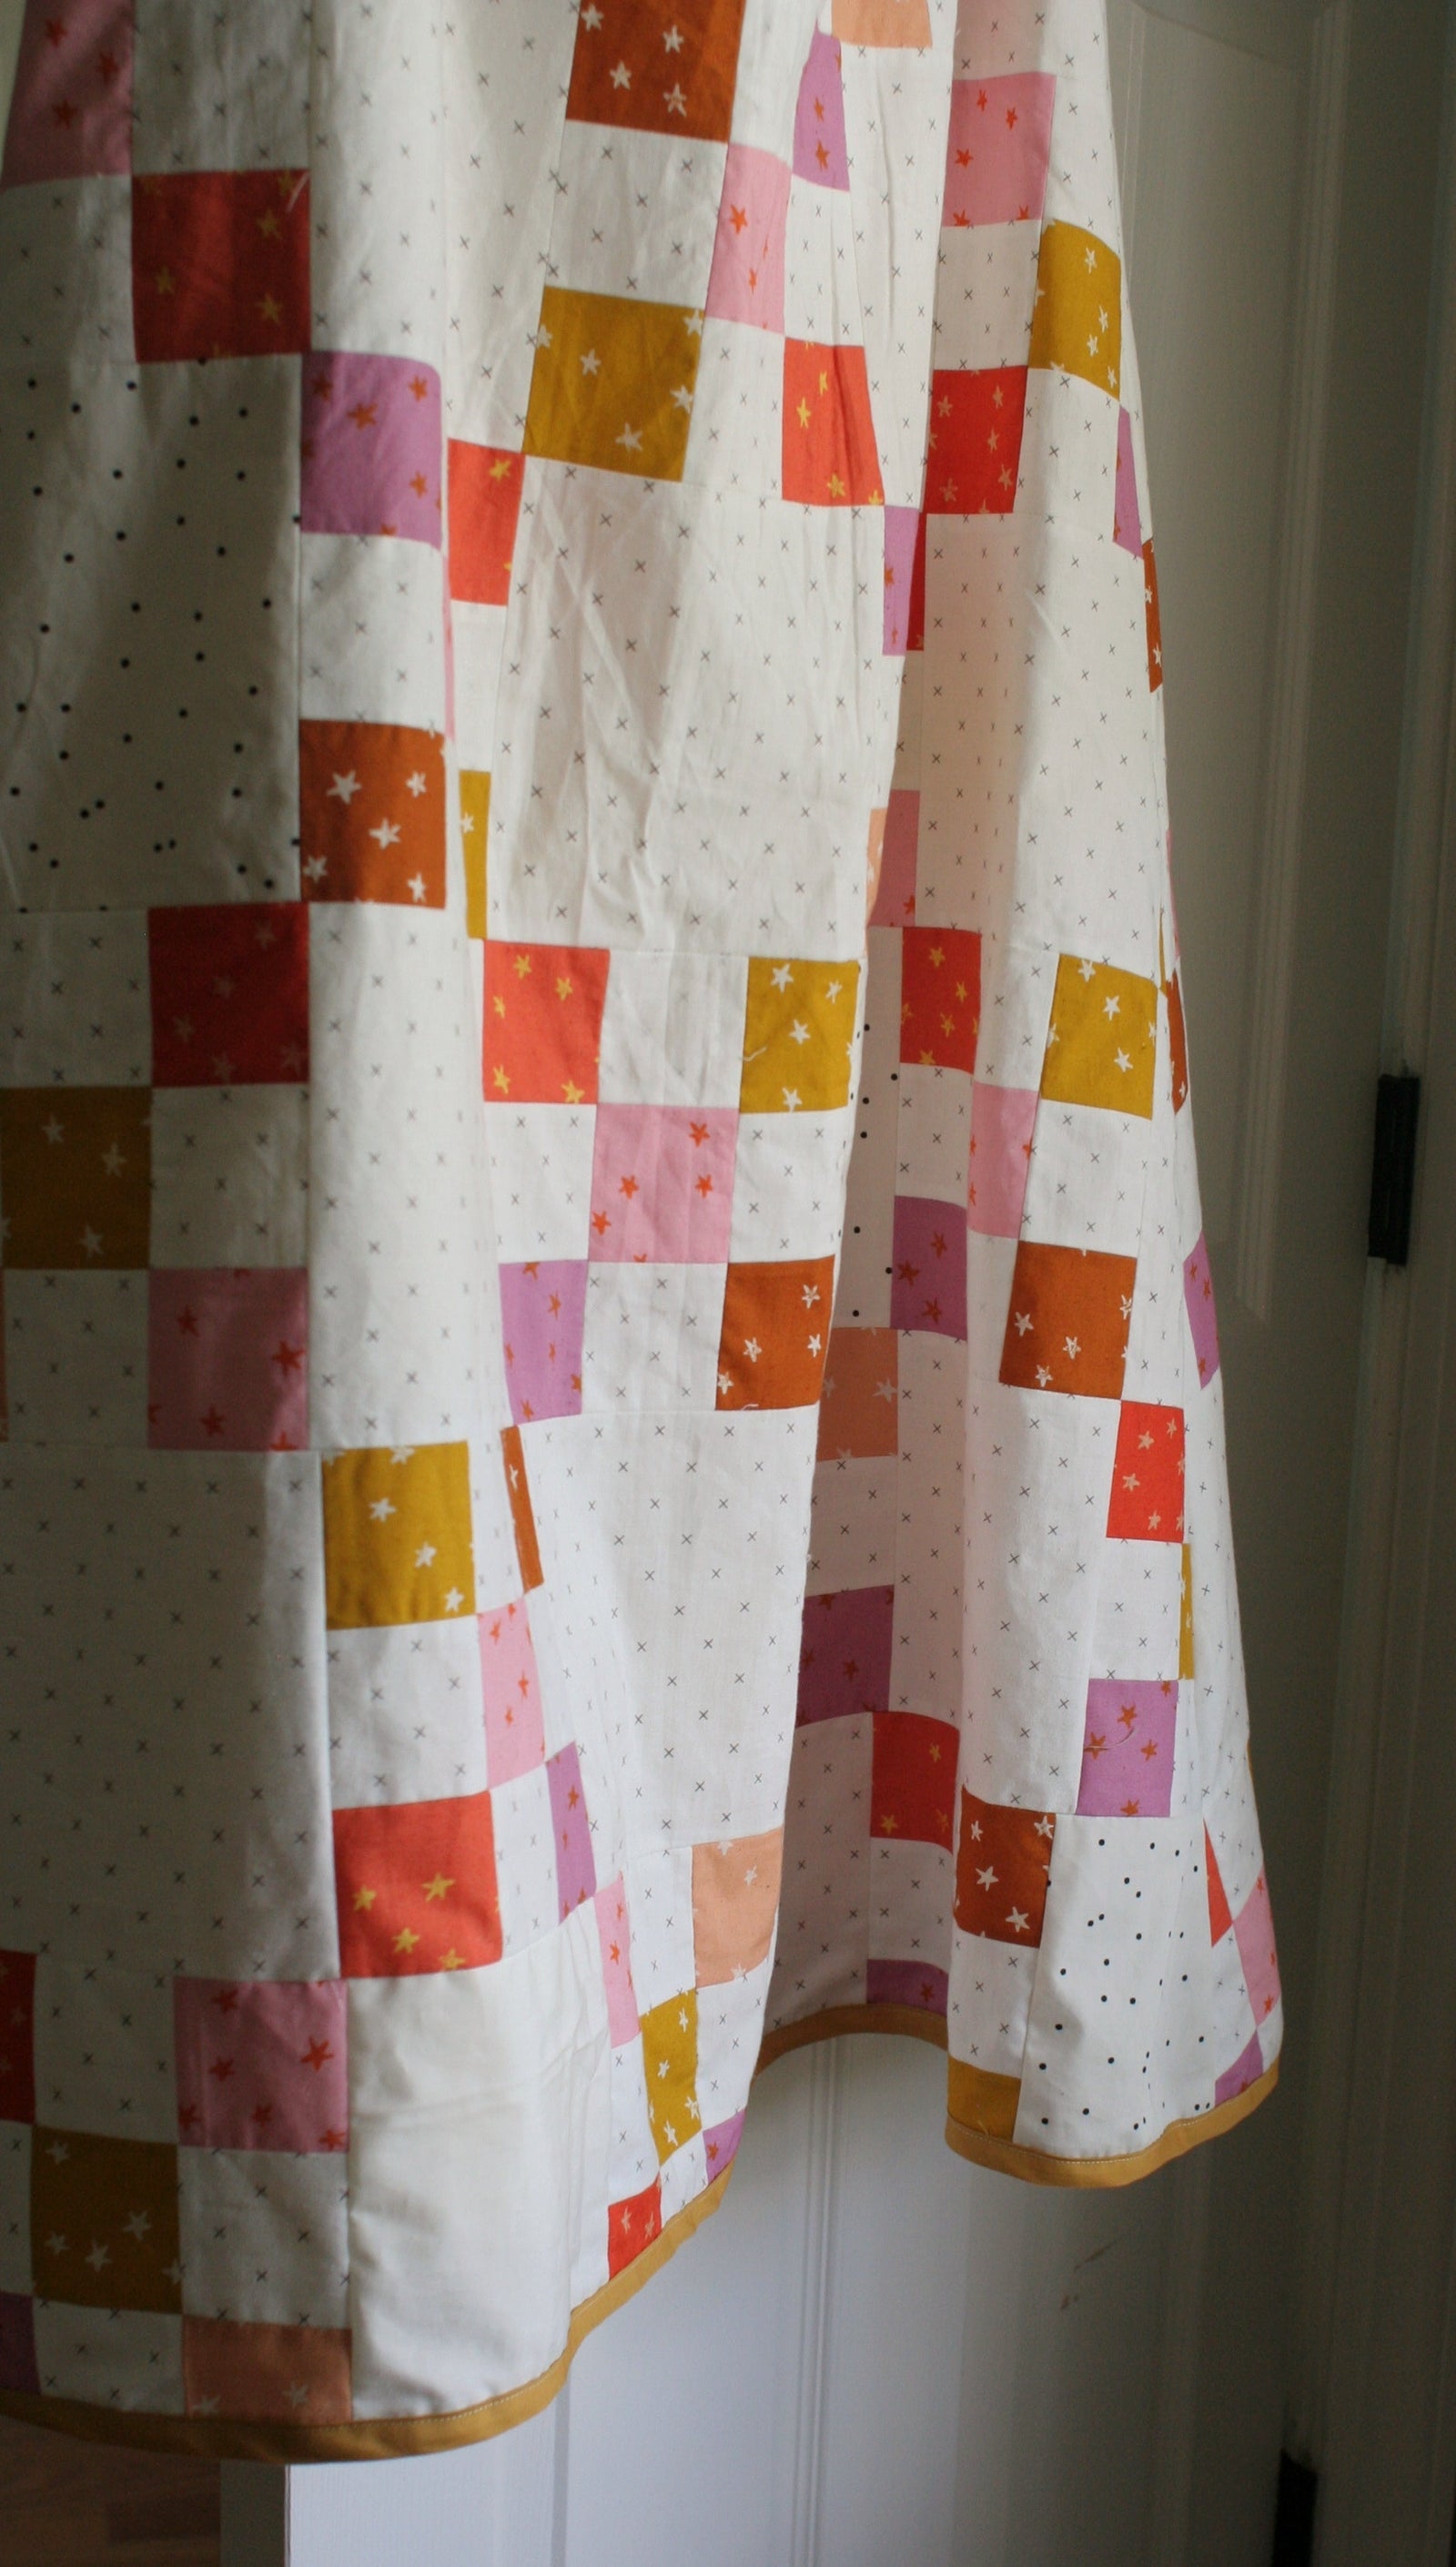
Photo credit @kristinquinncreative
What You’ll Need:
Your Quilt: Ready for binding.
Attached Binding: Almost all the way around your quilt. (Need help making or sewing on bias binding? Check out these previous posts!)
Sewing Machine: Standard setup.
Thread: It doesn’t have to match perfectly—whatever you have on hand will work, as the stitches won’t be visible.
Method 1: The Slide and Go
Perfect for when you’re in a rush, over it, or okay with a little raw edge showing.
- Trim: Take your two binding ends and trim one end straight across.
- Tuck: Open the trimmed end and tuck the other end inside it. Align the edges as neatly as possible.
- Sew: Continue sewing the binding down with a ¼" seam.
Note: This method will leave a small raw edge, which is fine for quilts that aren’t subjected to heavy wash and wear. I usually use this technique for personal projects, wall hangings, or quilts that won't see a lot of use. If raw edges bother you, move on to Method 2!

Method 2: Fold, Twist, and Shout (Inspired by Suzy Quilts)
A more polished finish for those who prefer a cleaner look.
- Fold: Take one end of the binding and fold it back on itself; finger press.
- Align: Fold the second end back so both edges almost touch, leaving about 1/8" of space in between if using bias binding.
- Match: Open both ends and place them right sides together, matching up your lines.
- Sew: Sew along the marked line.
- Trim: Trim the excess binding to ¼".
- Finish: Fold the binding back down and continue sewing it to the quilt.
Need Bias Quilt Binding?
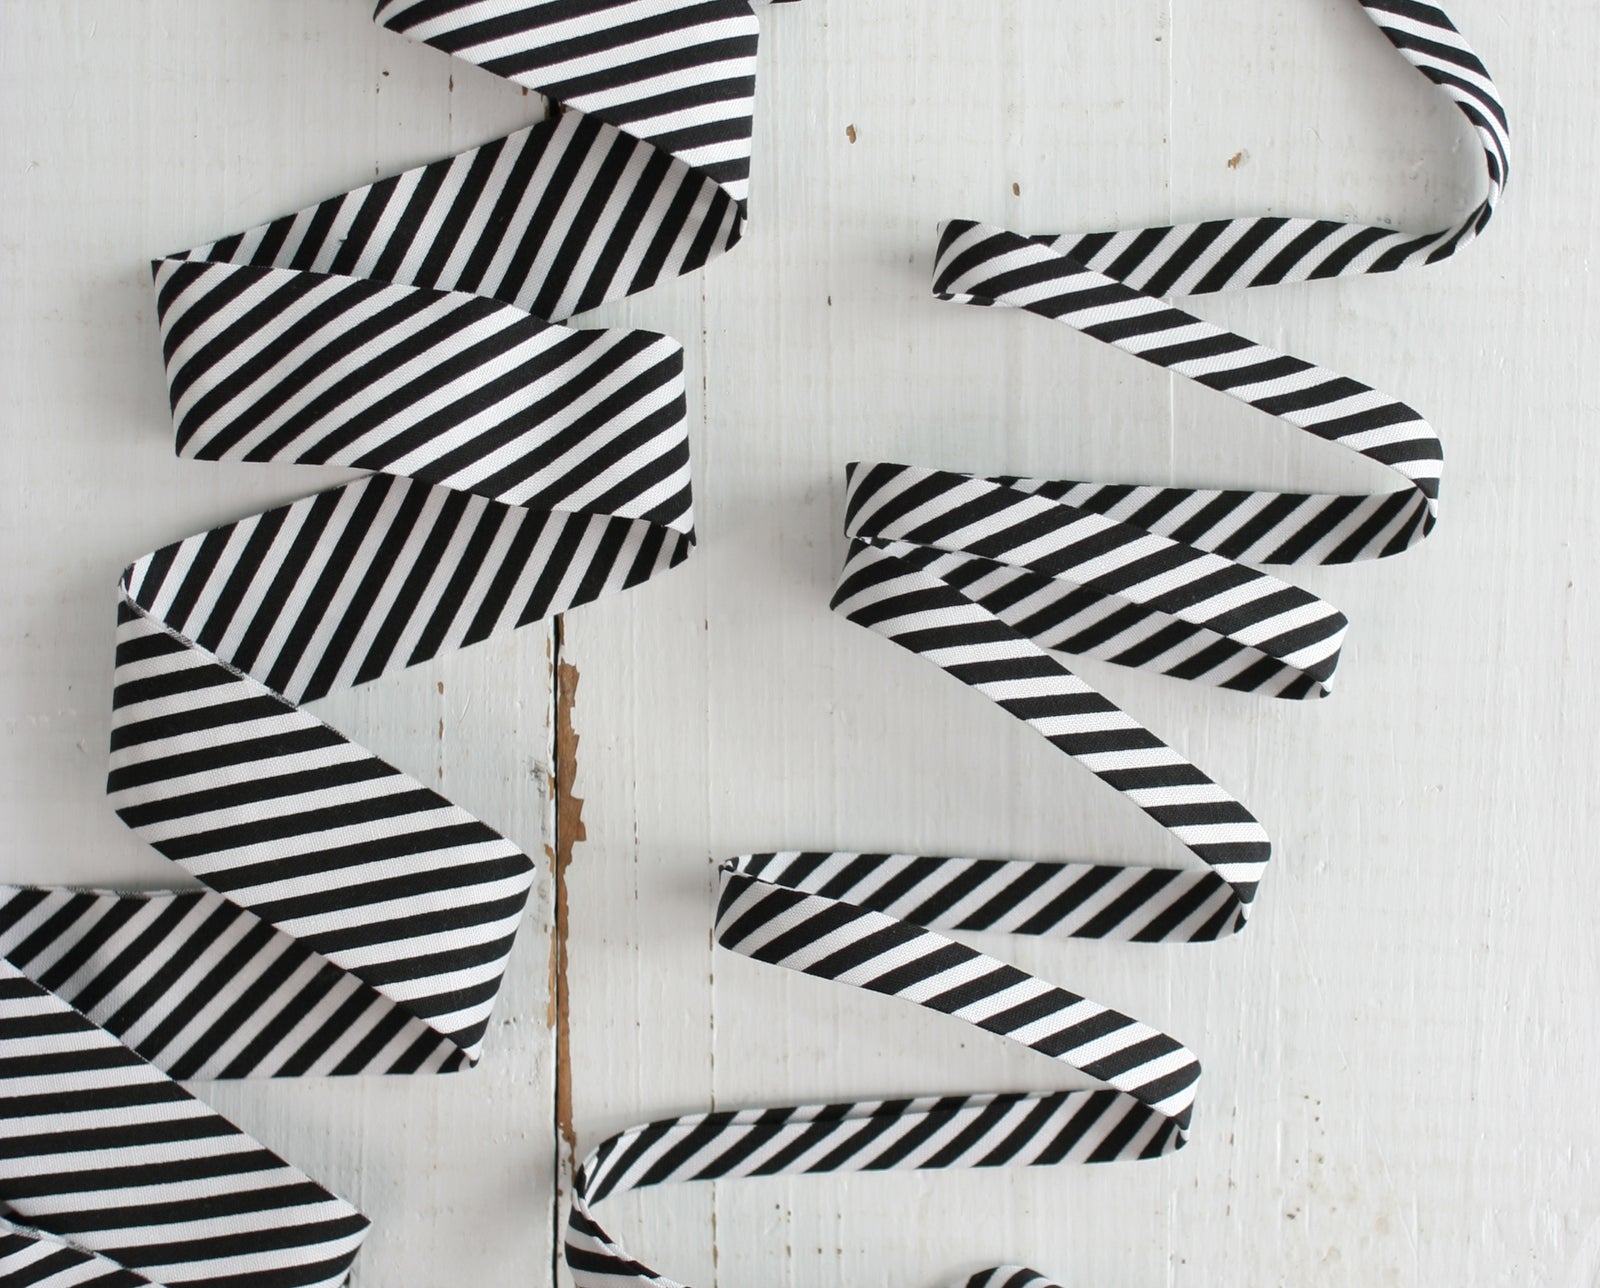
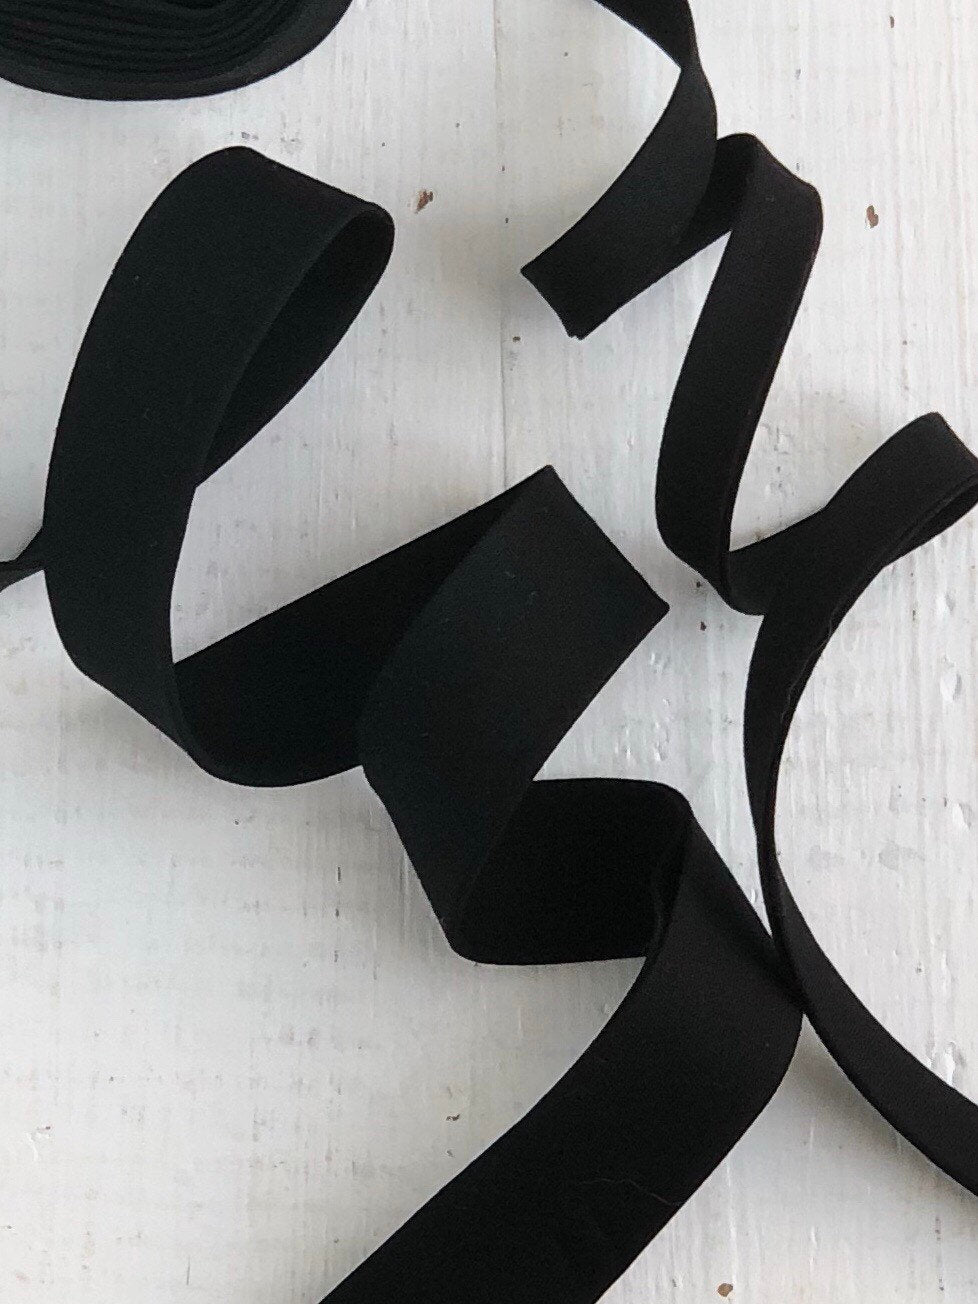
Check out our variety of styles to find the perfect match for your project! Join us next week as we wrap up this series and show you how to sew the binding down on the back.
Happy Sewing, Friends!
Karen


