Hi friends! I’m Amy from @amyjohnstonrobertson on Instagram! I’m thrilled to be a guest on the Bessie Pearl blog this week to walk you through creating a beautiful, ruffled quilt edge. Let’s dive right in!

Materials Needed
-Two unbound quilts (same size)
-Fabric strip: 4-5” wide and approximately double the length of your quilt’s perimeter
-Scissors
-Thread
-Sewing machine
-Clips
-Tweezers (optional)
---
Step 1: Prepare Your Quilts
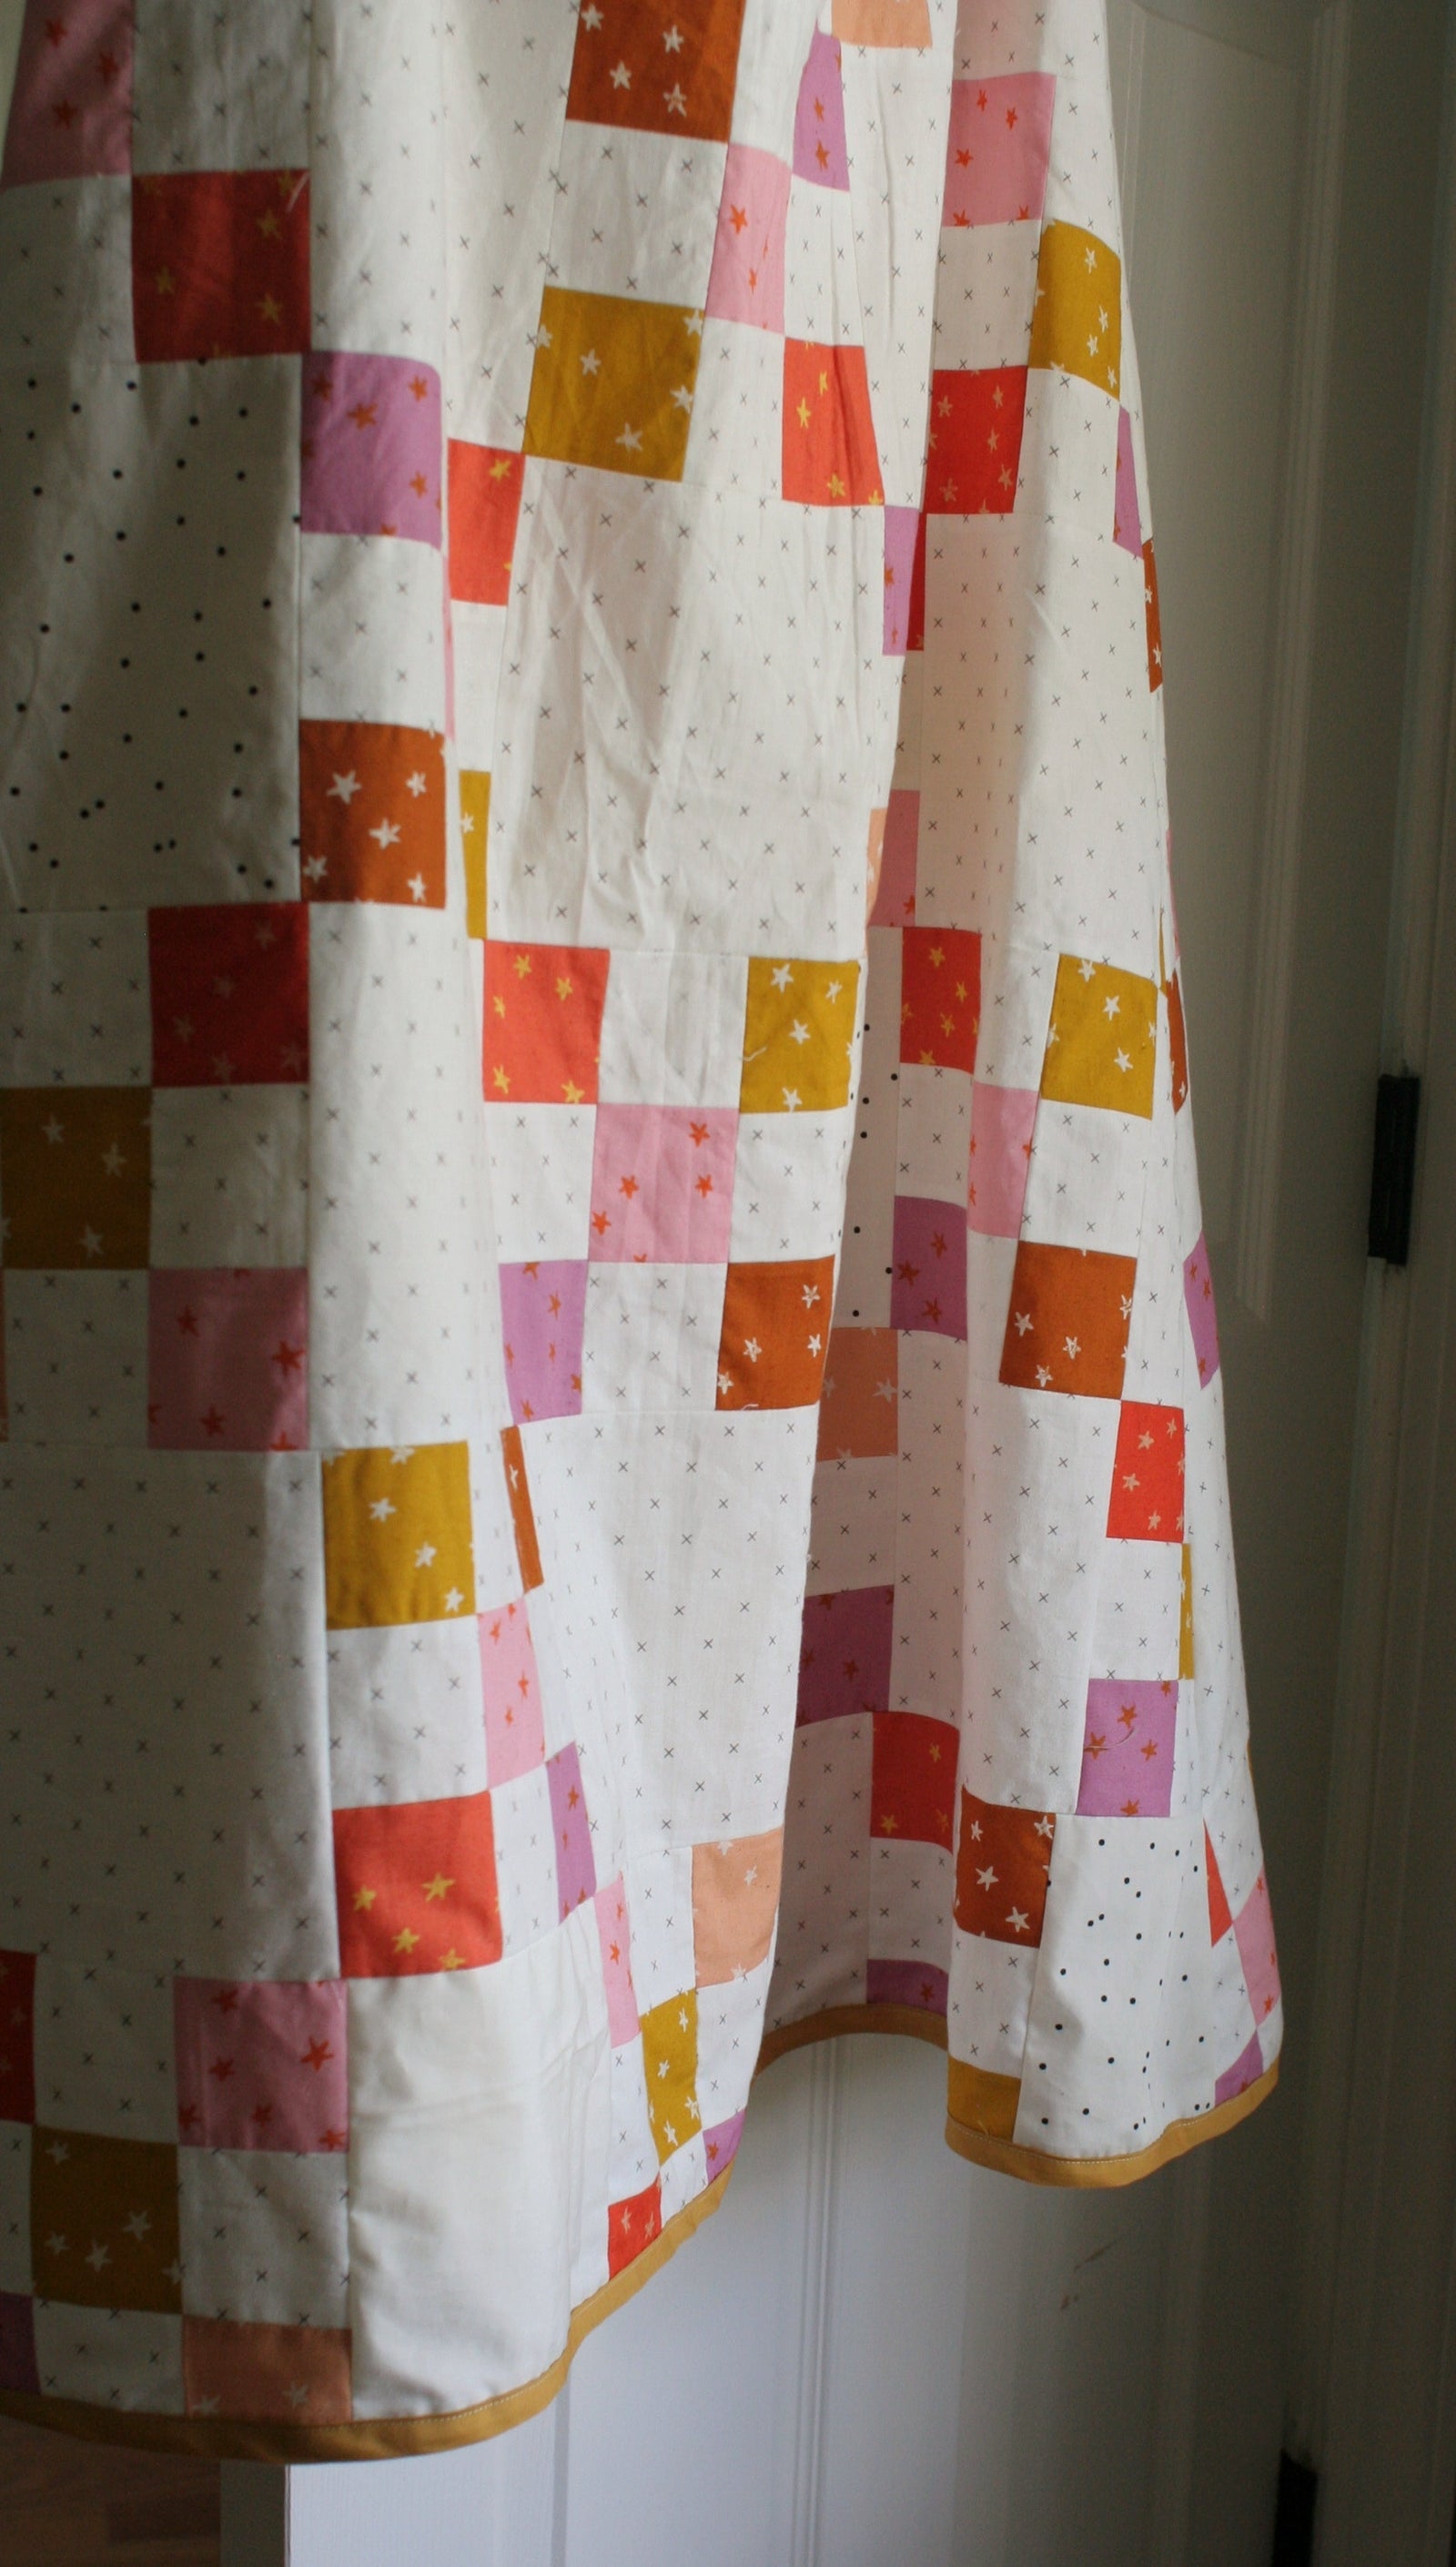
The first order of business is to pick your quilt tops and make them into quilts. For this project, I quilted up a mini quilt and a piece of yardage in Speckled Cactus by Ruby Star Society, using the Curvy Moon Stars pantograph from Sew Shabby Quilting.

Step 2: Cut and Prepare the Ruffle Fabric
Next up, you will need to choose your ruffle fabric. The perimeter of my mini quilt was 72” so I cut my strip 5” wide and 144” long. The length and width of your strip will depend on how ruffly you want the ruffles to be. If you want them to be EXTRA RUFFLY, you may want to cut your strip even longer, so that you have more fabric to work with and gather. I chose to cut my ruffle fabric with a 5” width so that they’d really stand out, but a narrower piece will work, too. On my first ruffled quilt, I cut the fabric to a 4” width.

Step 3: Sew Basting Stitches to Create the Ruffles
- Fold the fabric strip in half lengthwise.
- Sew two rows of basting stitches ¼” from the raw edge with a stitch length of 5.0.

Step 4: Gather the Fabric to Create Ruffles
Next, using your fingers or a pair of tweezers, gently tug at the basting stitches to gather the fabric along the bottom and create ruffles. The more you gather, the more textured your ruffles will be. Sometimes throughout this process I would snap the thread from pulling too hard - this is okay! Just move along to the next portion and start gathering from there. Feel free to clip any spots that need a little extra hold after gathering. You will end up with something that looks like this.

Remember: you are in control here. Want the ruffles to be extra defined? Keep pulling those basting stitches! Want the ruffles to be a bit looser? Ease up on the gathering!
Tip: If the thread snaps while pulling, just start gathering from the next section—this happens to the best of us! Use clips to hold tricky areas in place.
Step 5: Round the Quilt Corners
Before attaching the ruffle, round the corners of your quilts if desired. This will make it easier to sew the ruffle smoothly around the edges.
Step 6: Attach the Ruffle to the First Quilt
Time to attach your ruffles! Pick one of your quilts and sew the ruffles to the FRONTof your quilt as though you are attaching quilt binding. Be sure to leave a small tail at the beginning so that you can connect the two ends together.
If you feel as though you’d like your ruffles to be more ruffly, you can adjust the ruffles as you go. Manipulate the bottom of the ruffles as you attach them so that they are more textured. Fold, squeeze, and pinch the bottom as you sew to achieve your desired level of ruffle.
Once you’ve sewn the ruffles to the entire perimeter, you may have a bit of extra fabric at the end. If this is the case, you cantrim any excess fabric so that the two ends are closer to meeting in the middle. The length of your ruffle fabric is super forgiving because you can just make it more or less ruffled so that they fit perfectly around the edge of the quilt. Sew the two tails right sides together, ruffle or un-ruffle as needed, and sew the remaining ruffle fabric to the front of the quilt.

You will end up with a quilt that looks like this:

Step 7: Layer and Sew the Quilts Together
Place the second quilt on top, aligning itright sides together with the first quilt (the one with the ruffle).

Clip around the edges to hold everything in place. Sew around the perimeter, leaving a 5” gap for turning the quilt right-side-out. Sew slightly more than ¼” from the edge to hide the basting stitches within the seam.

Step 8: Turn the Quilt Right Side Out
Turn the quilt right-side-out through the 5” gap. Celebrate your progress (screaming with joy is optional but recommended). Sew the gap closed:
- For an invisible finish: Use a ladder stitch by hand.
- For a quicker option: Use your sewing machine (but the stitches will be visible).

Final Thoughts: Endless Ruffle Possibilities
Congratulations—you did it! You’ve made a beautiful quilt with a ruffled edge! Now that you’ve mastered this technique, imagine all the possibilities:
- Add ruffles to bags, pouches, and pillows.
- Experiment with different colors and fabric textures.
The possibilities are endless—happy sewing! – Amy
------------
Isn’t Amy so creative?!?! I hope you found this tutorial helpful. Thanks for joining us, and don’t forget to share your ruffled creations with us on Instagram at #mybessiepearl!
Karen


