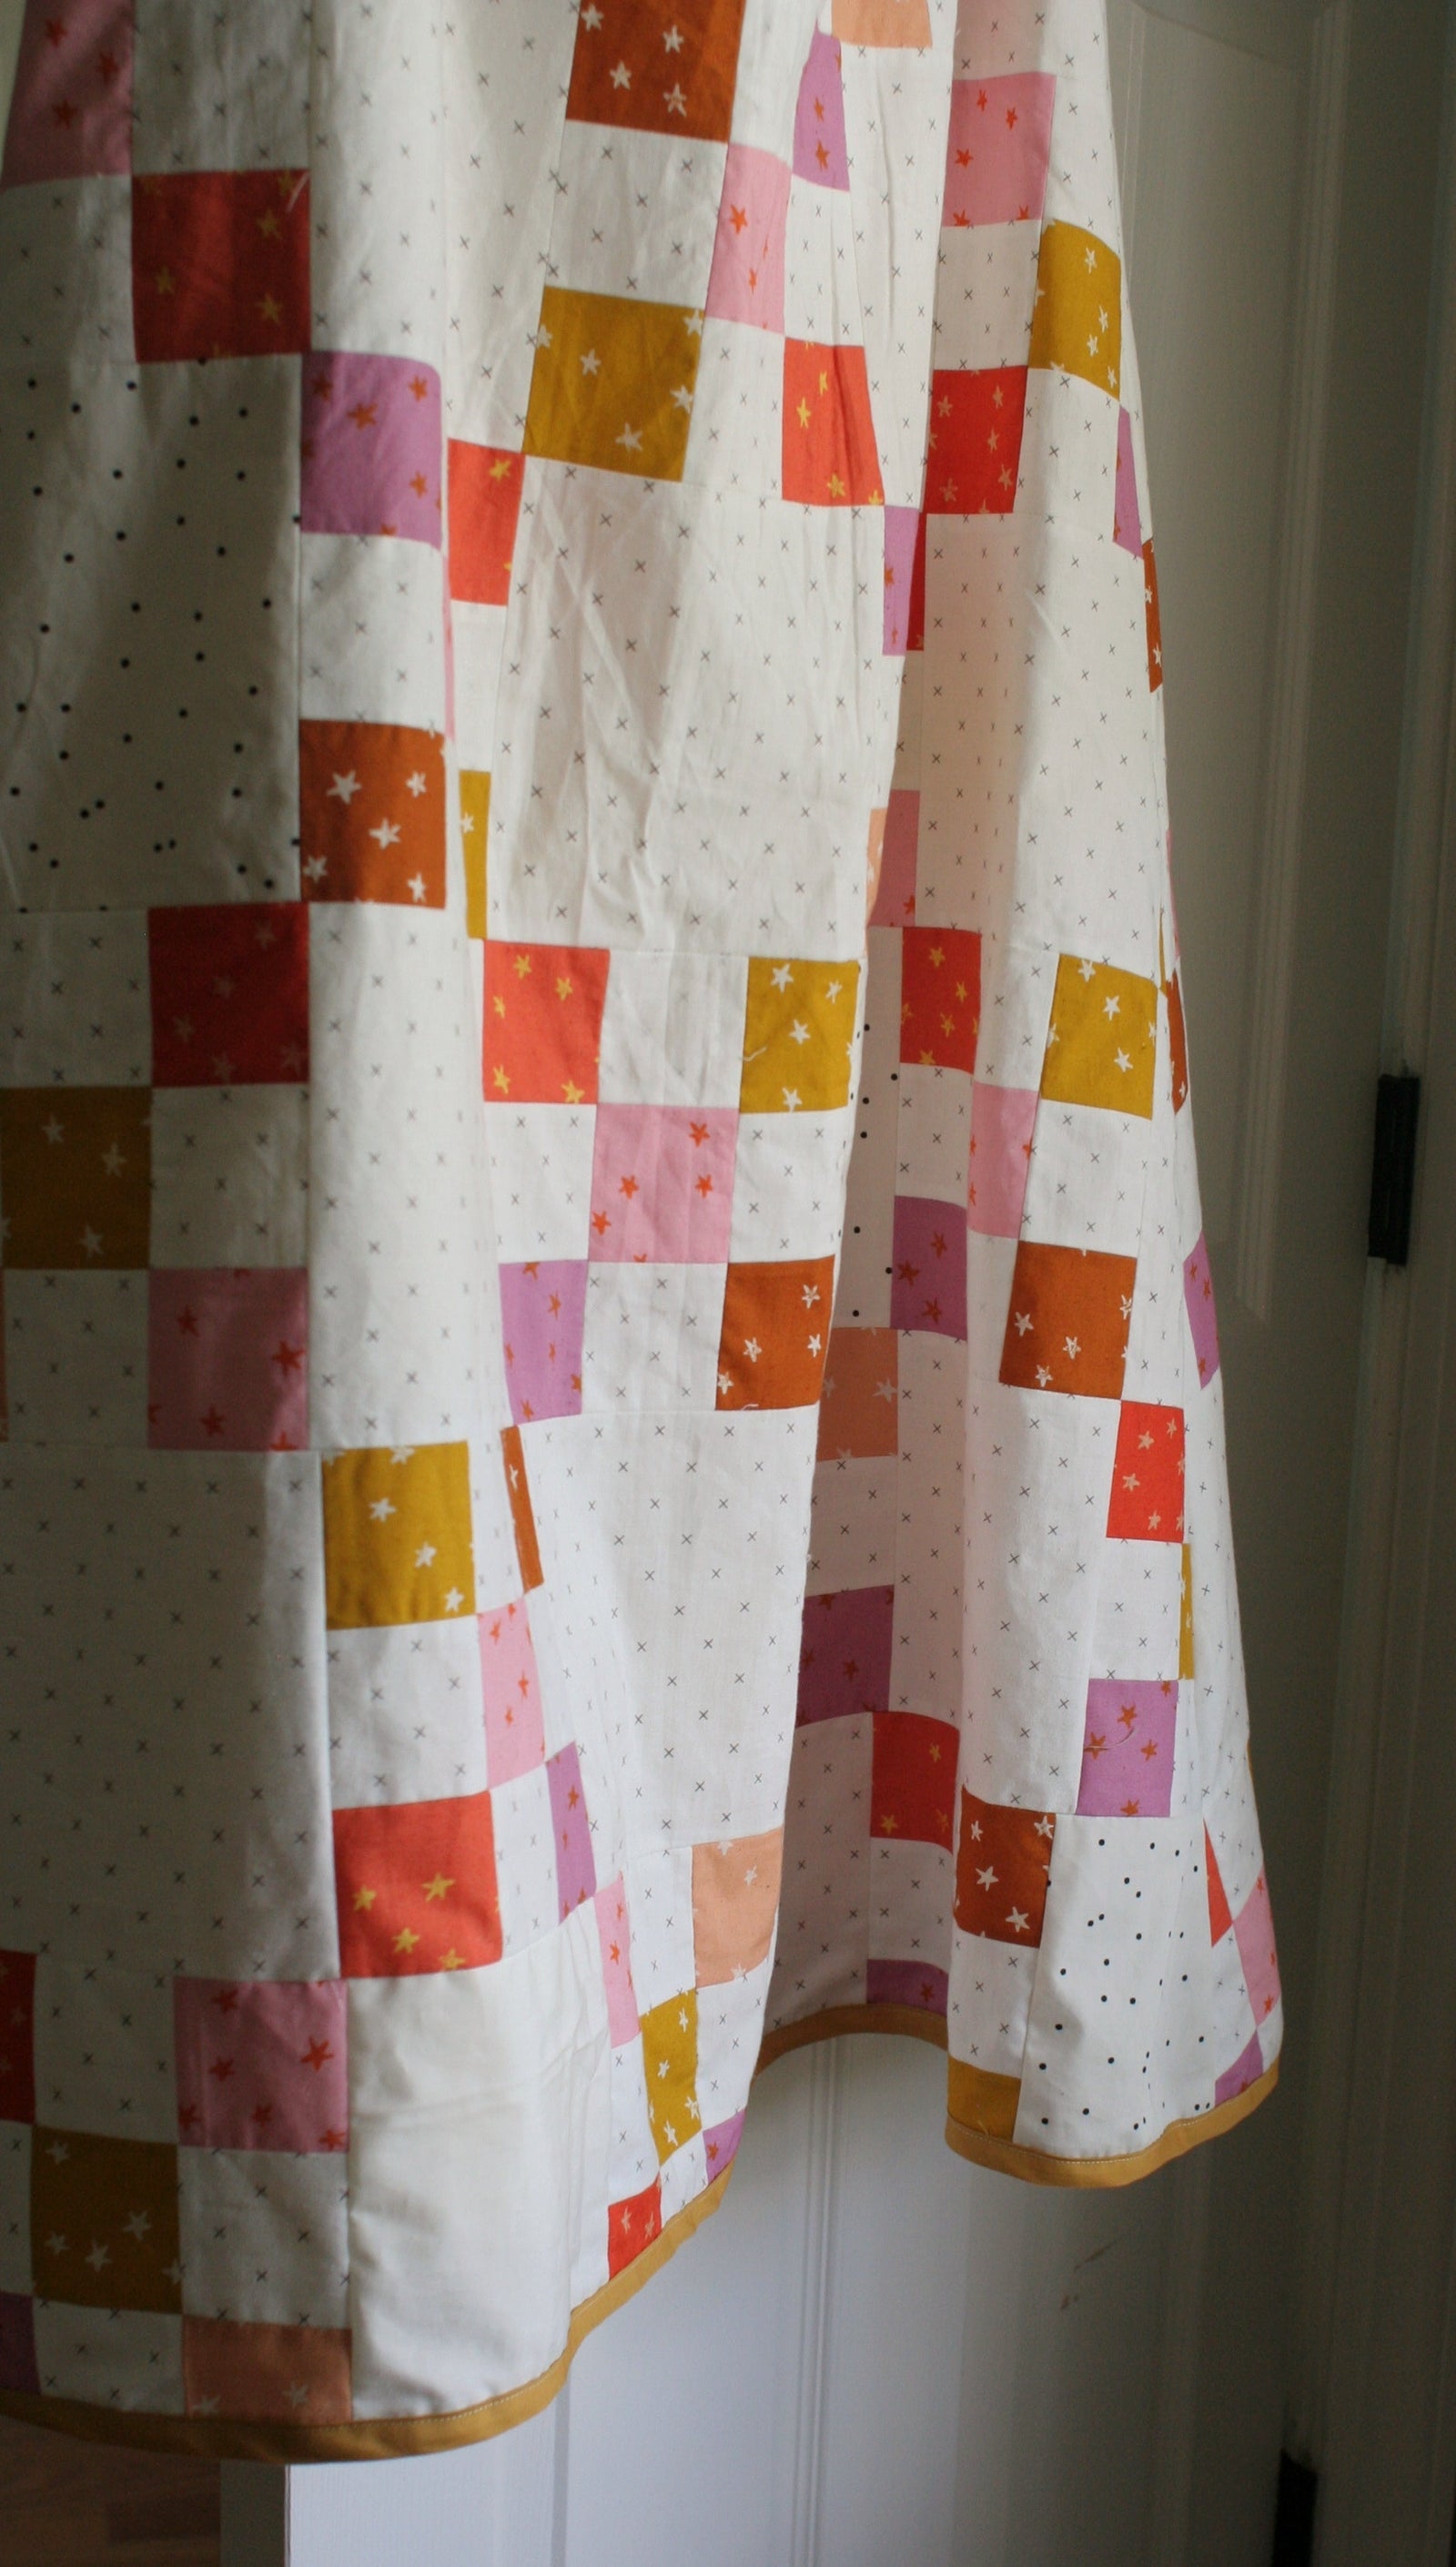
Have 1 hour, some 2" scraps and love the satisfaction of a fast finish? SAME!
Most weekends I just want to shut off my brain and do some easy sewing that doesn't involve a lot of thought and that I can enjoy right away. Enter your friend the drawstring bag. Add in the fun of using up your scraps and you have the perfect weekend sewing project.

Plus these bags are great for so many things! I've recently starting baking my own bread so you know I had to make one as a bread bag! I've also used them for packing shows, storing Lego sets, and (currently) I have one keeping my green beans fresh in the fridge. I mean, that is what I call multitasking.
Here's what you'll need to make your own scrappy patchwork drawstring bag:
Finished bag size: approx. 11" x 15"
What You’ll Need for Your Drawstring Bag
Finished Bag Size: Approx. 11" x 15"
Materials:
-
- Scraps or yardage (I used 2" squares since that’s what I had on hand)
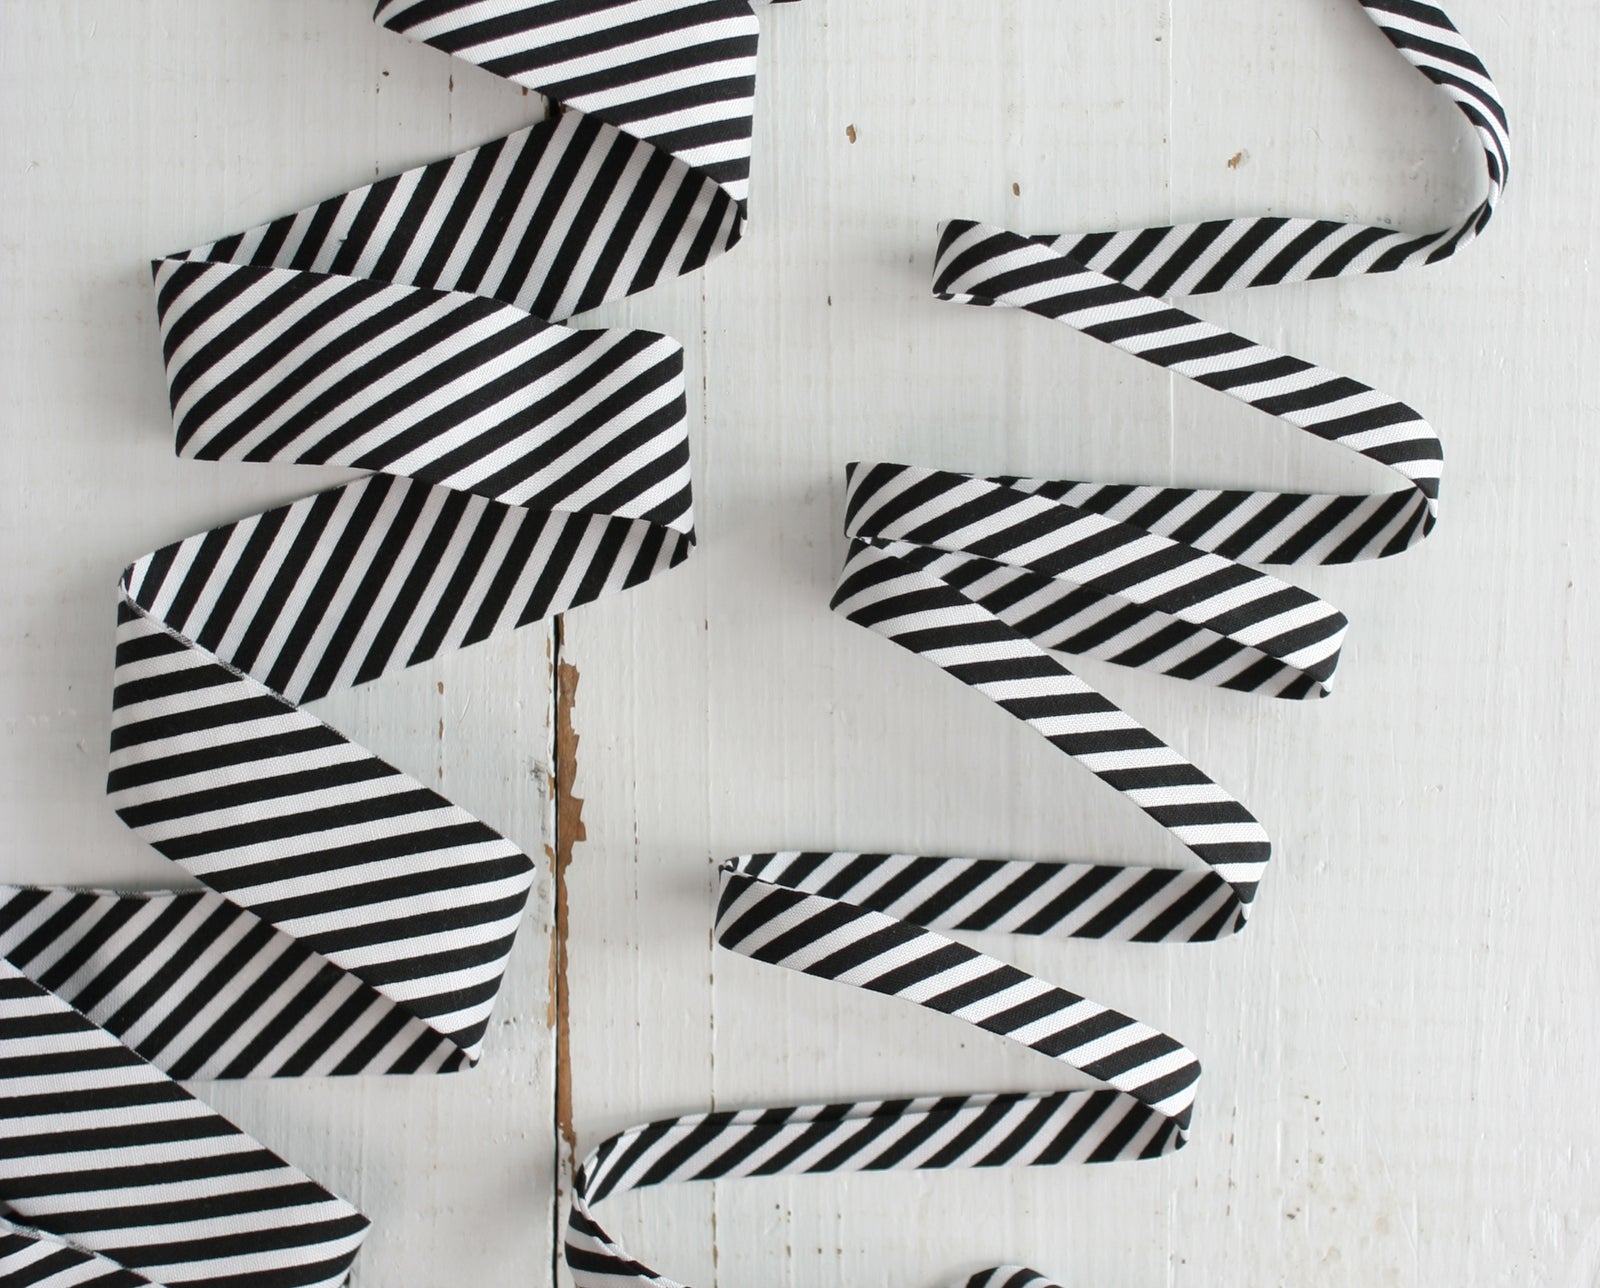
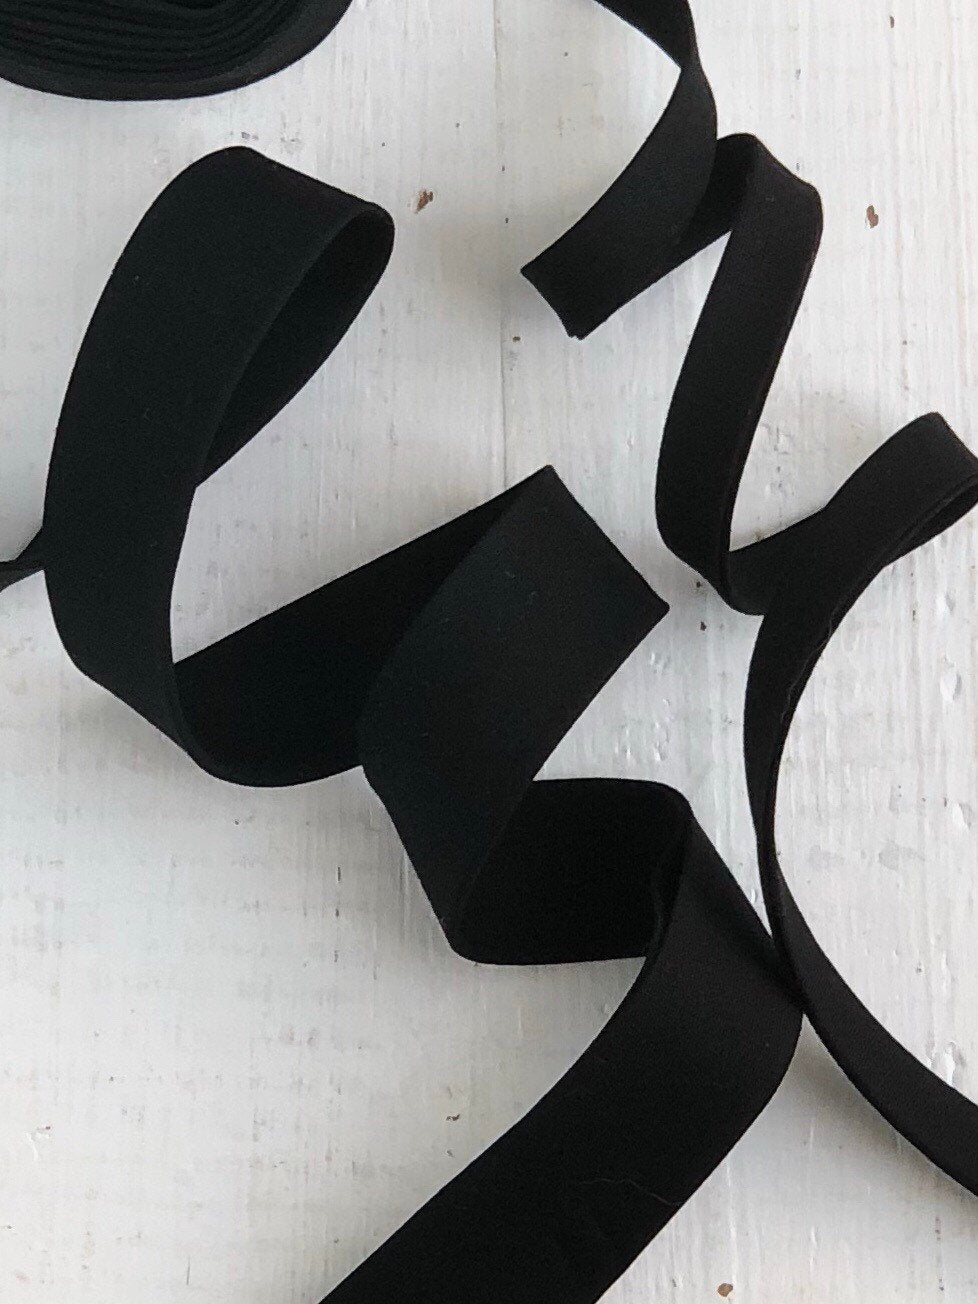
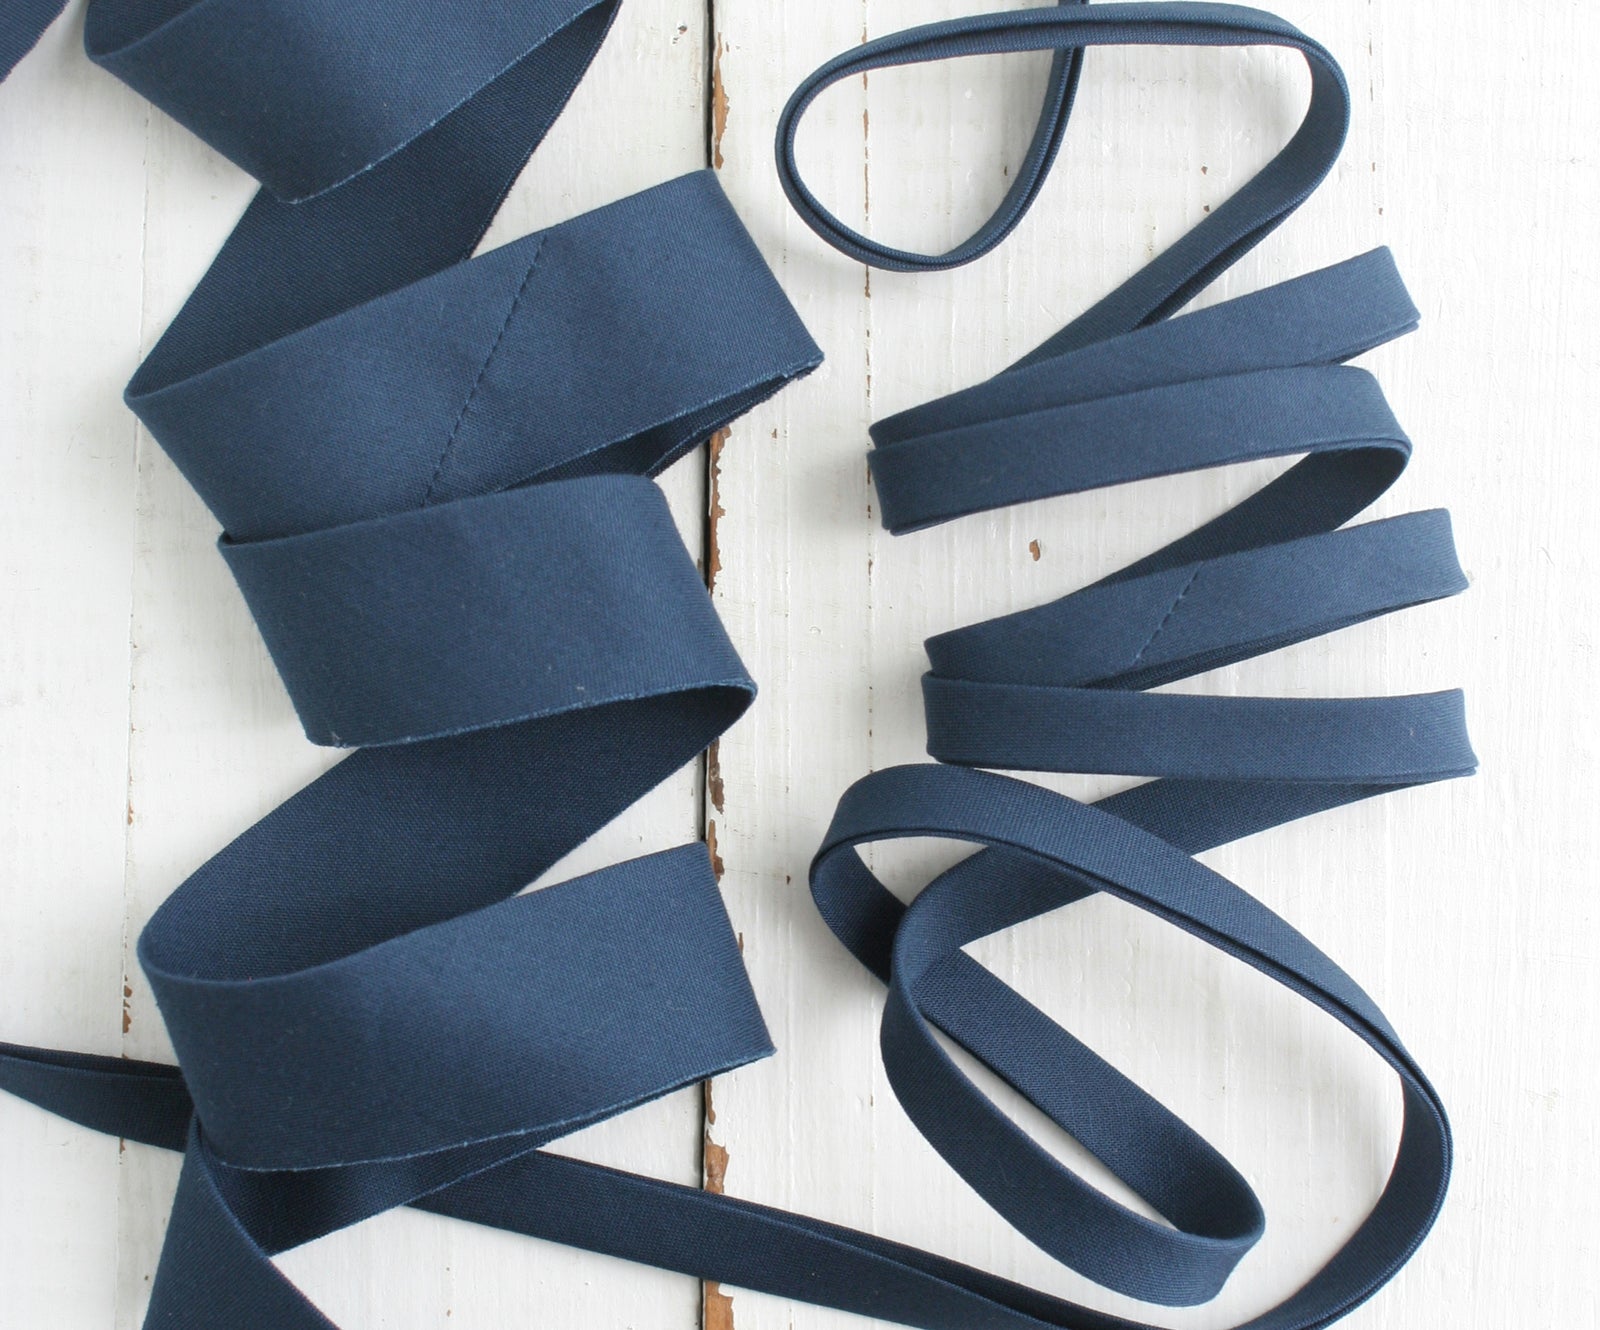
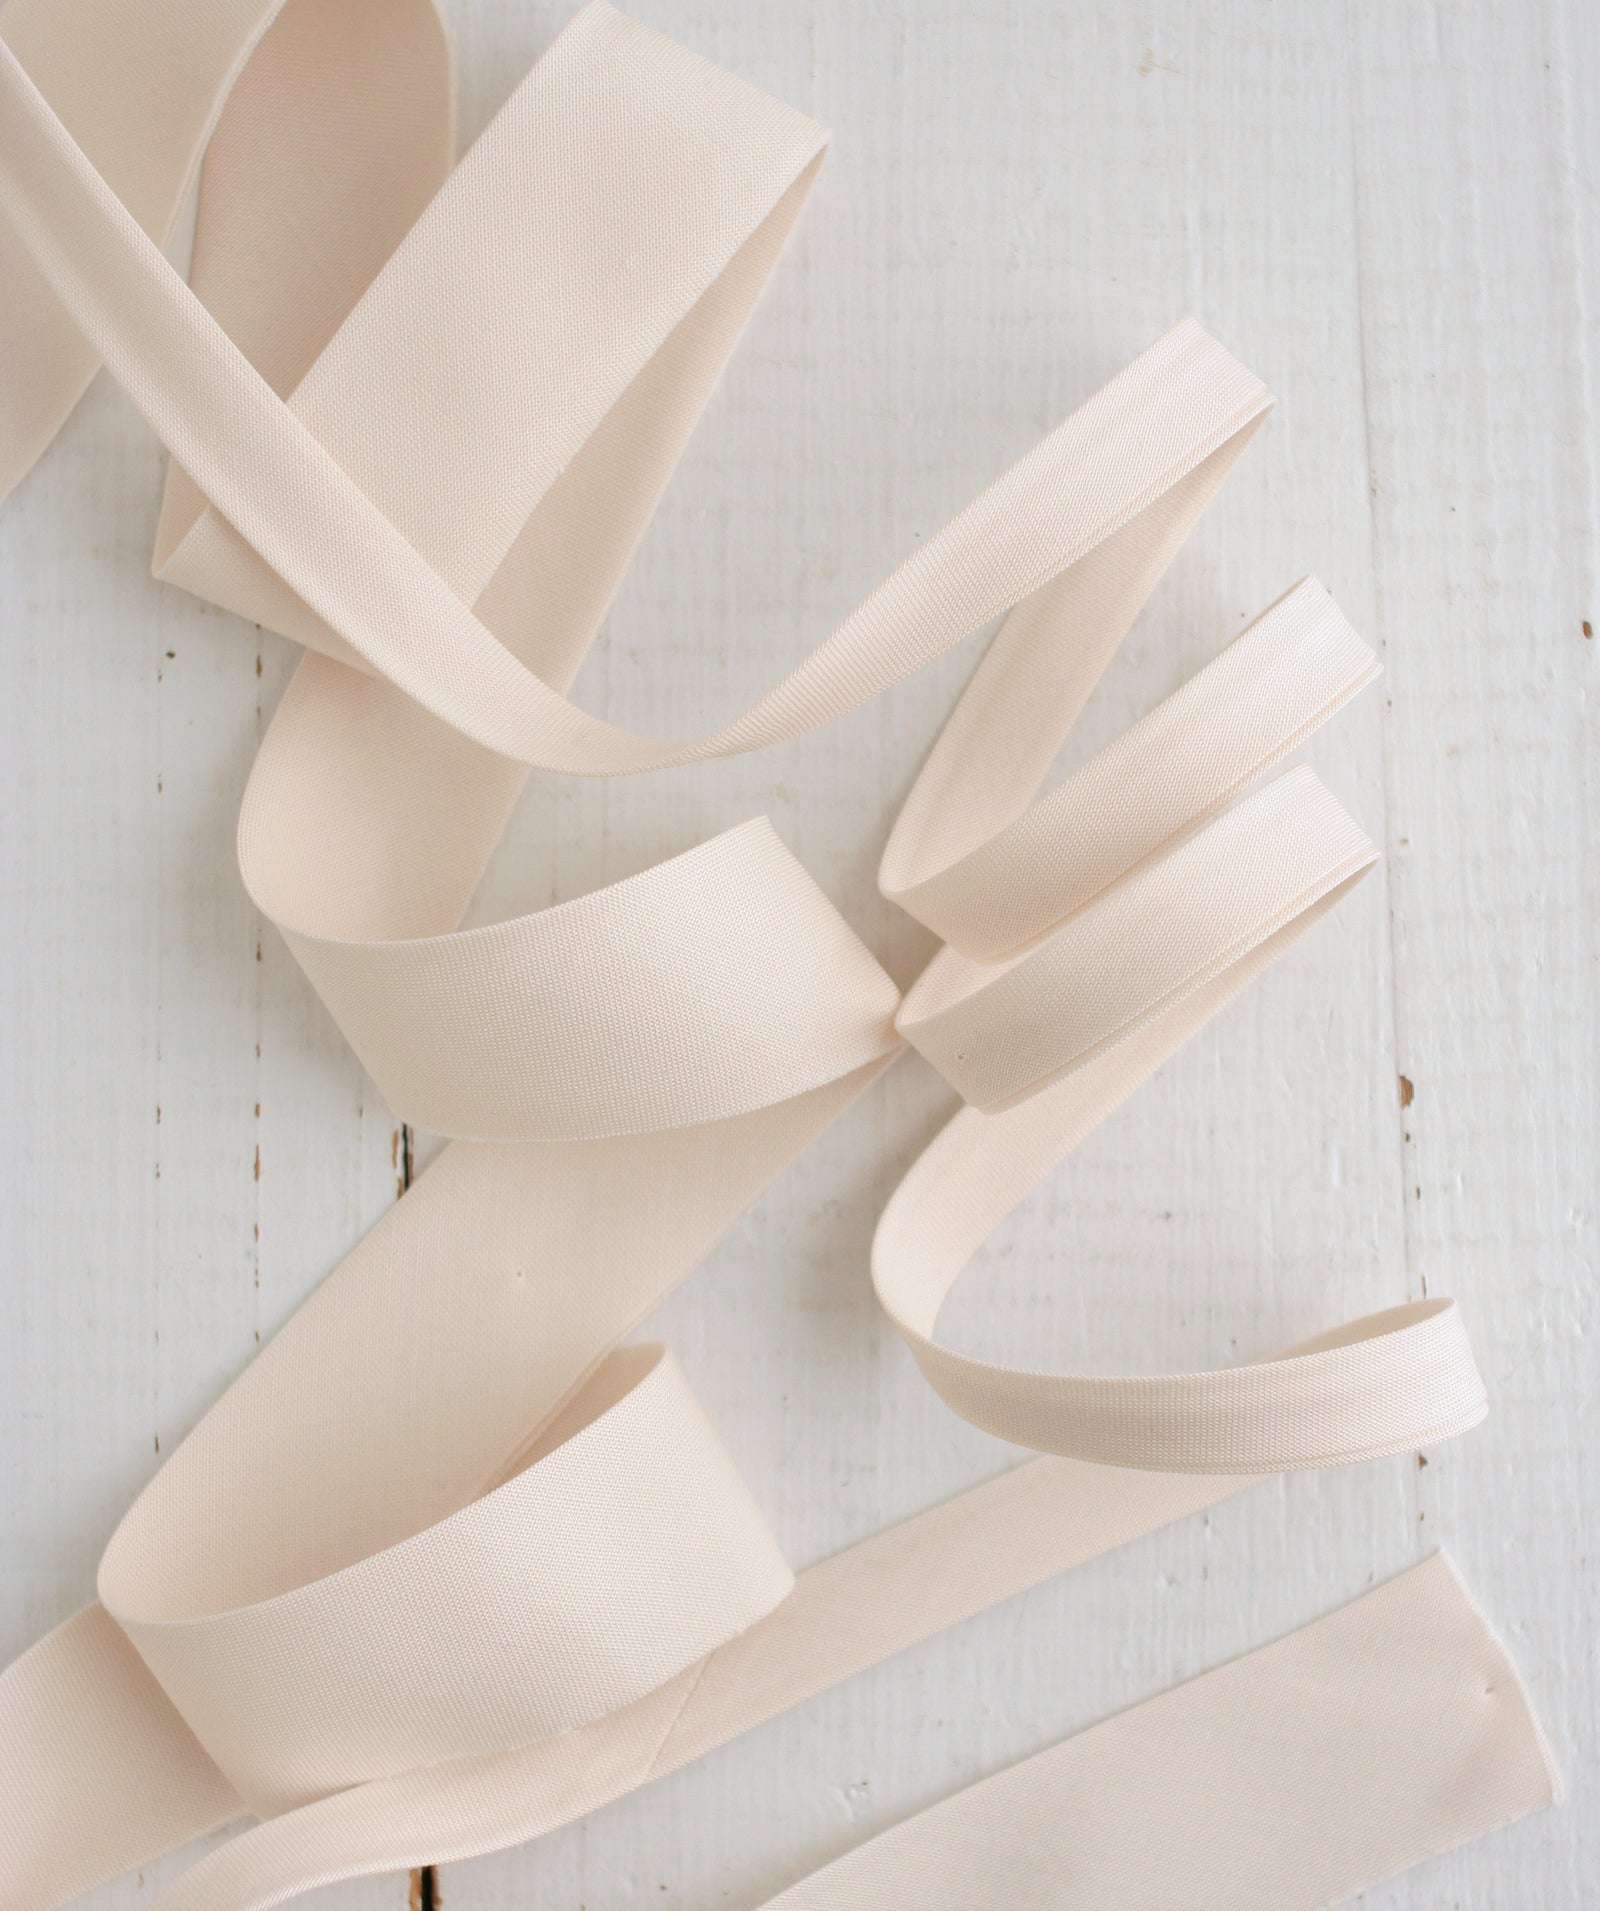
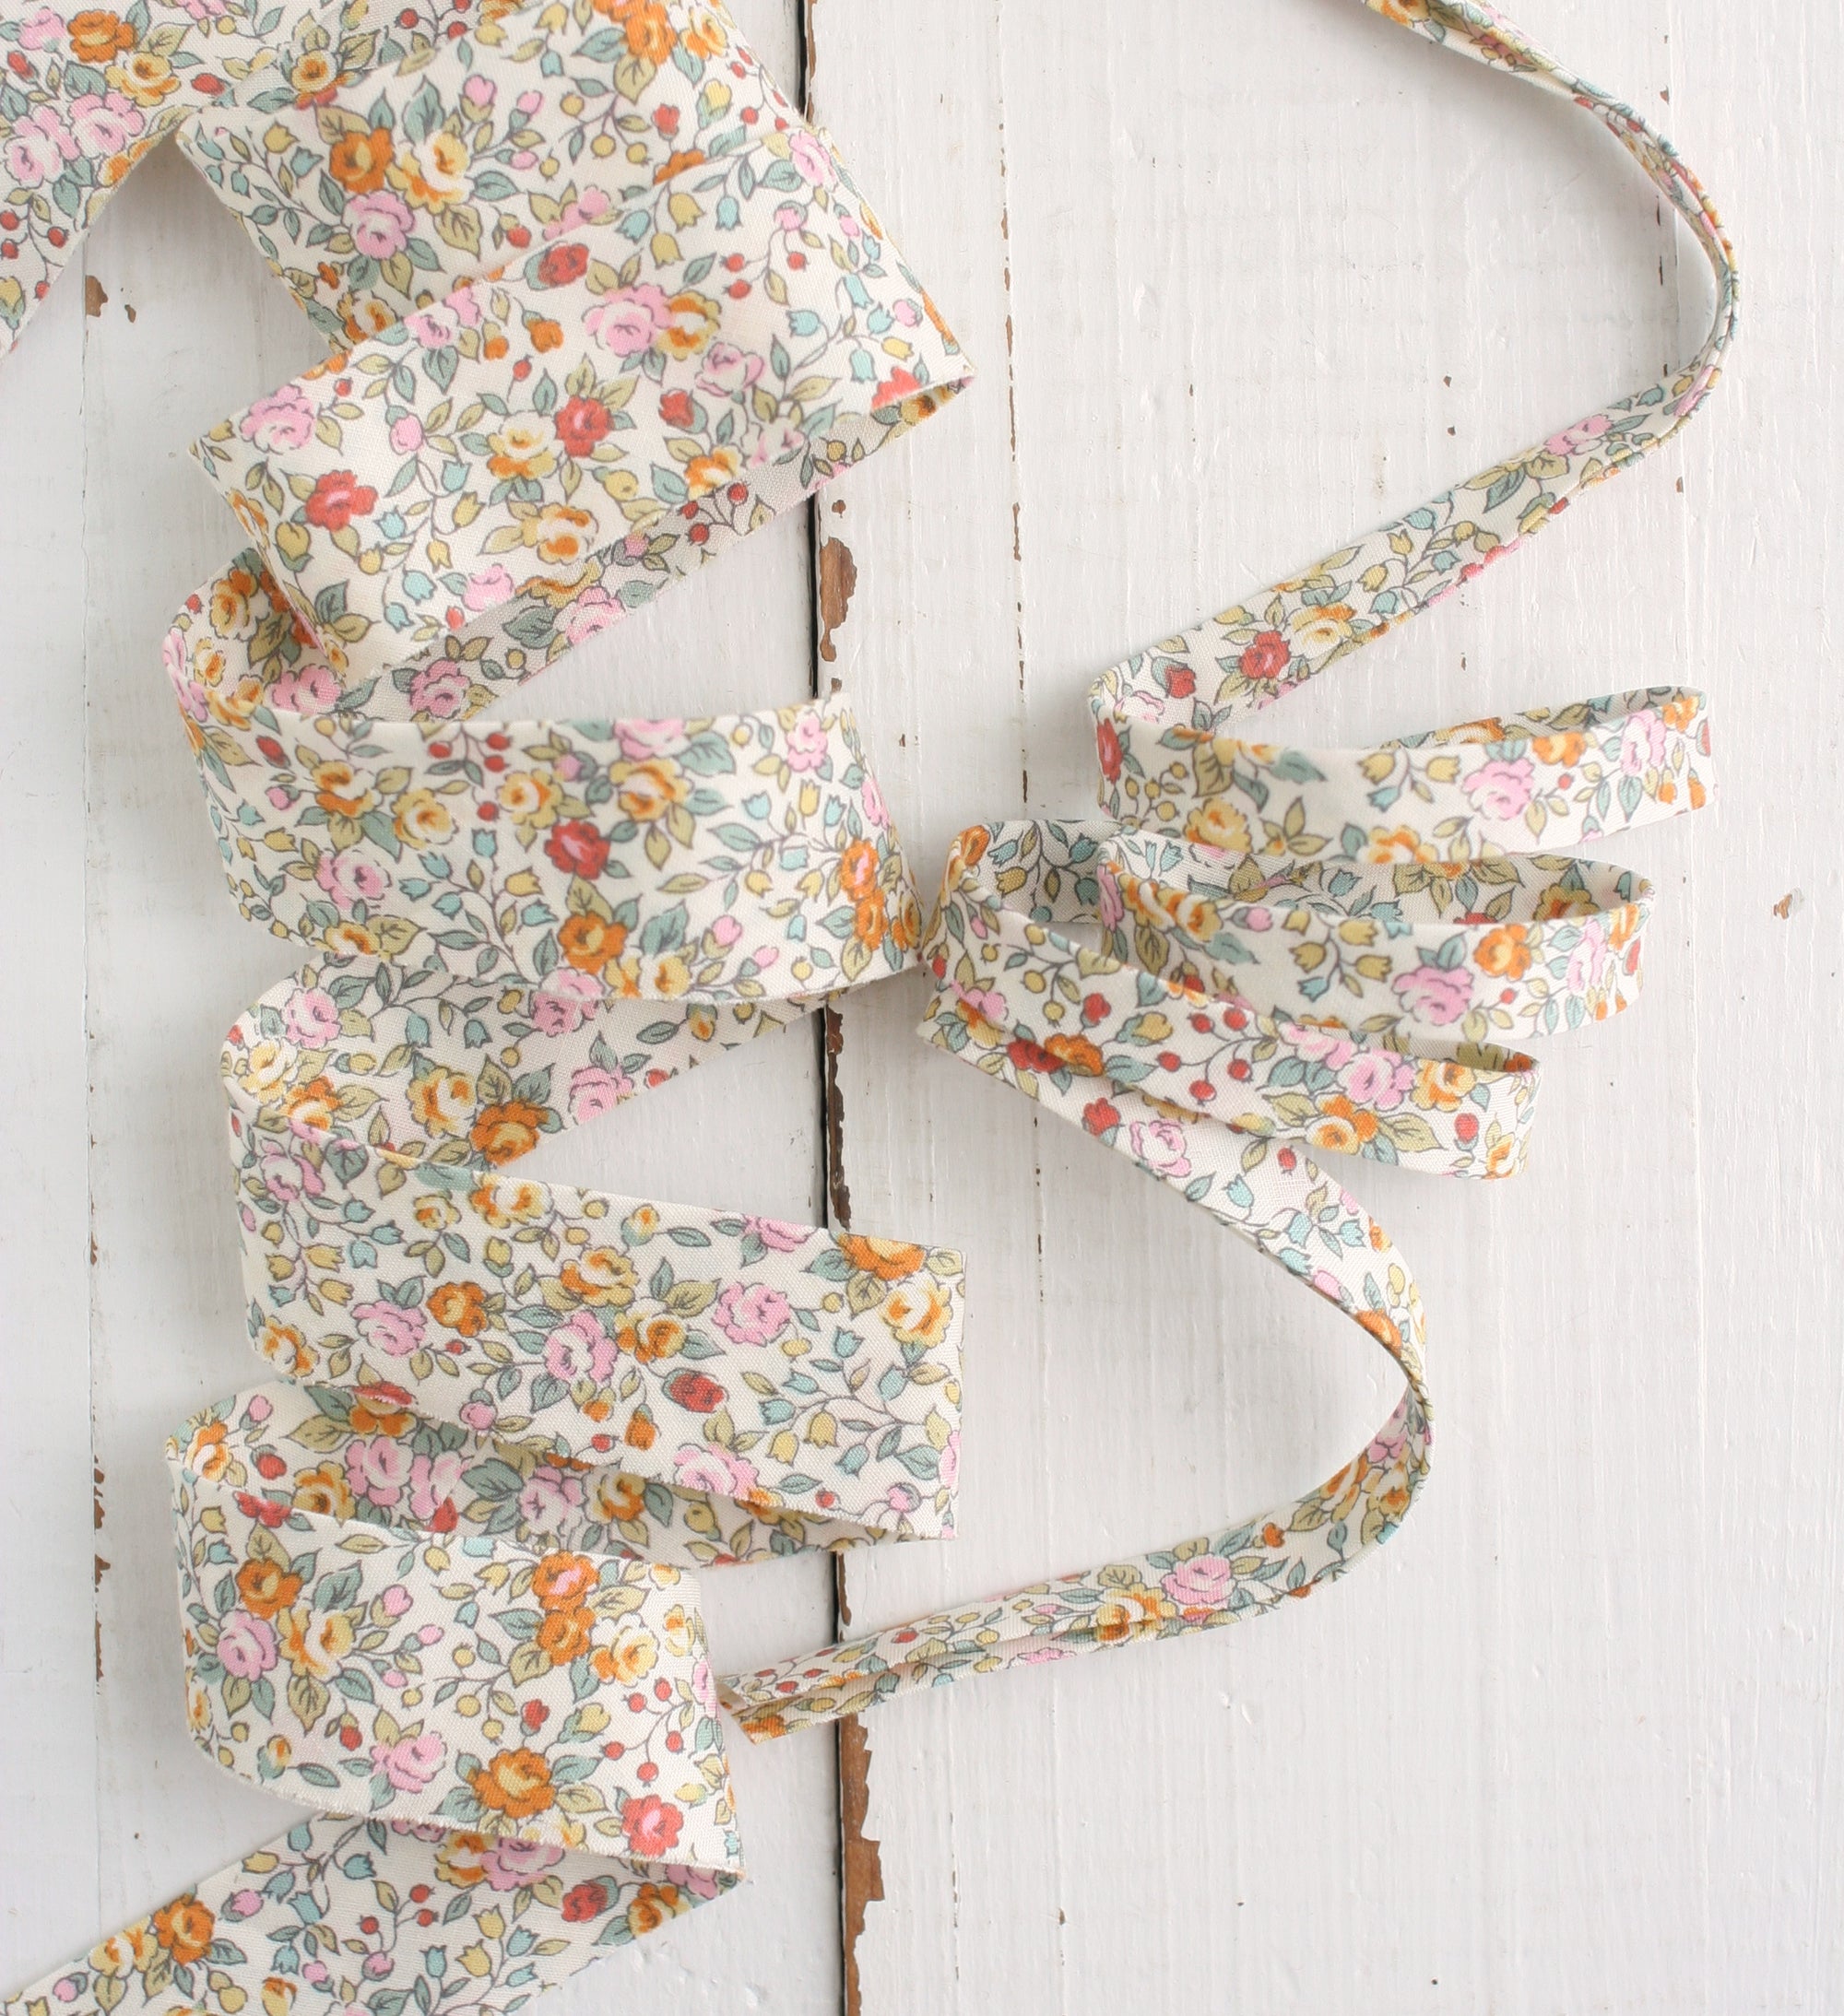
- 1 yard of double-fold bias tape (or ribbon for the drawstring)
- Iron
- Sewing machine
- Scissors
- Clips (optional for holding fabric)
Step-by-Step Instructions: How to Make a Scrappy Patchwork Drawstring Bag
Step 1: Sew Your Scraps Together
Start by using the chain piecing method to sew your scraps together into rows. Once you have your rows, sew them together to create a large patchwork panel. For my bag, I used 6 squares across and 16 squares down, resulting in a finished panel size of 12" x 32".


Step 2: Fold the Top
Fold the panel in half, bringing the short sides together with the fabric right sides facing. On the short sides (which will be the top of the bag), fold the edge down 1/4" to the wrong side and press. Stitch down both edges to secure.

Step 3: Sew the Side Seams
Mark each side of the panel 2" down from the top. Start sewing your side seams at that 2" mark and continue sewing all the way down. Backstitch at the top of each seam to prevent unraveling.
Once sewn, press the side seams open. Then, press a 1/4" fold down at the top of the side seams (where you haven’t sewn). Stitch from the top of the side seam down to the point where the side seams meet, creating a “V” shape along the sides.


Step 4: Create the Casing for the Drawstring
Fold the top edge of the bag down 1" on each side to create the drawstring casing. Use clips to hold the edges in place, then sew a 1/4" seam along the bottom of the folded edge to create the casing.


Step 5: Add the Drawstring
If you’re using double-fold bias tape, sew it down along the edges to keep it neat. Need some bias tape? You know I've got you covered. Next, use a Bodkin or safety pin to thread the drawstring through the casing. Tie the ends of the drawstring, and your bag is ready!

Your DIY Scrappy Patchwork Drawstring Bag is Complete!
There you have it—a quick, easy DIY project that’s not only fun but also useful! Whether you’re making a bread bag, a toy storage bag, or simply clearing out fabric scraps, this drawstring bag is the perfect weekend sewing project. Enjoy your creation, and happy sewing!
More Fun Projects To Try: