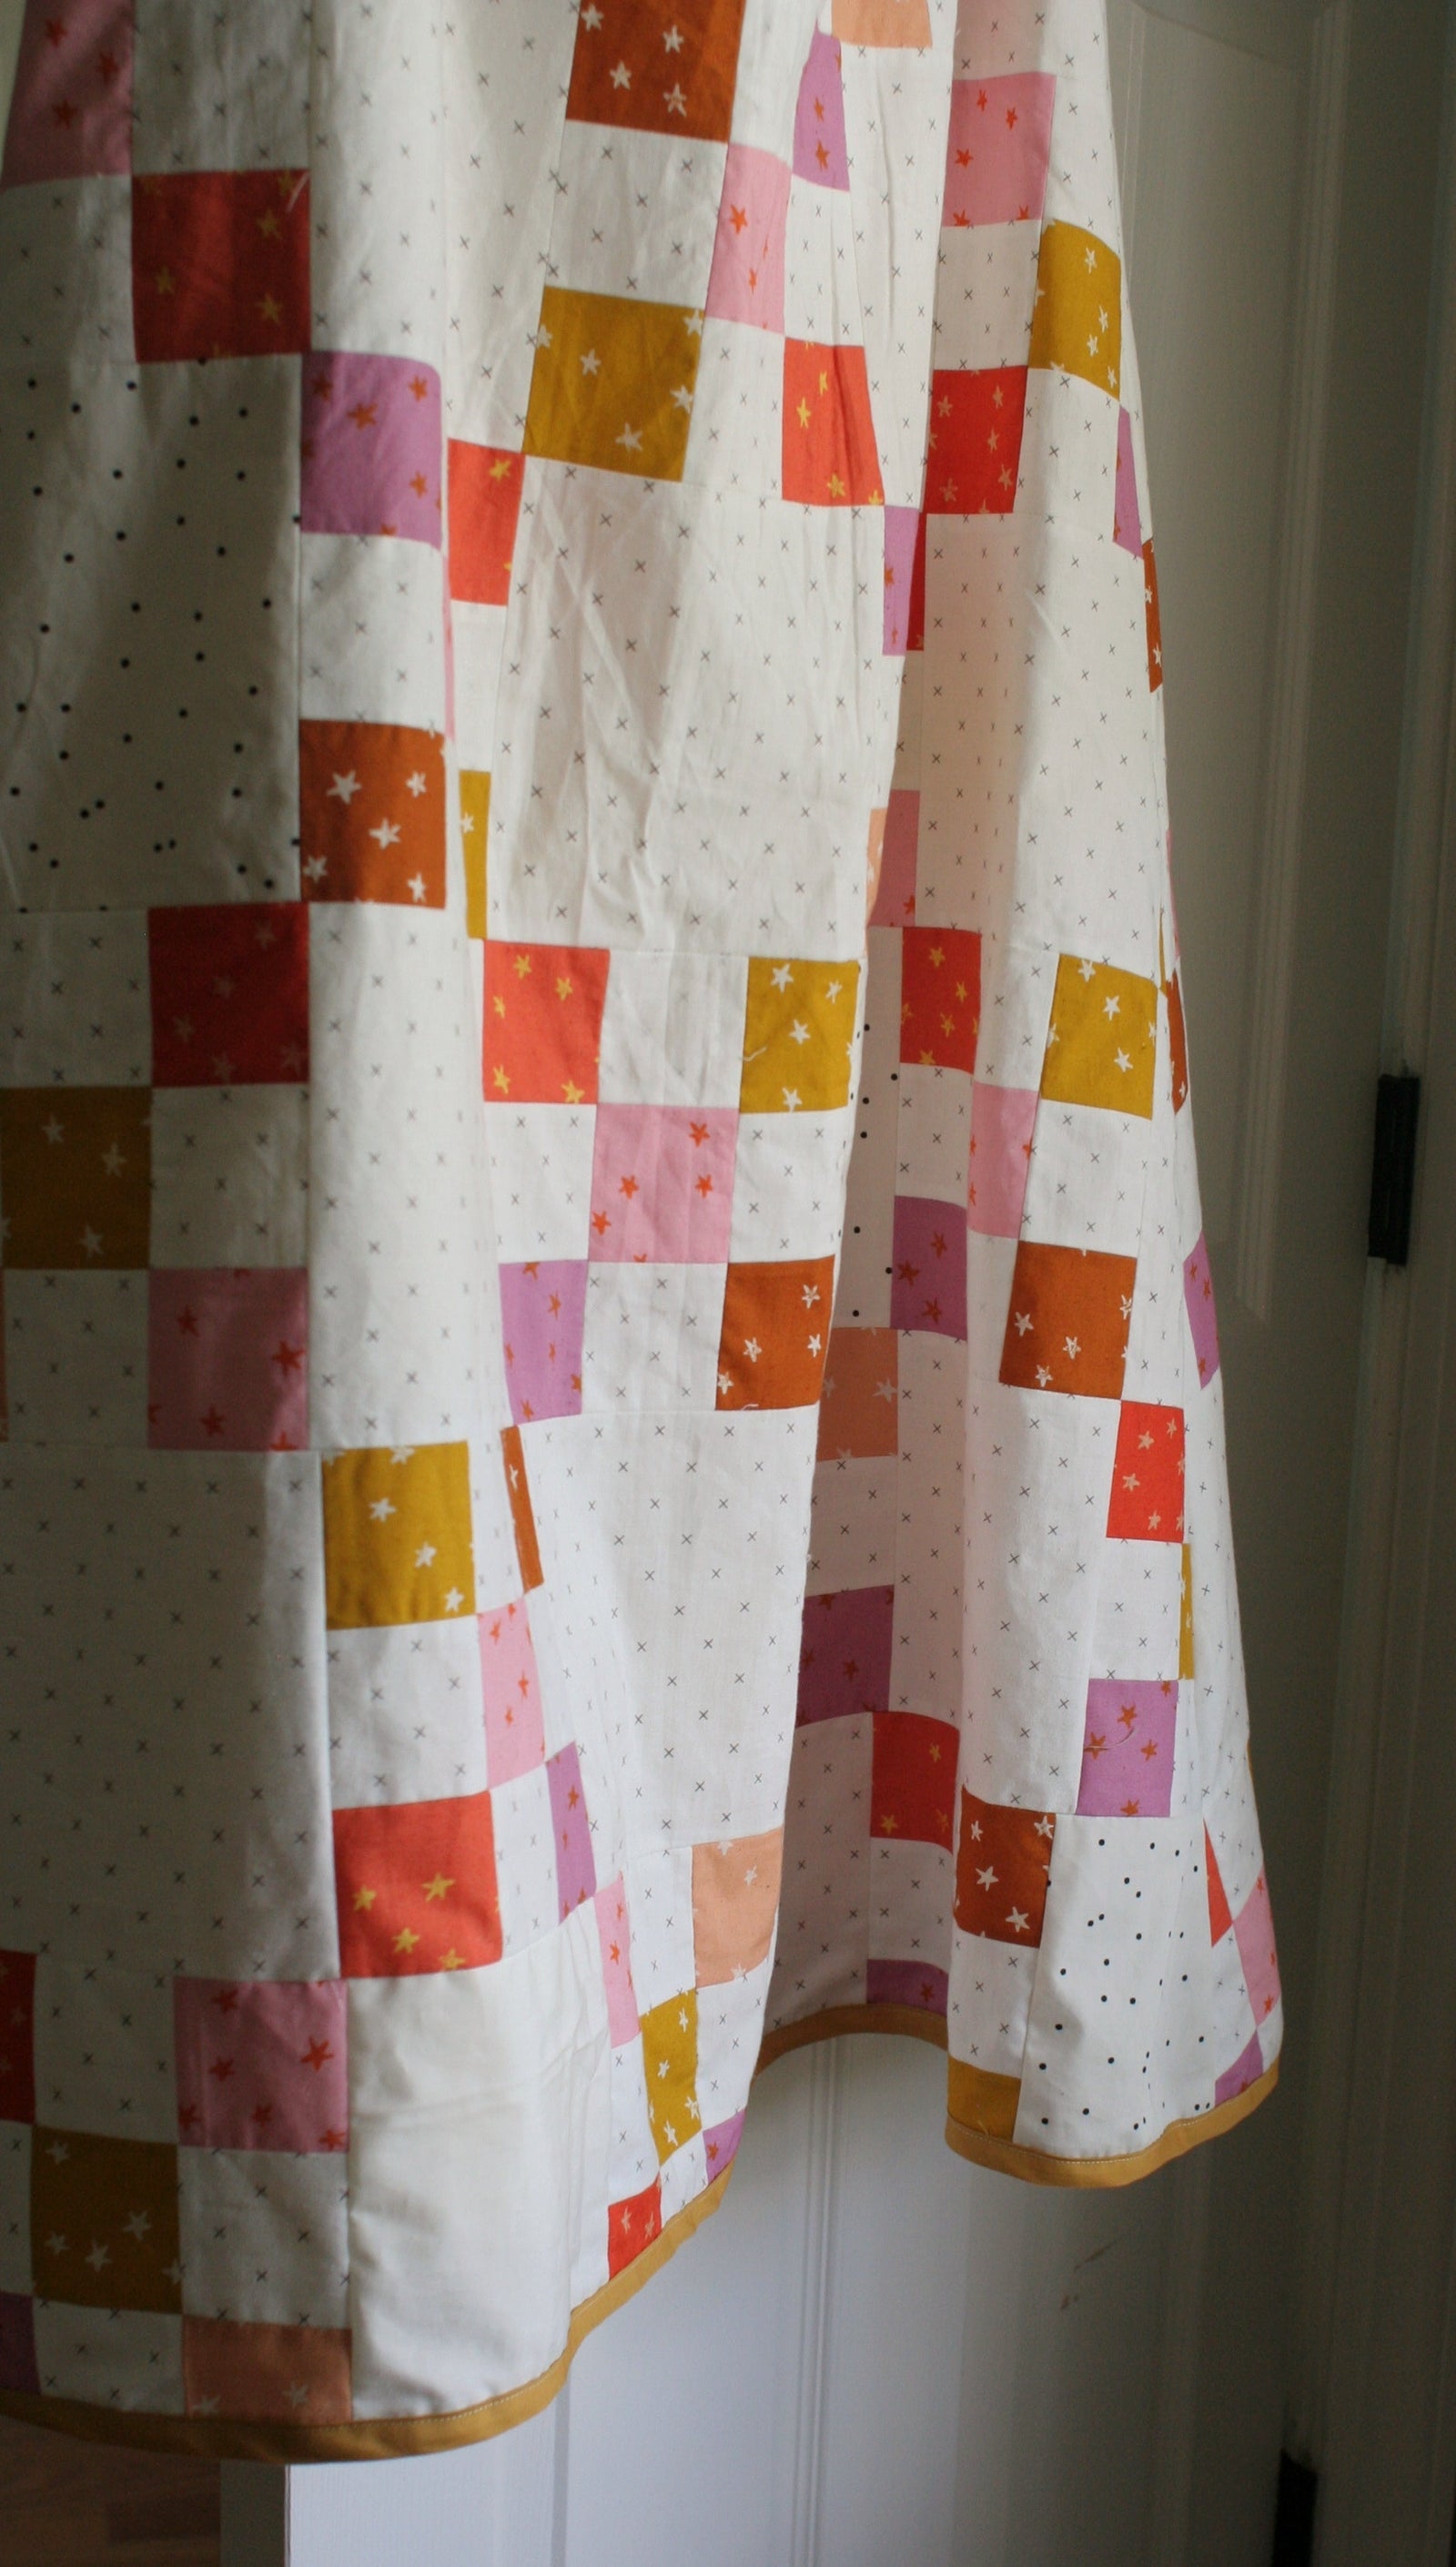
How to Make Scrappy Binding: Bias and Straight Methods
Are you looking to use up fabric scraps instead of buying binding fabric? Scrappy binding is the perfect solution! Not only does it give your quilt a charming, whimsical finish, but it's also a great way to make use of leftover fabric. While the process can be a bit more time-consuming (depending on the size of your scraps), the final result is well worth it.

What You’ll Need
- Scrap fabric (at least 2.5” wide)
- Neutral-colored thread
- Sewing machine
- Rotary cutter and cutting mat
- 2.5” wide ruler
- Iron
Step 1: Gather and Prepare Your Fabric Scraps
Start by digging through your scrap bin to find the pieces you want to use. This is one of the most enjoyable parts, as you get to reuse your favorite fabrics! Once you’ve selected your scraps, give them a good iron to remove any wrinkles and make them easier to cut (assuming they’re like mine and stuffed into bins and come out all crumply, ha!)

Step 2: Trim and Cut Your Strips
Once your fabric scraps are pressed, trim the edges and cut them into 2.5” wide strips (or whichever width you prefer for your binding). Ensure your strips are even for consistent results.

Step 3: Sew the Strips Together
For Straight Grain Binding
- Lay your first two fabric pieces at a 90-degree angle, right sides together.
- Sew a 45-degree angle from where the fabrics meet at the top to where they meet at the bottom.
- Continue adding pieces until you have one continuous strip.


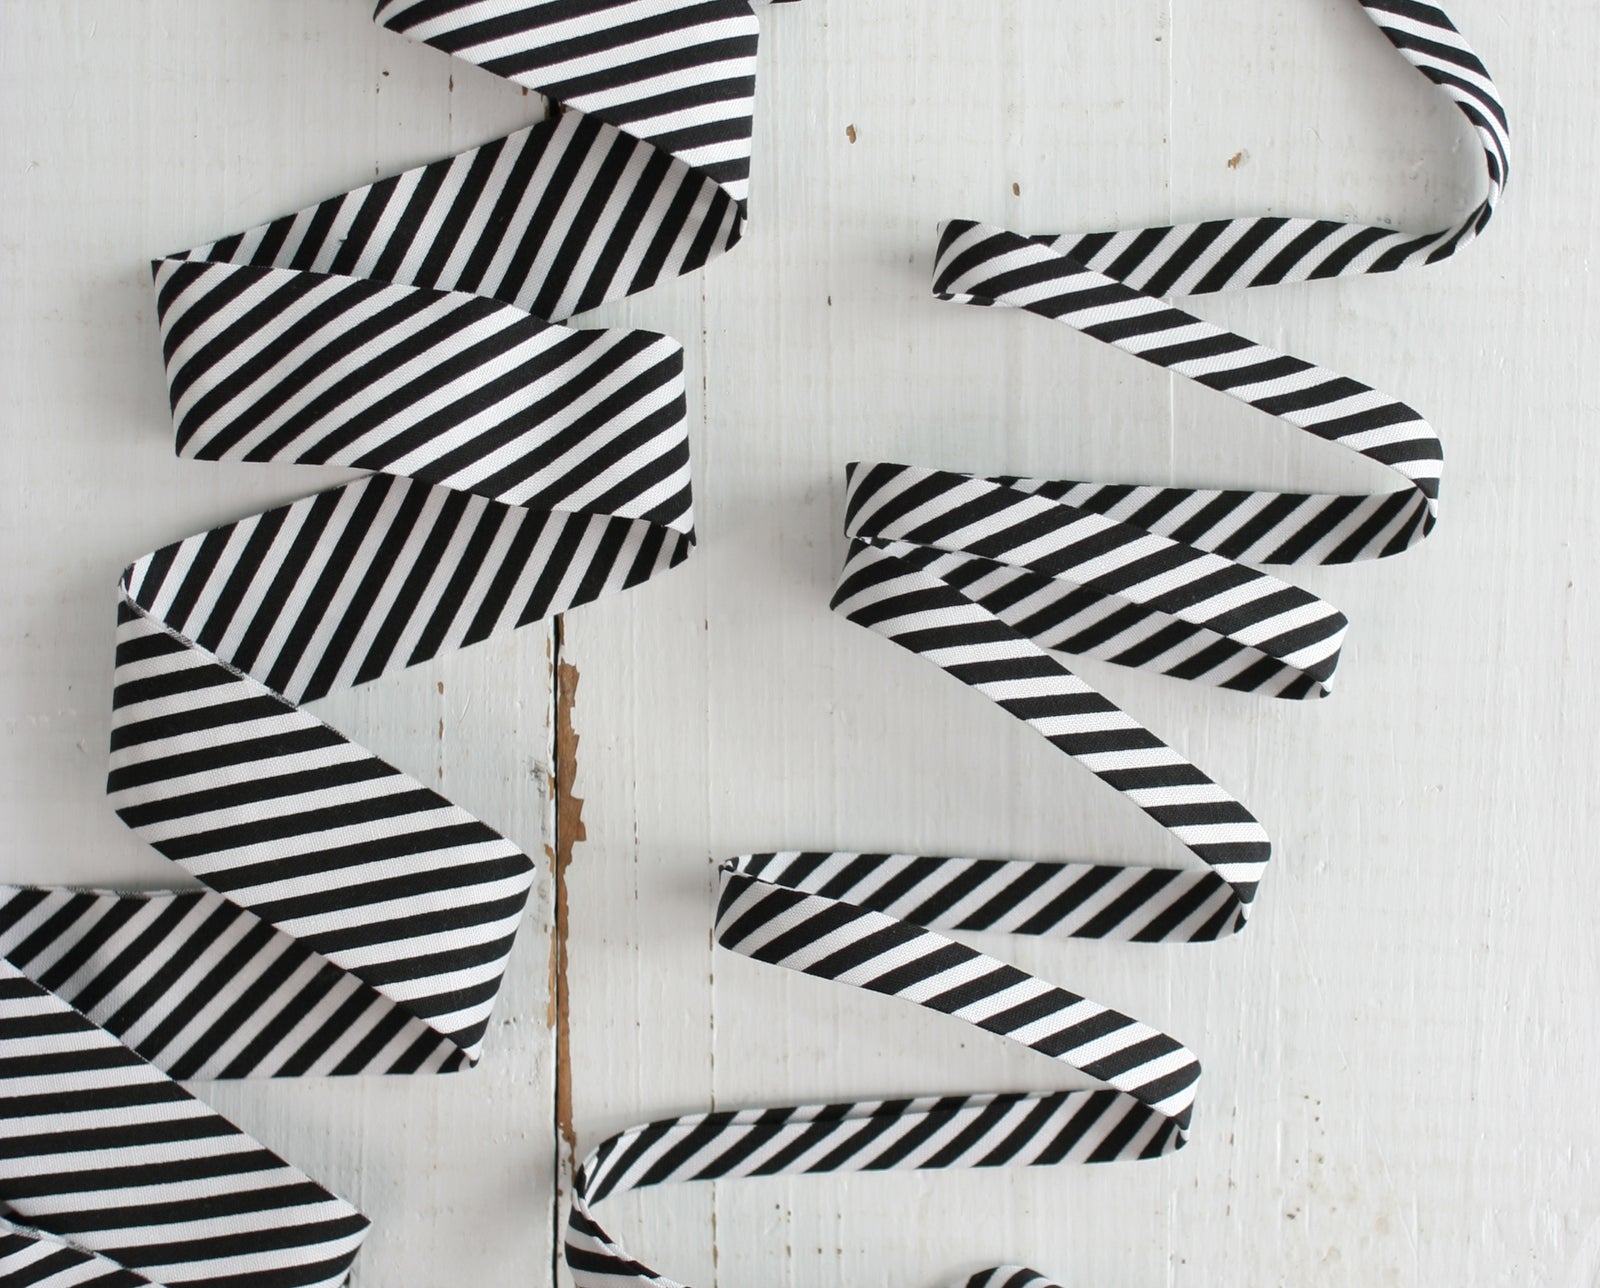
For Bias Binding
- Lay two bias-cut fabric strips at a 90-degree angle, right sides together, with about ¼” overlap.
- Sew along the straight grain from where the fabrics meet at the top to where they meet at the bottom.
- Repeat this process to create one continuous strip.


Step 4: Trim the Dog Ears
After sewing your strips, carefully trim off the "dog ears" (the excess fabric at the corners). Be sure to trim them carefully so they are in line with the edge of the binding. For straight grain binding, trim the seam allowance down to ¼” before cutting off the dog ears.


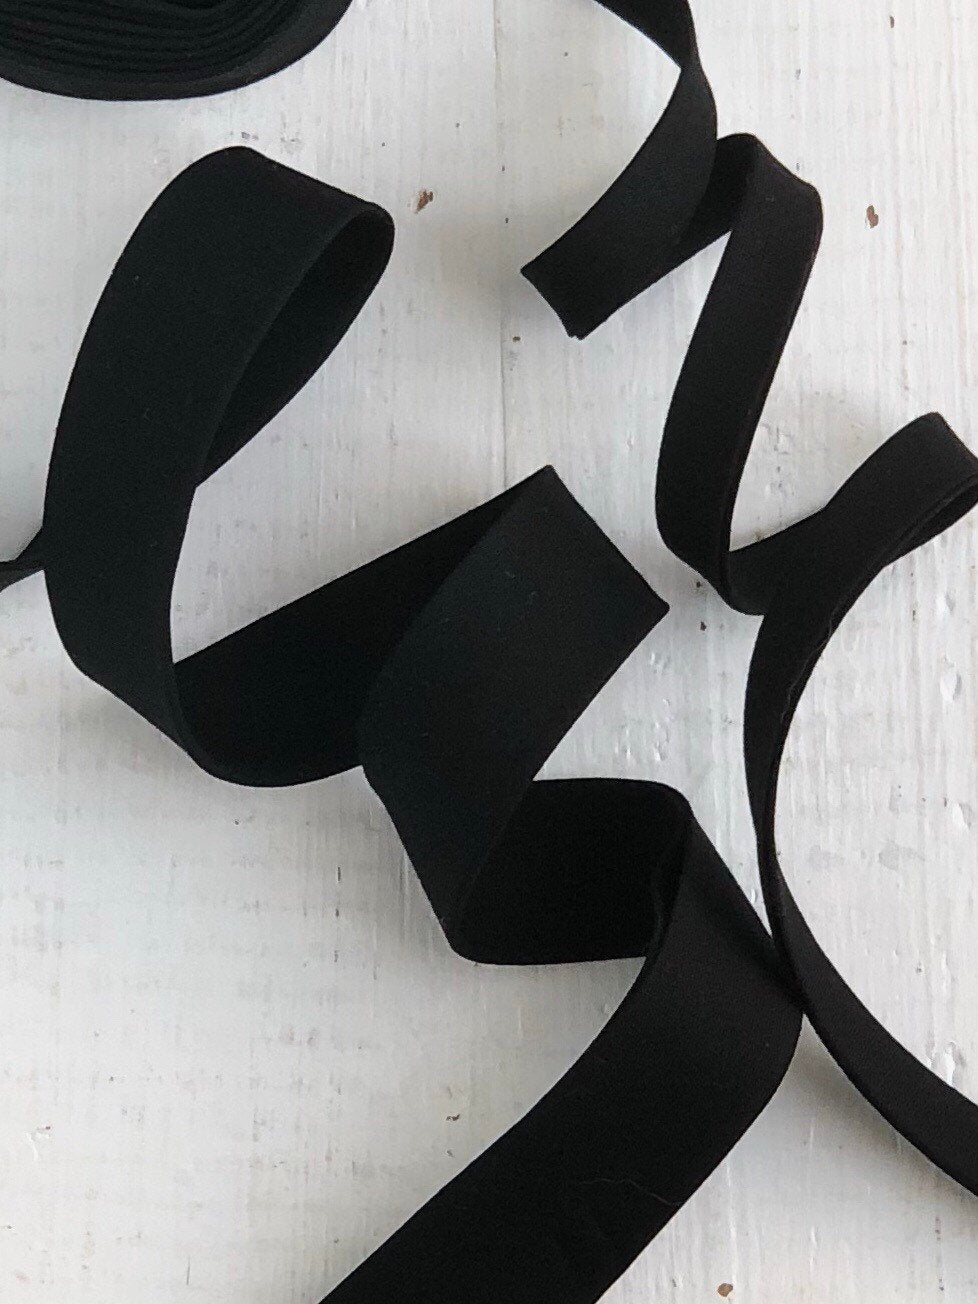
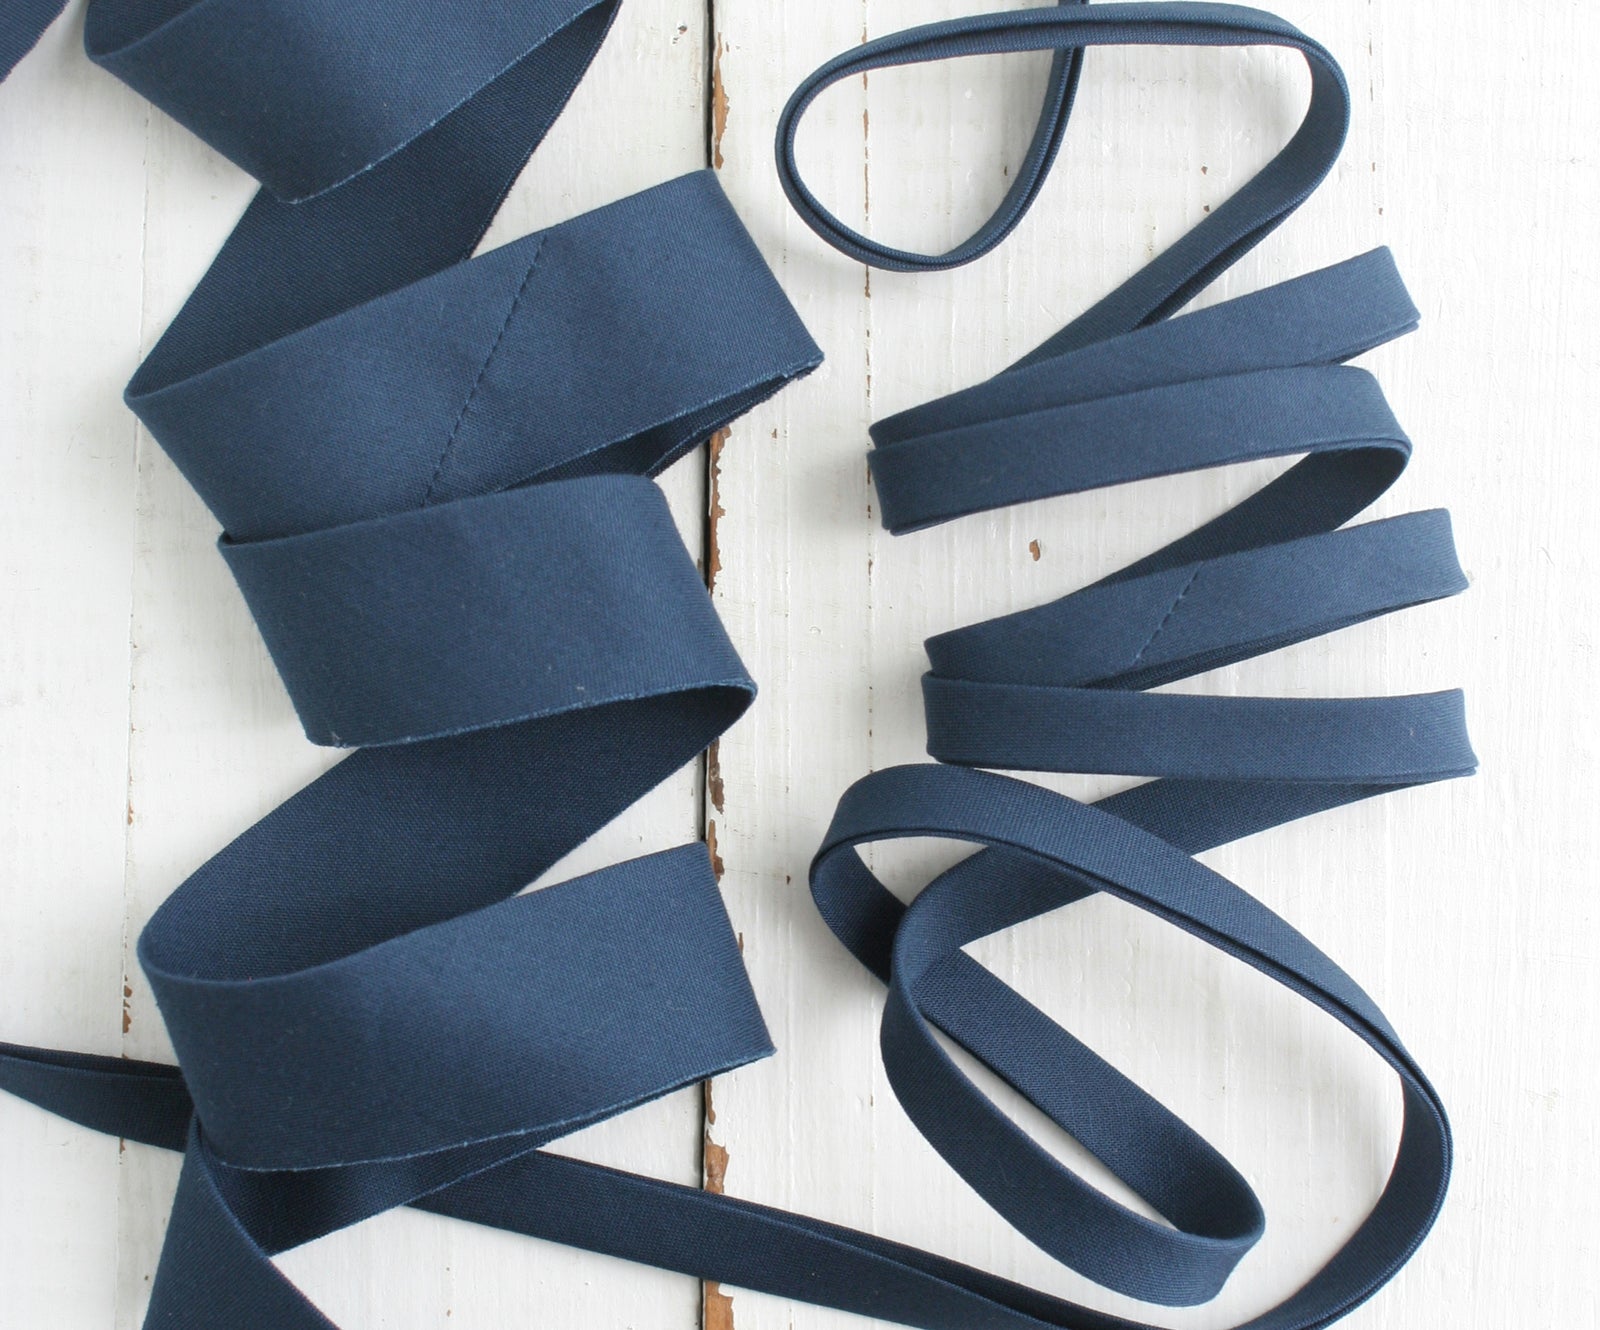
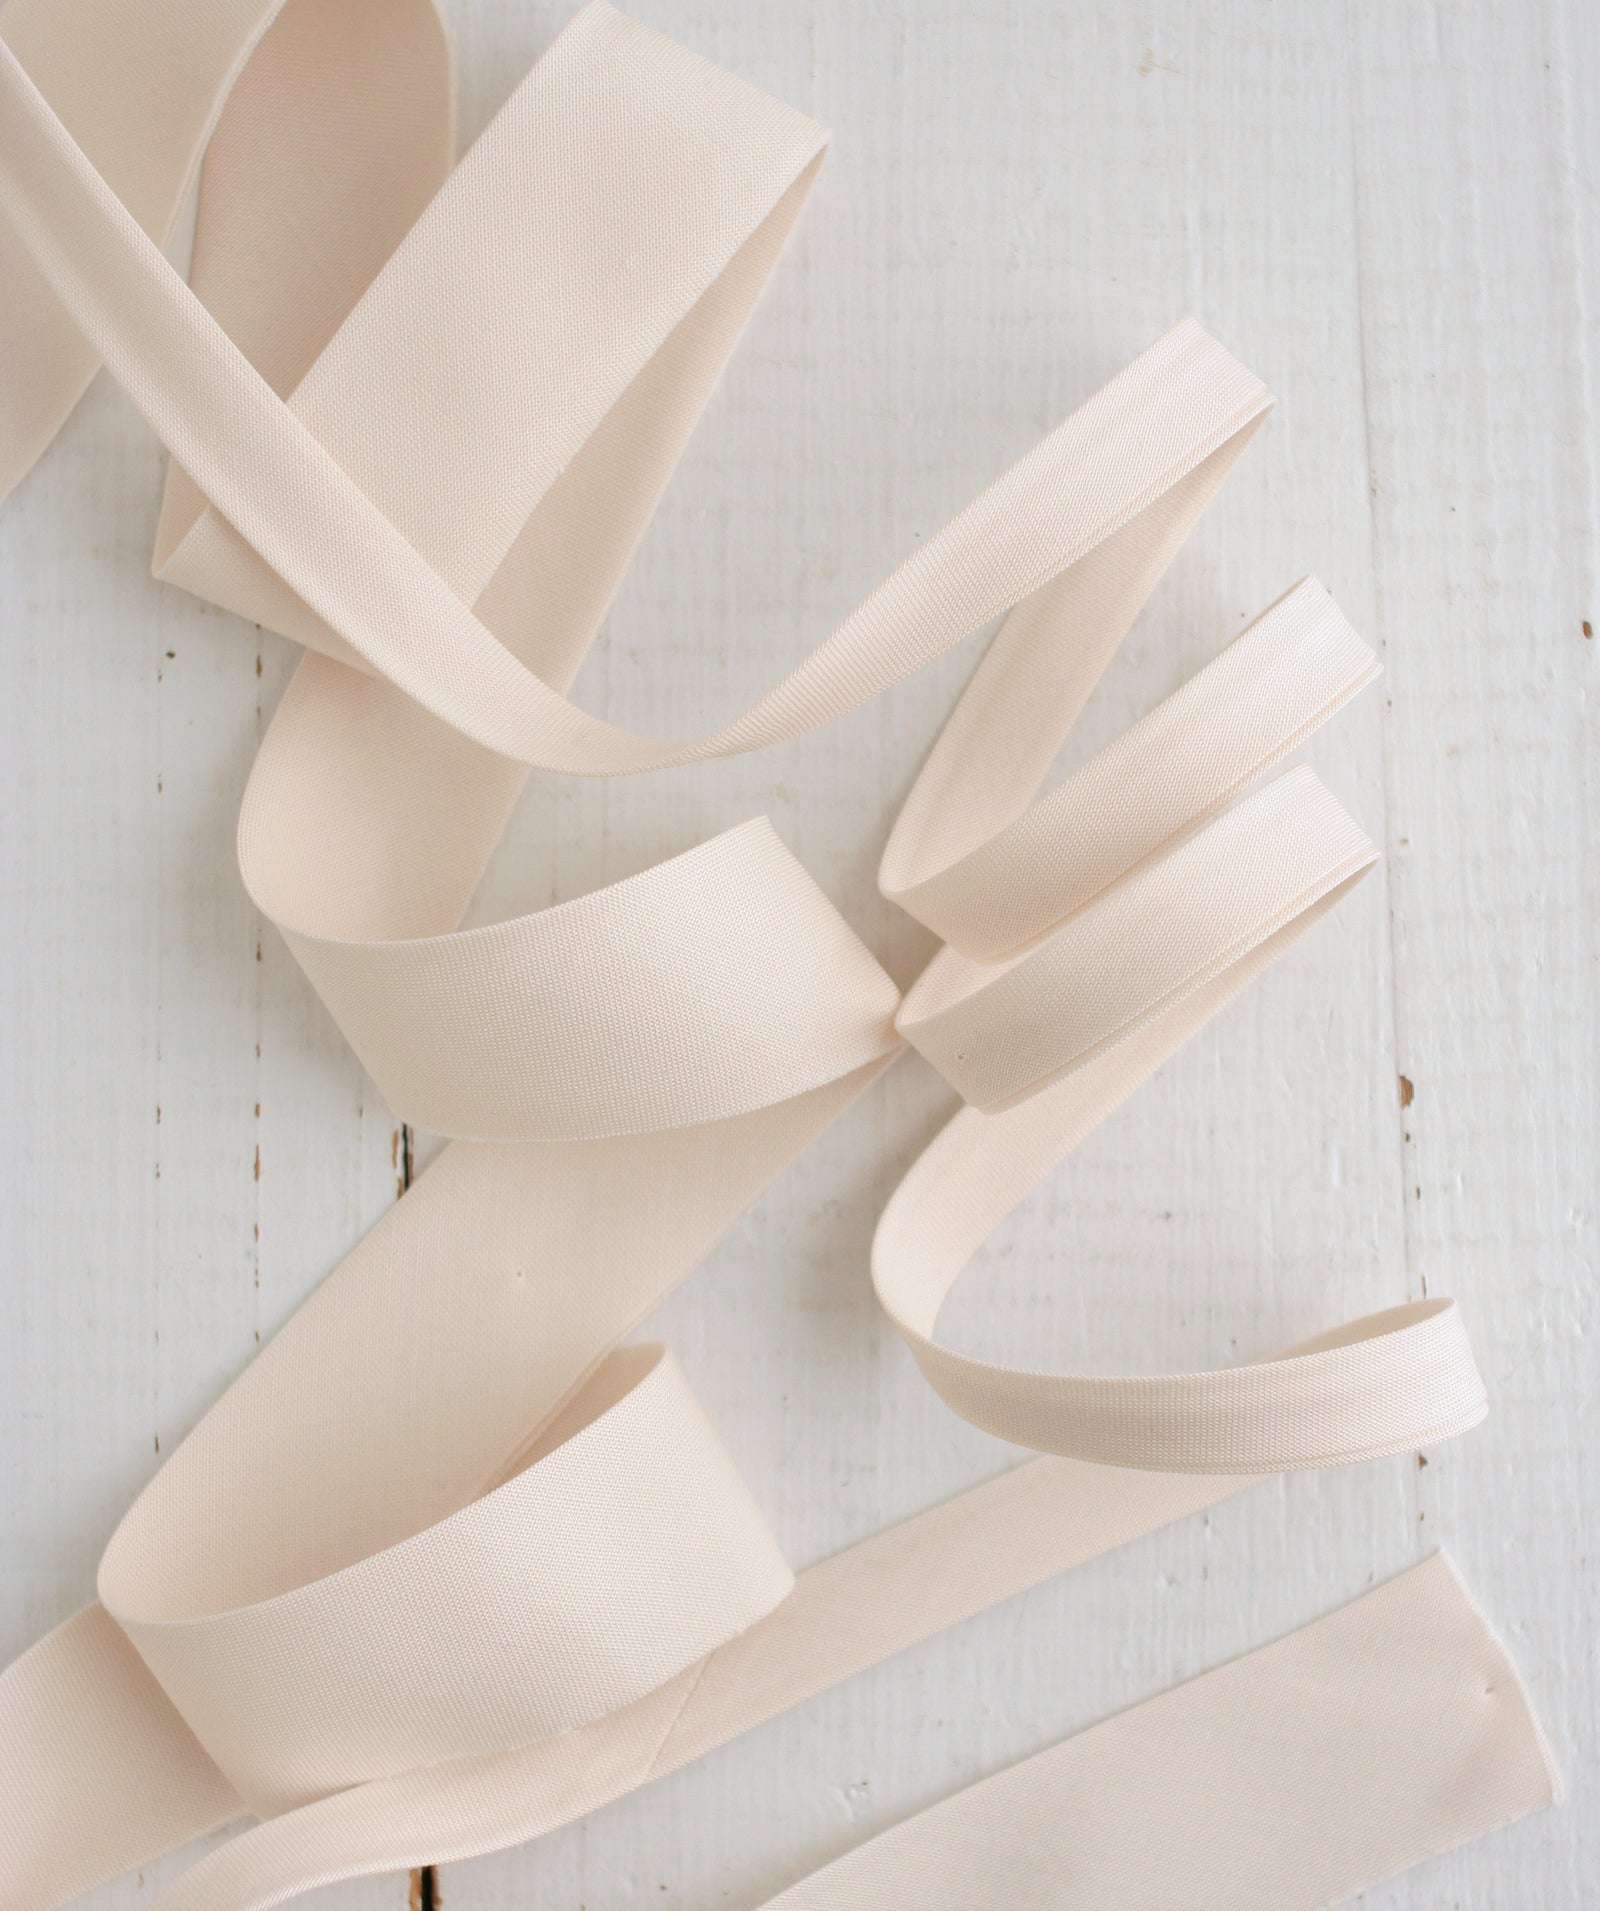
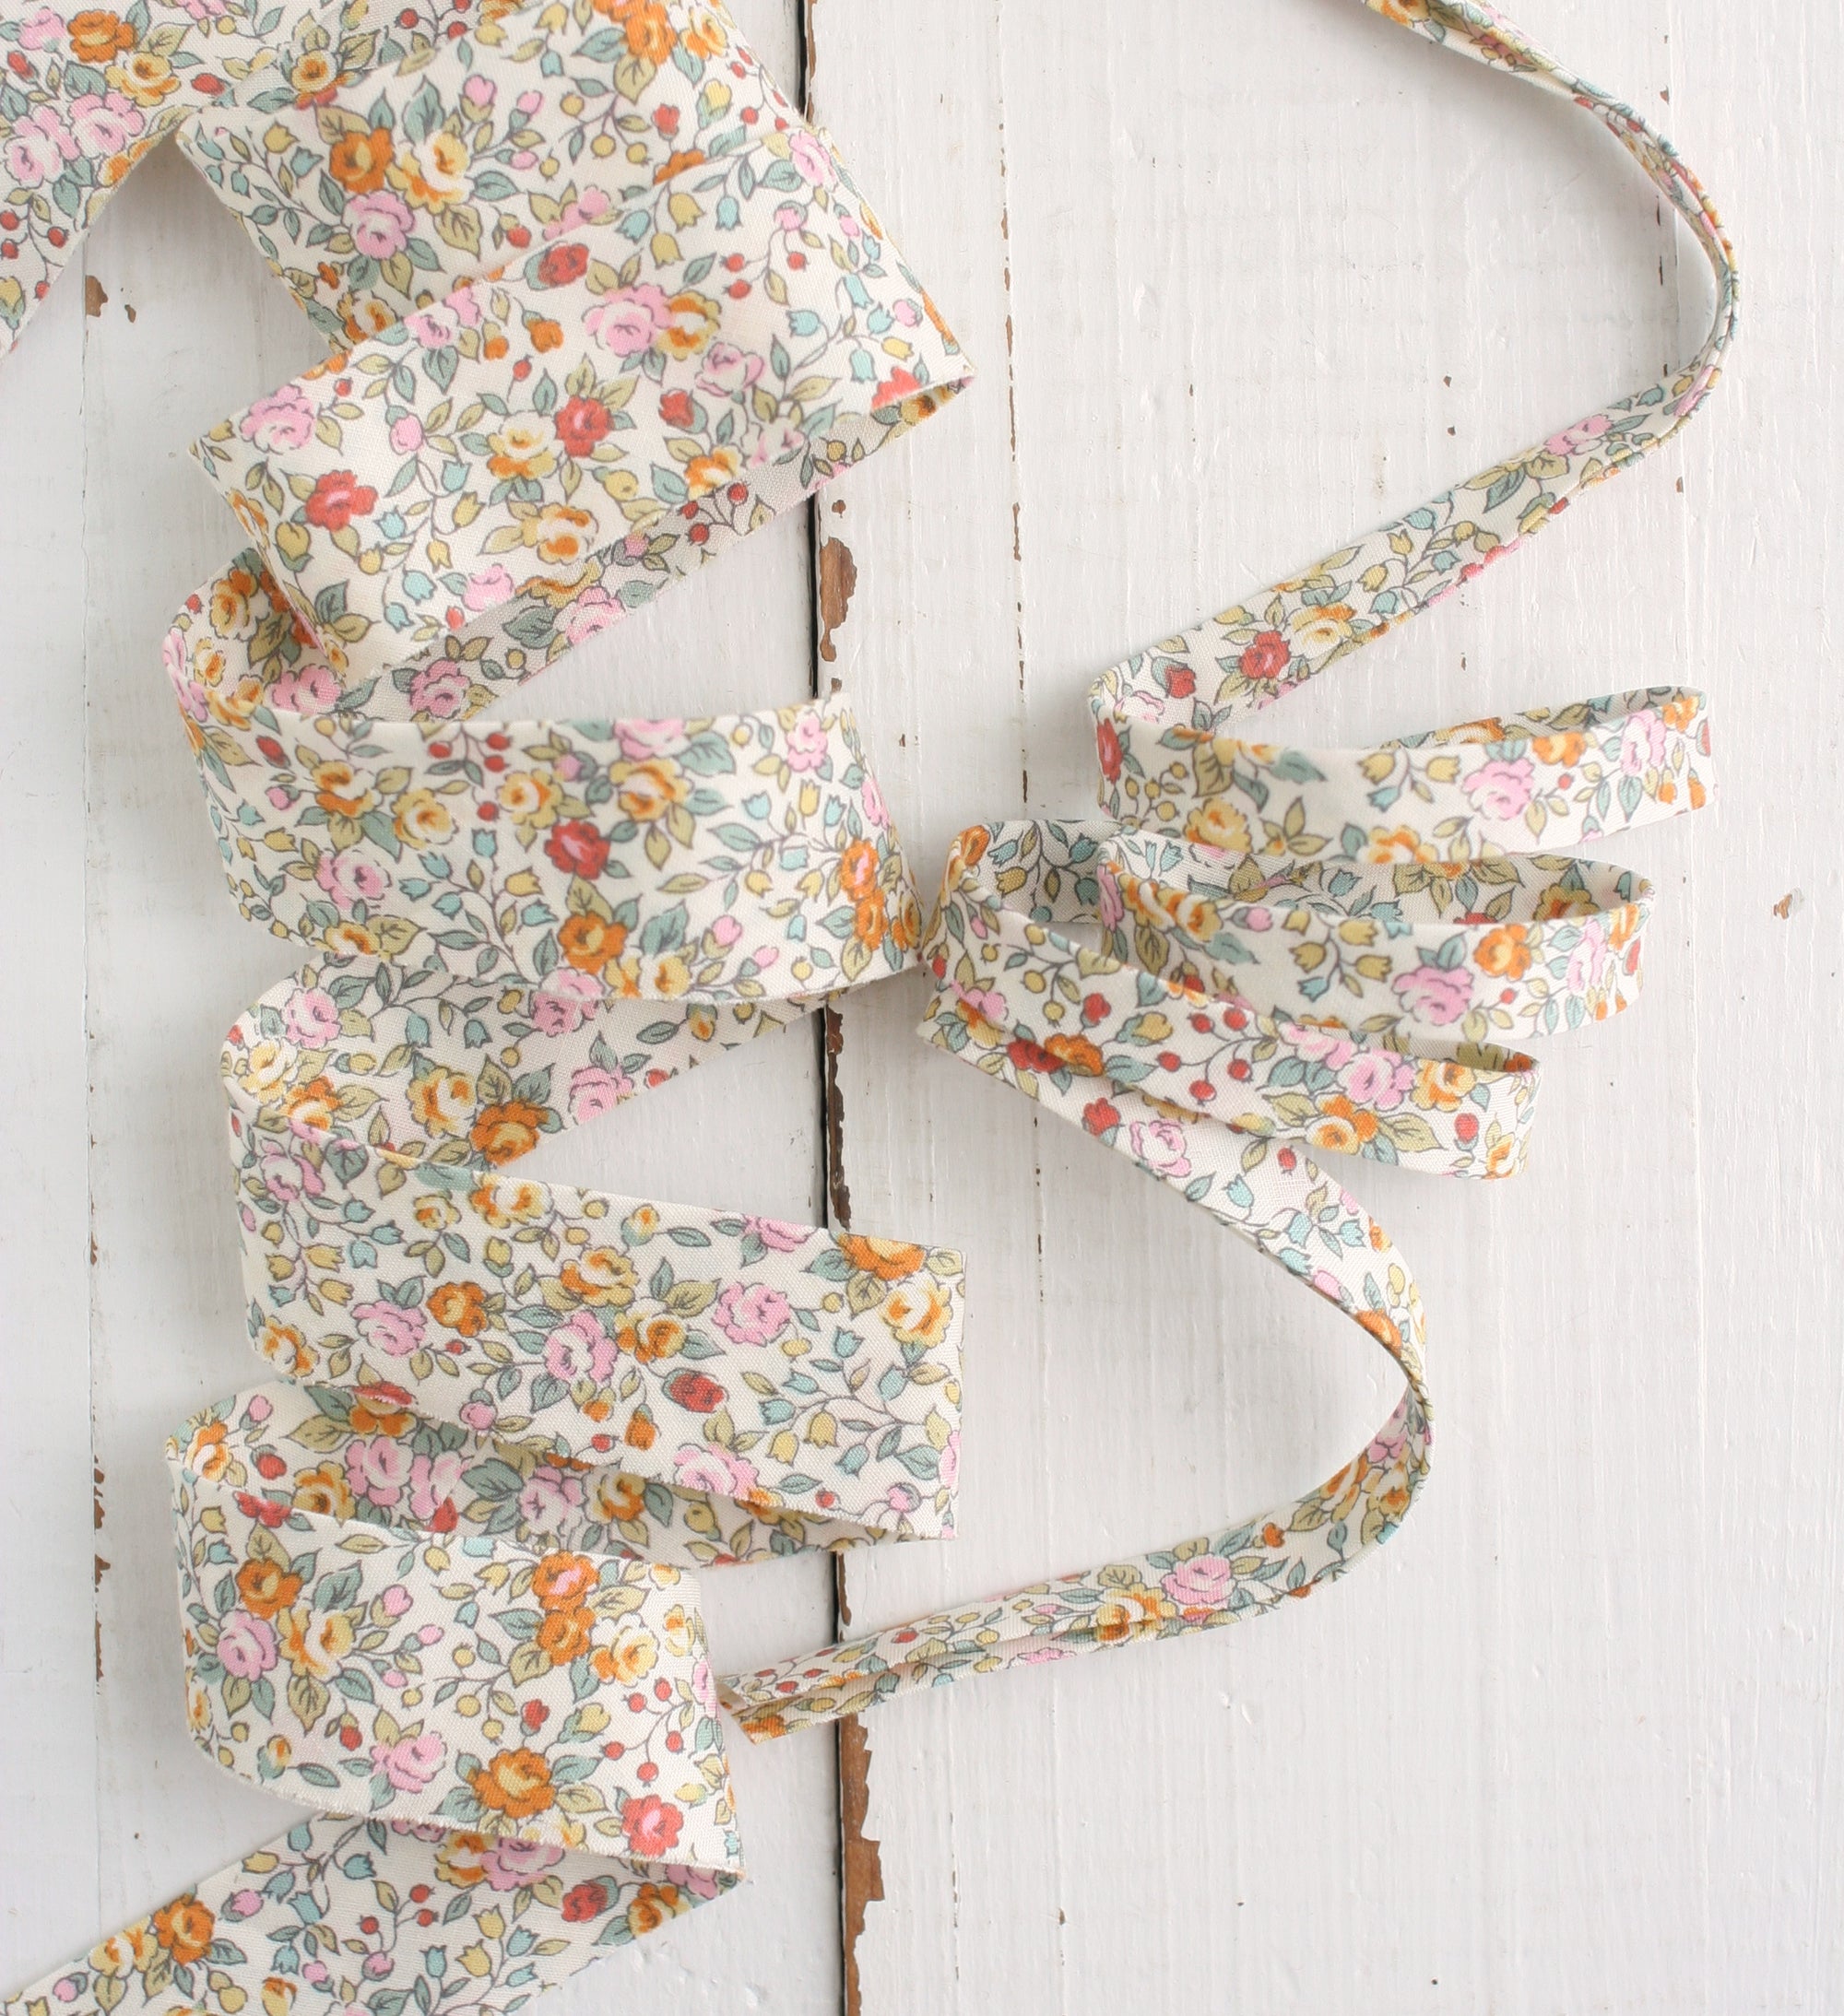
Step 5: Press and Iron Your Binding
Press the seams open for a smooth finish. Then, fold the binding in half lengthwise and give it a final press with your iron. You can press the seams open as you go along (that’s how I roll) or do it all at the beginning.

Final Step: Attach to Your Quilt
And you’re done! Your scrappy binding is now complete and ready to be sewn onto your quilt. Need a tutorial for that? Check outThe Best Way to Attach Binding to Your Quilt.
Want to win this binding? I'm giving it away this weekend! Head over to my Instagram post to enter. Giveaway runs Sept. 6-8, 2024.
Happy sewing, friends!
— Karen