The Best Way to Attach Binding toYourQuilt
You’re almost there!! The end is in sight friends! At least, that’s how I always feel when I’ve gotten through the quilting stage and am ready to attach my binding.

Spoiler alert – attaching bias quilt binding is EXACTLY THE SAME as attaching straight binding, in case you were nervous.
I’m going to write out the steps but if it’s easier, you can jump down and watch the video tutorial. Also, if you want to start at the beginning - check out our other posts in the Binding 101series to learn all about bias binding and how to make your own.
To attachbinding, you’ll need:
- Your finished quilt (I usually trim my edges before attaching)
- Sewing machine with a walking foot
- Thread – doesn’t really matter what color as it won’t show
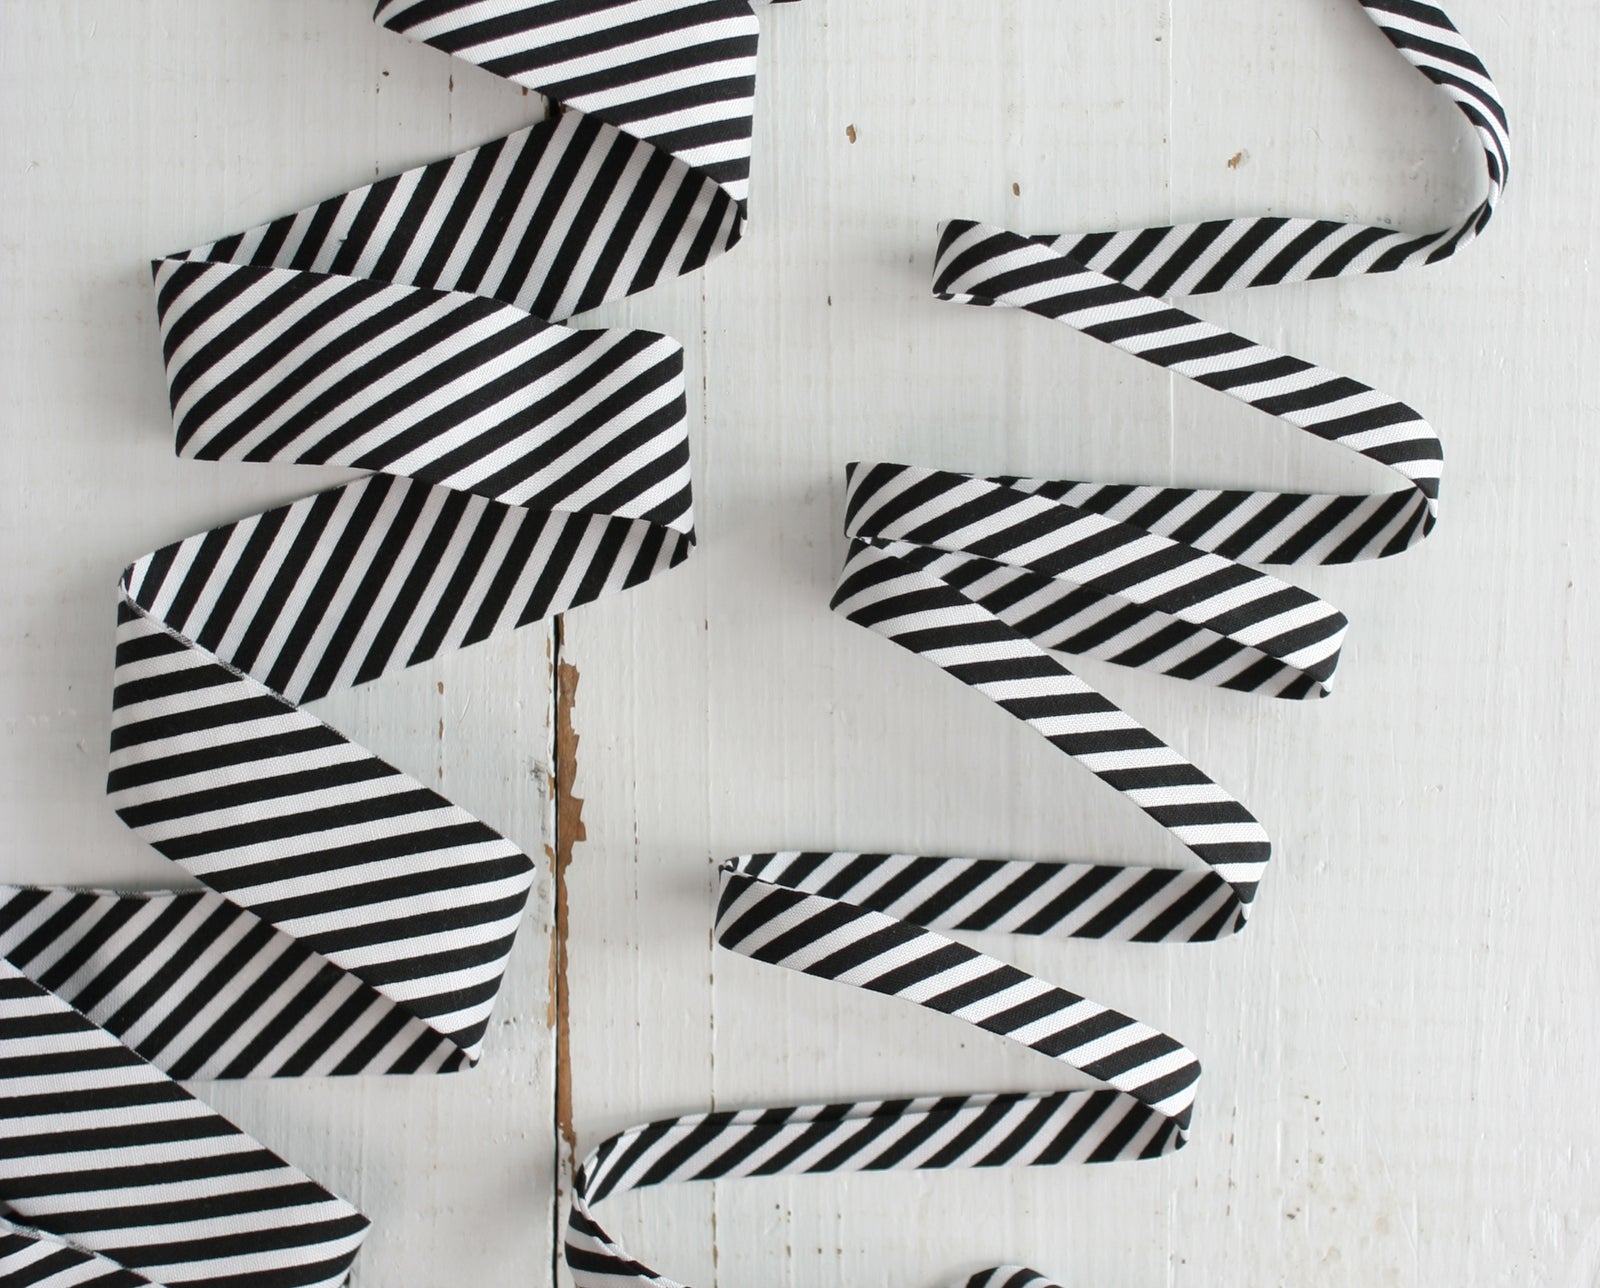
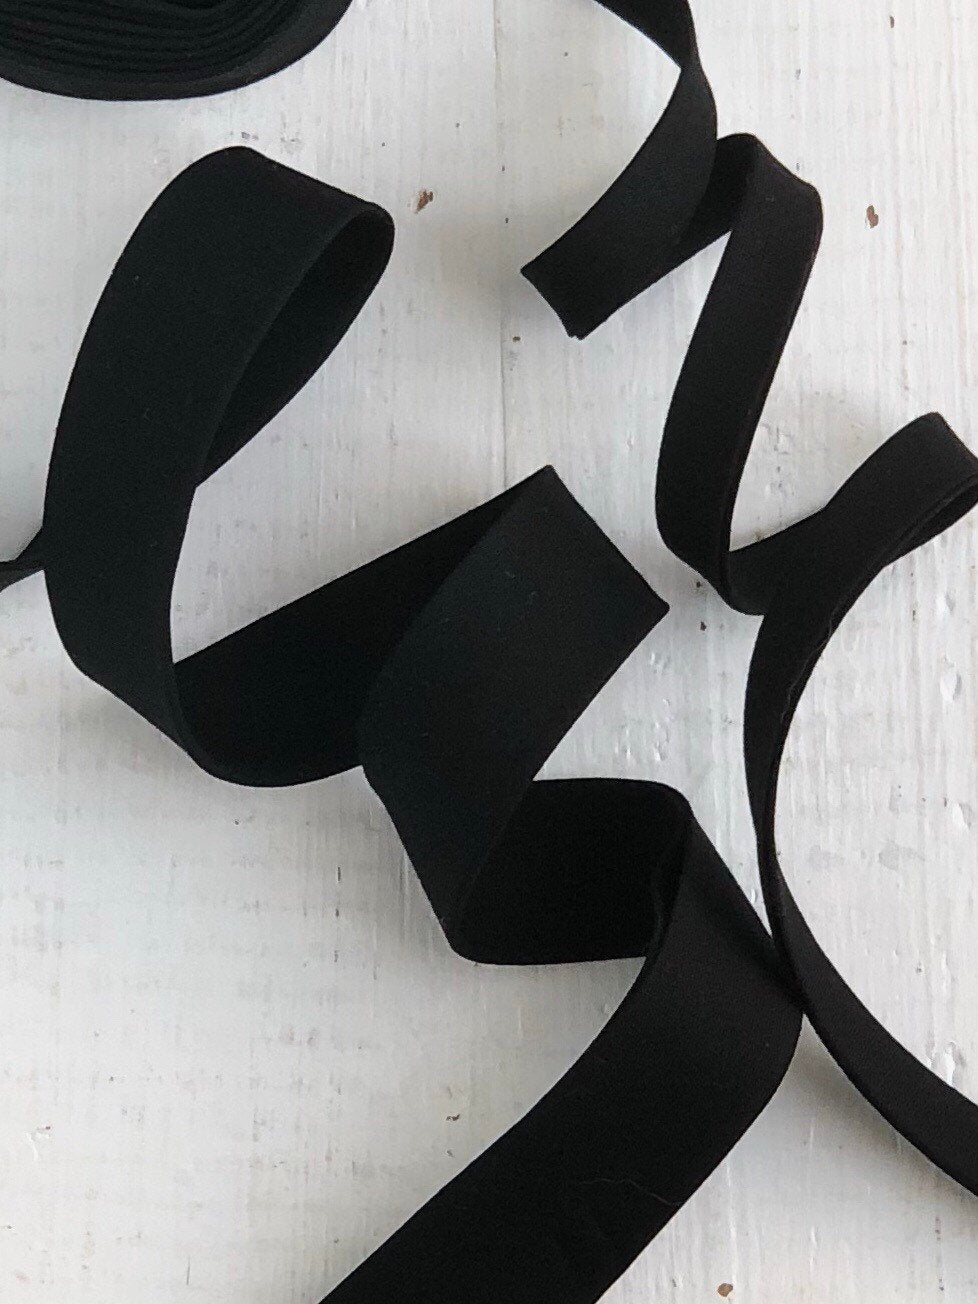
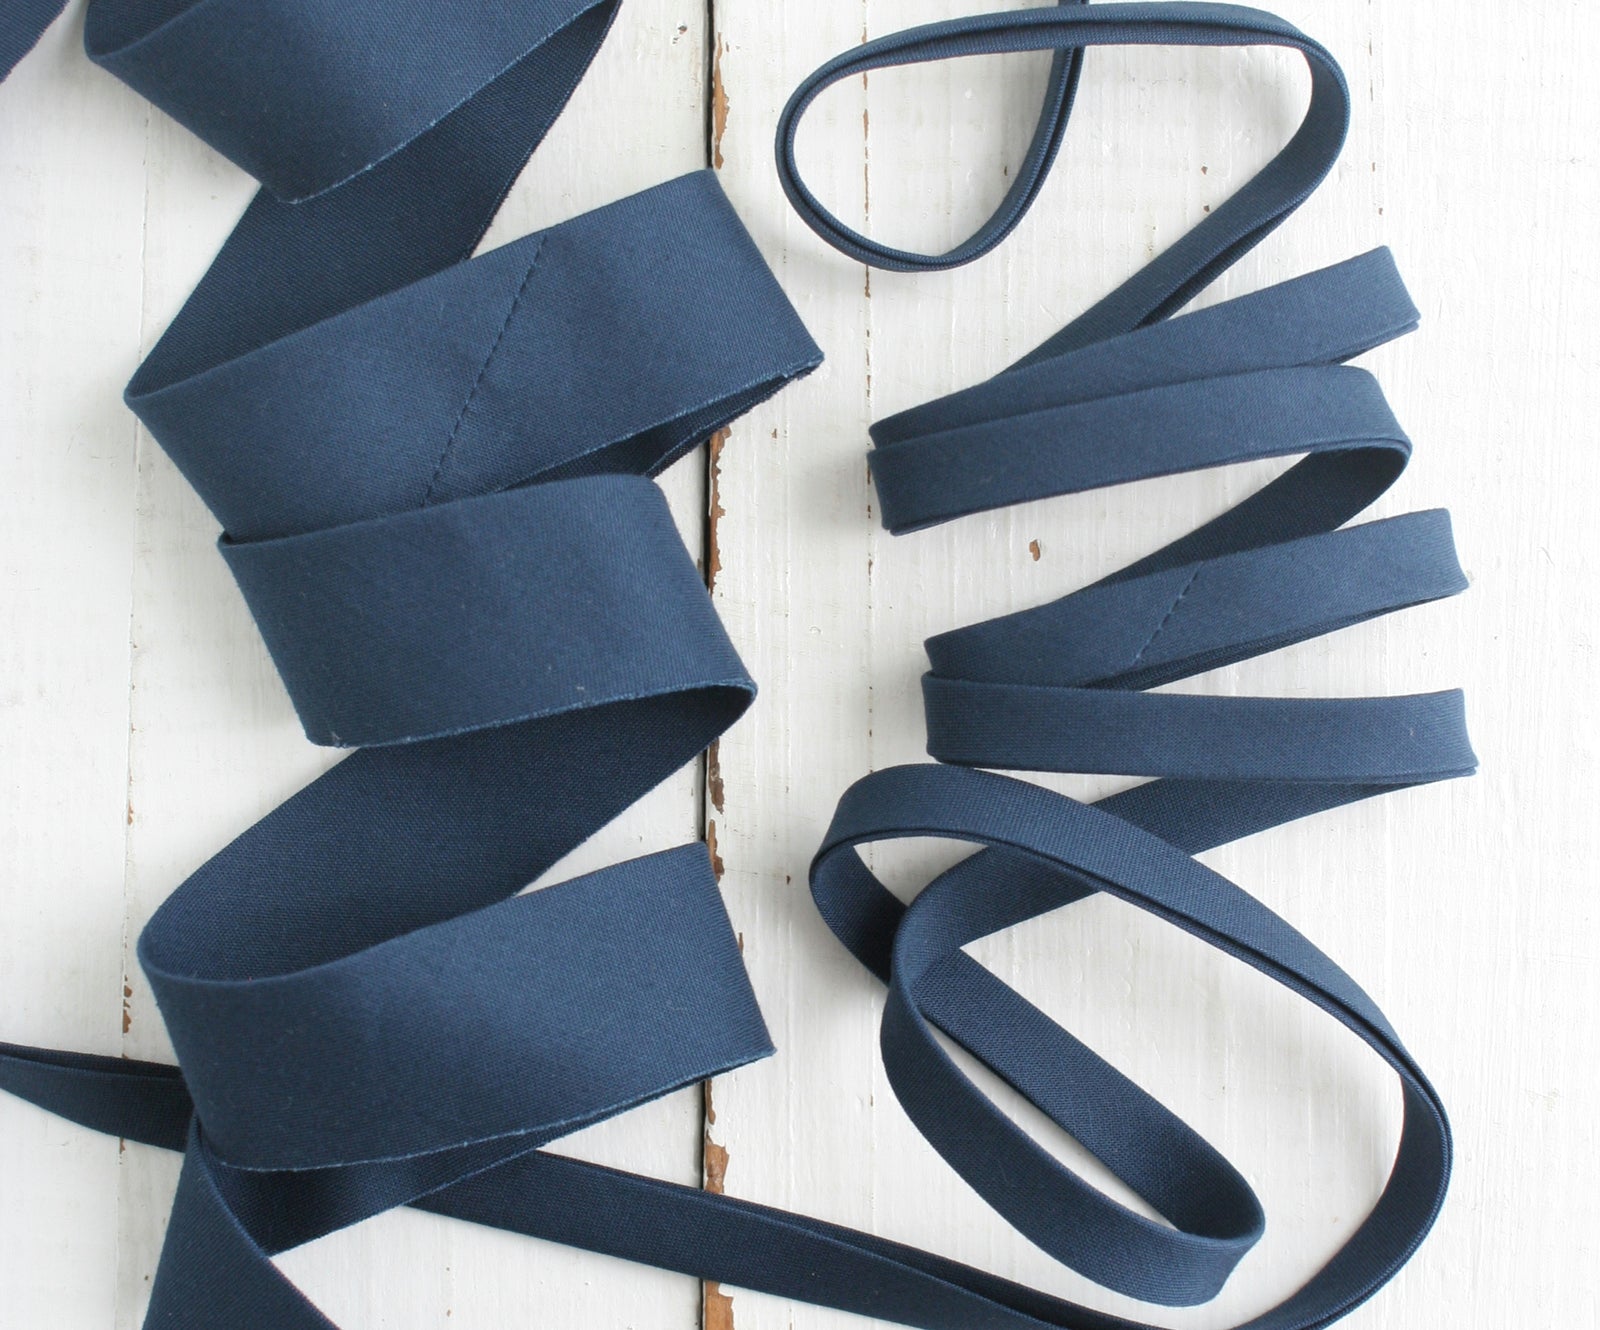
- Binding (preferably your awesome Bessie Pearl binding, but ya know, you do you)
Okay, let’s do it!

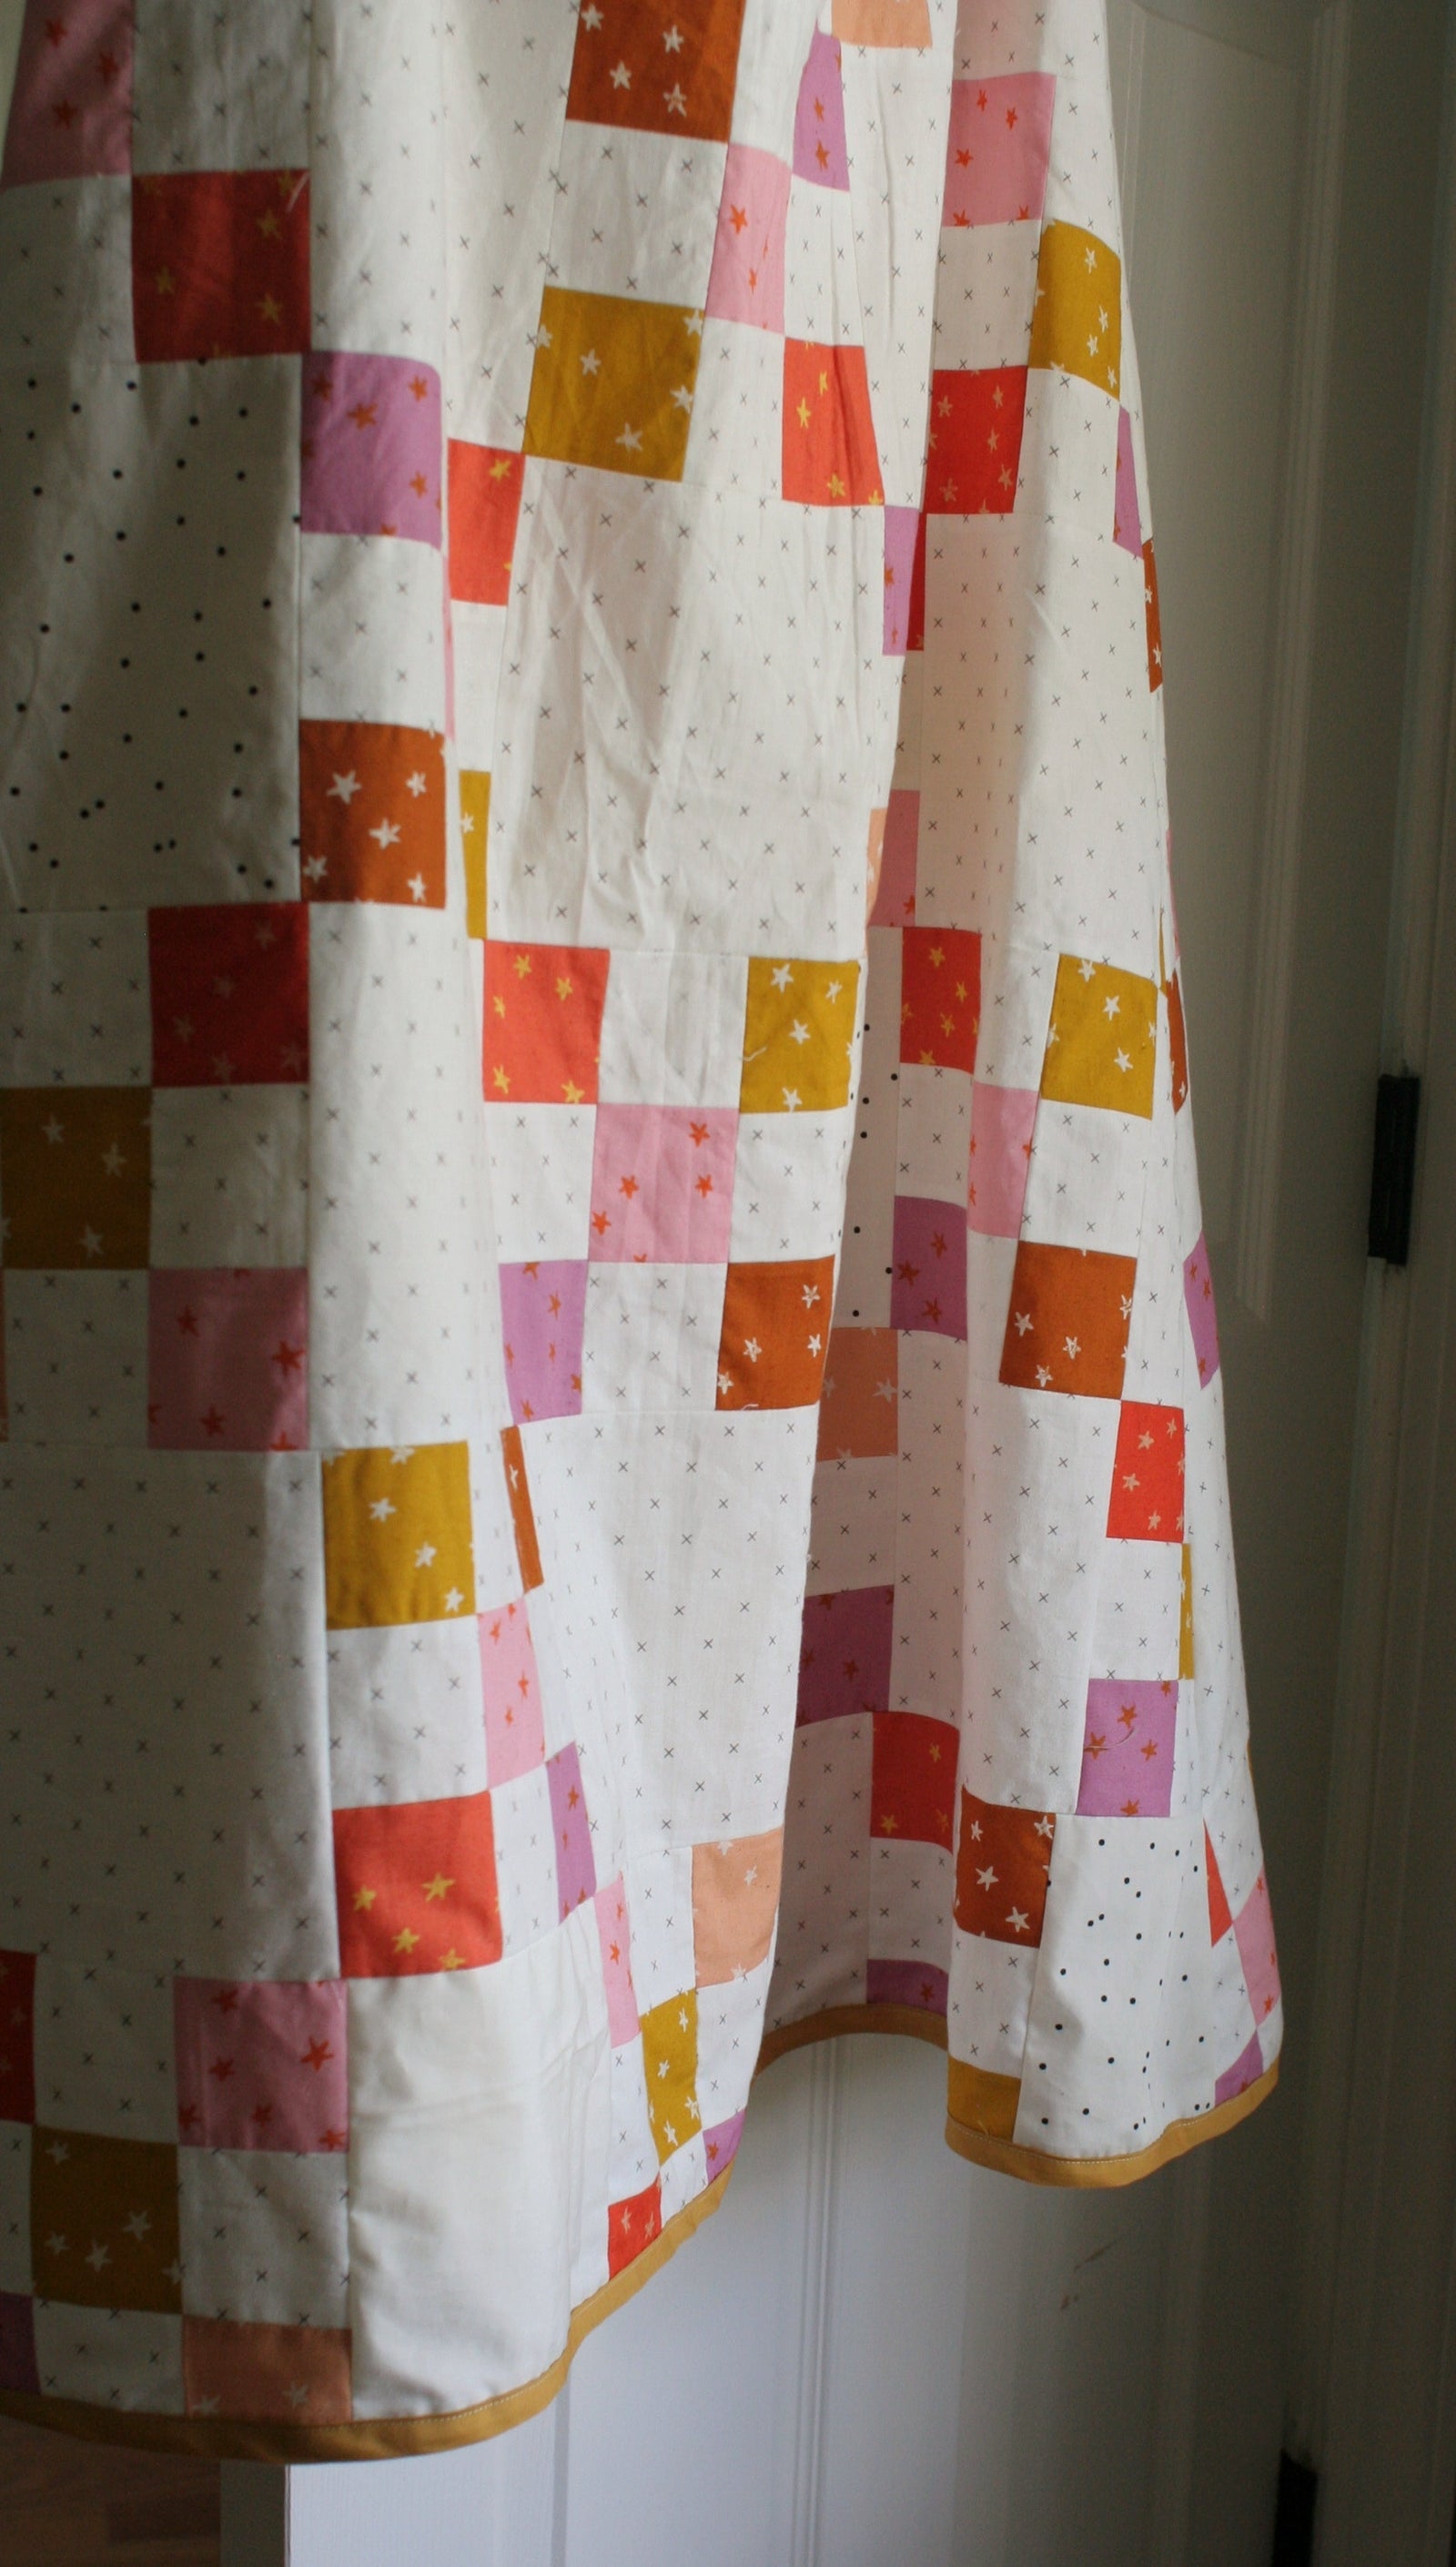
- Lay your quilt out, facing up and line up the raw edge of the binding with the edge of the quilt. Yes, you are sewing the binding on to the FRONT of the quilt first. Stay with me, stay with me. It’s going to be okay.
- Starting in themiddle of one side of the quilt, use a ¼" seam and start sewing on the binding.
- Make sure to leave a tail of anywhere from 12-18 inches of binding before you start your seam. Use a ¼" seam and start sewing on the binding.
- Eventually you’ll get to a corner – that’s a good thing! Continue sewing until you are ¼" away from the edge. Stop sewing and put in a few backstitches then end the seam.
- For the mitered corner –Remove the quilt from the sewing machine andturnit 90 degrees to the left. Take the binding and fold it up until it is at a 45 degree angle to the edge of the quilt. Using your finger, hold the folded binding in place. Then fold the binding straight down so that it is lined up with the next side of the quilt you are going to start sewing on.
- Starting at the top edge of the quilt, continuing sewing the binding on. Repeat these steps for each corner.
- When you are close to the end, leave another 12-18 inch tail and leave a gap about 12 inches from where you started sewing.
Here's all the steps in one easy video:
Alright – congrats! Next week I’ll cover 2 different ways to join the ends of the binding – one of which is SUPER easy and one that makes me a bit cross-eyed every time but looks amazing if you get it right.
Need some quilt binding inspiration? Check out all the great styleswe have in stock and be sure to follow me on Pinterest!
Happy sewing!
Karen