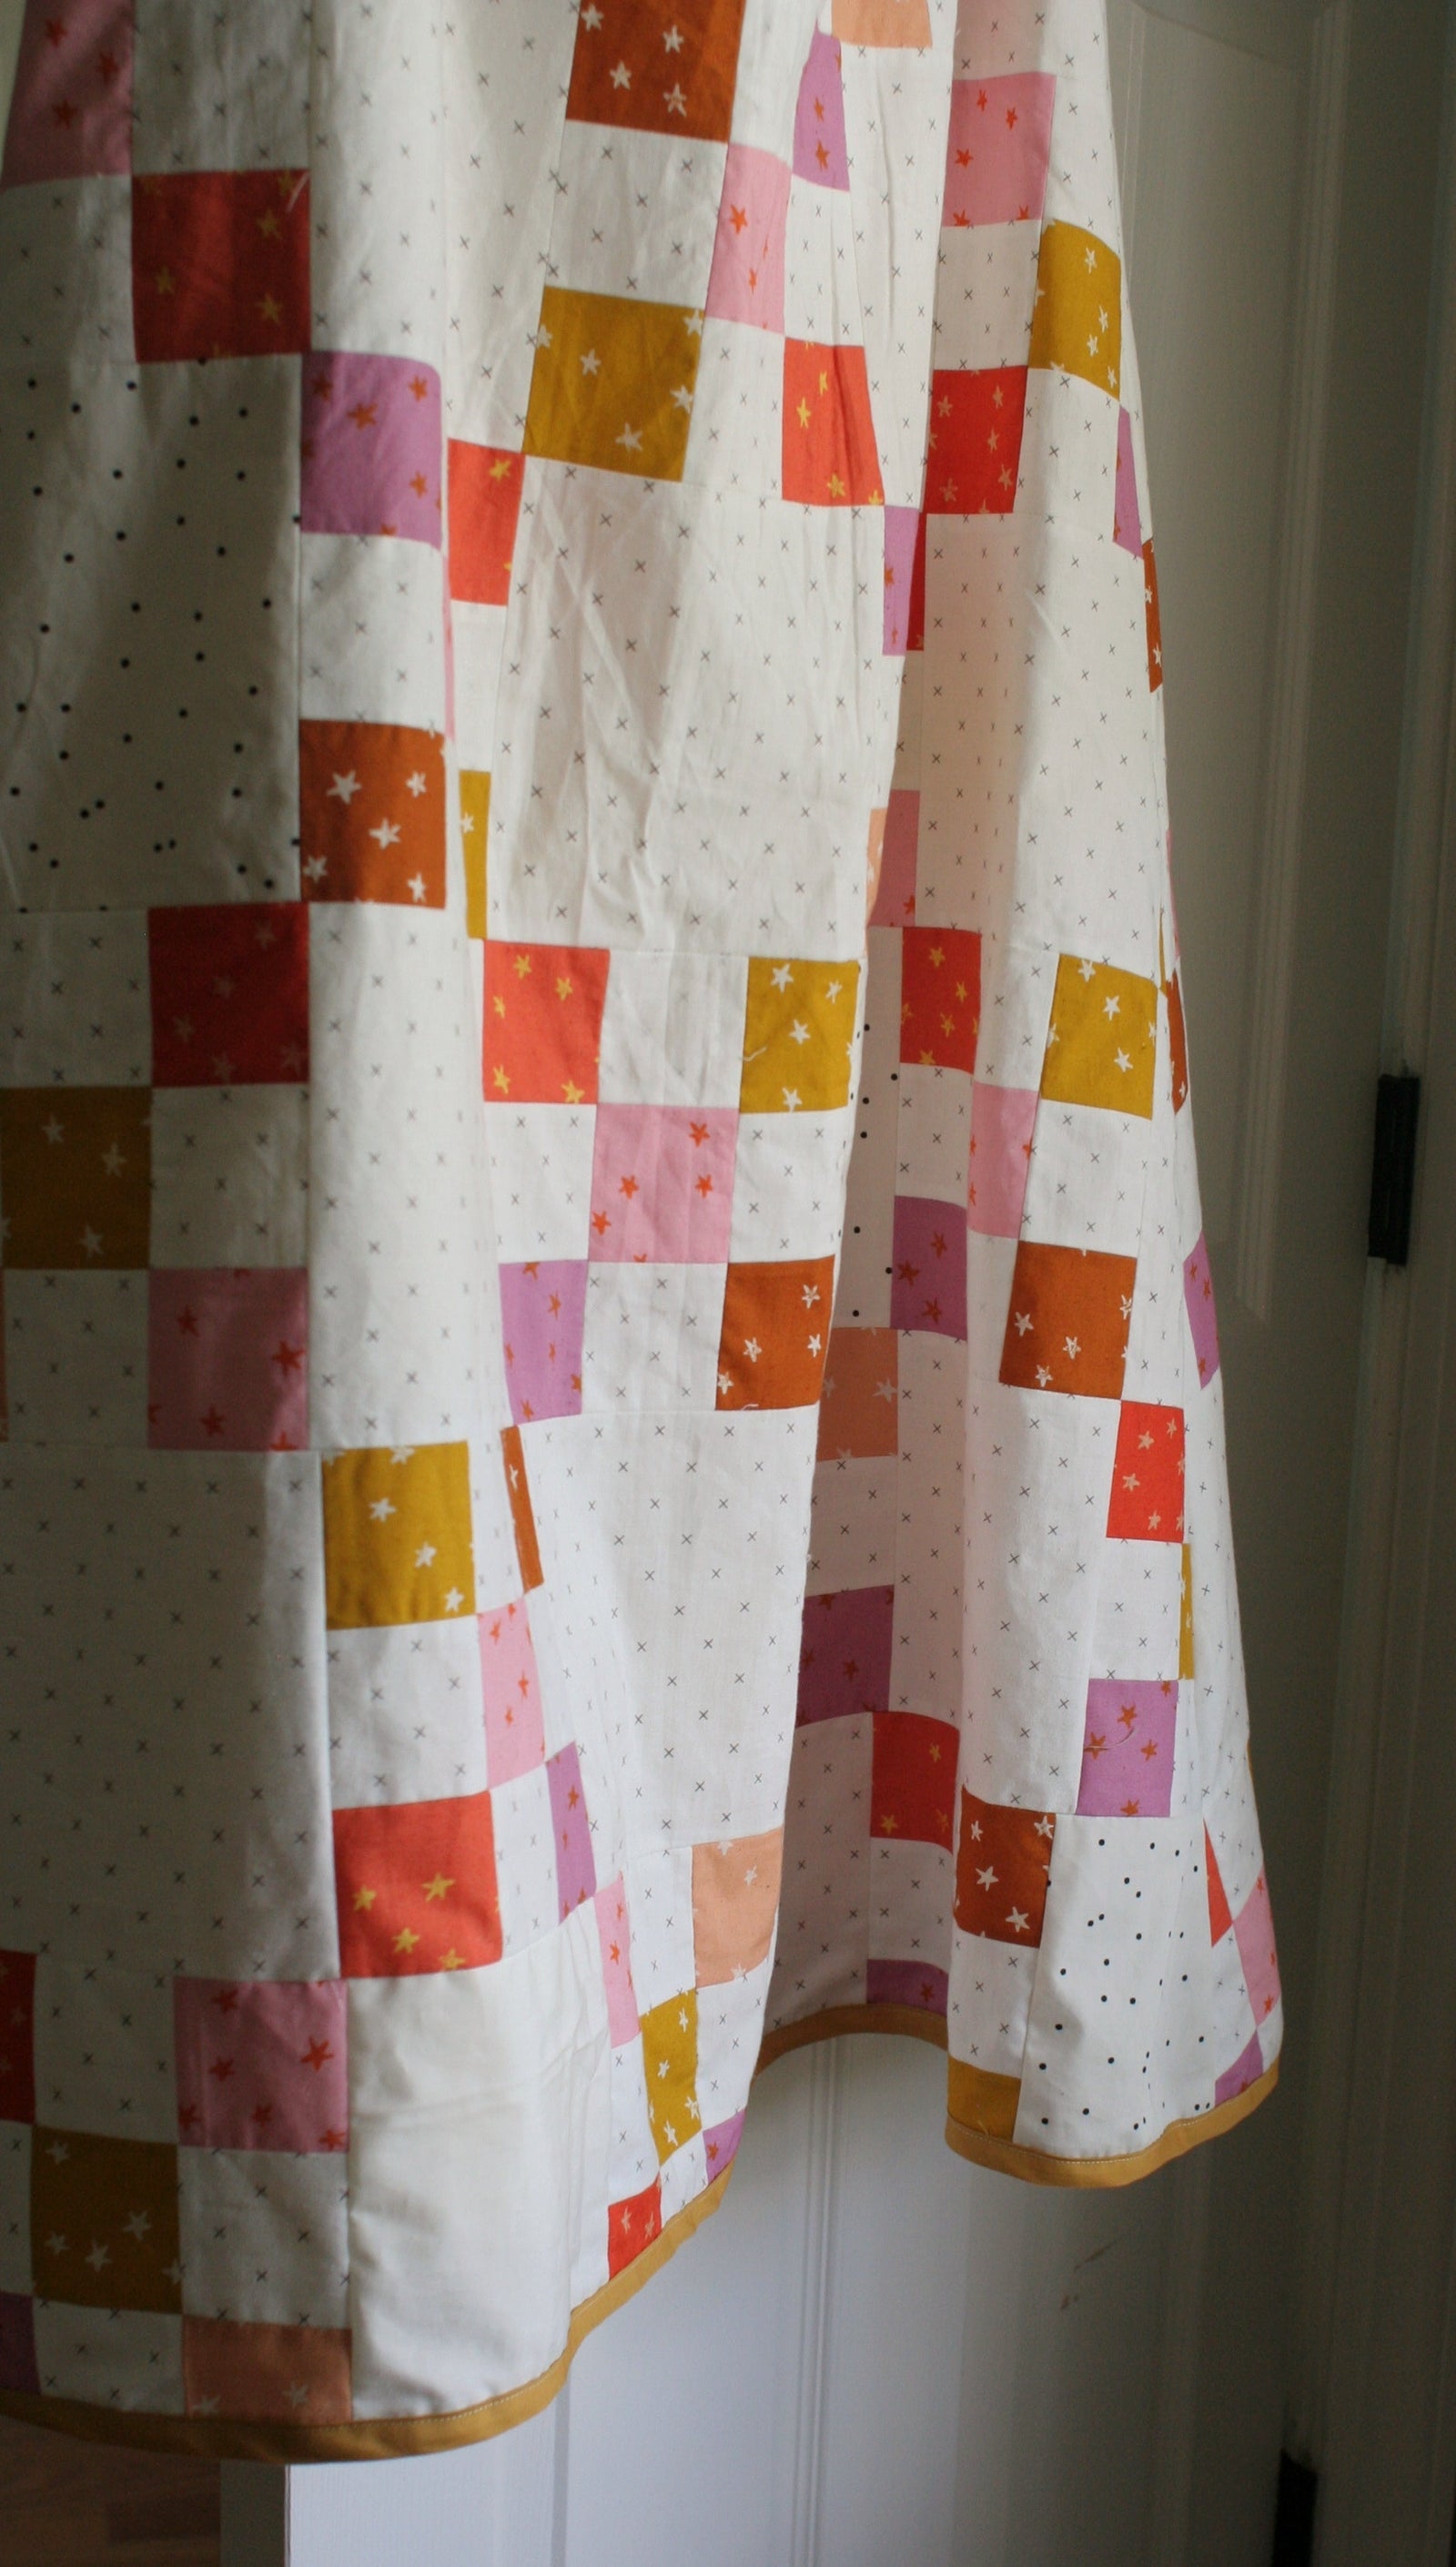
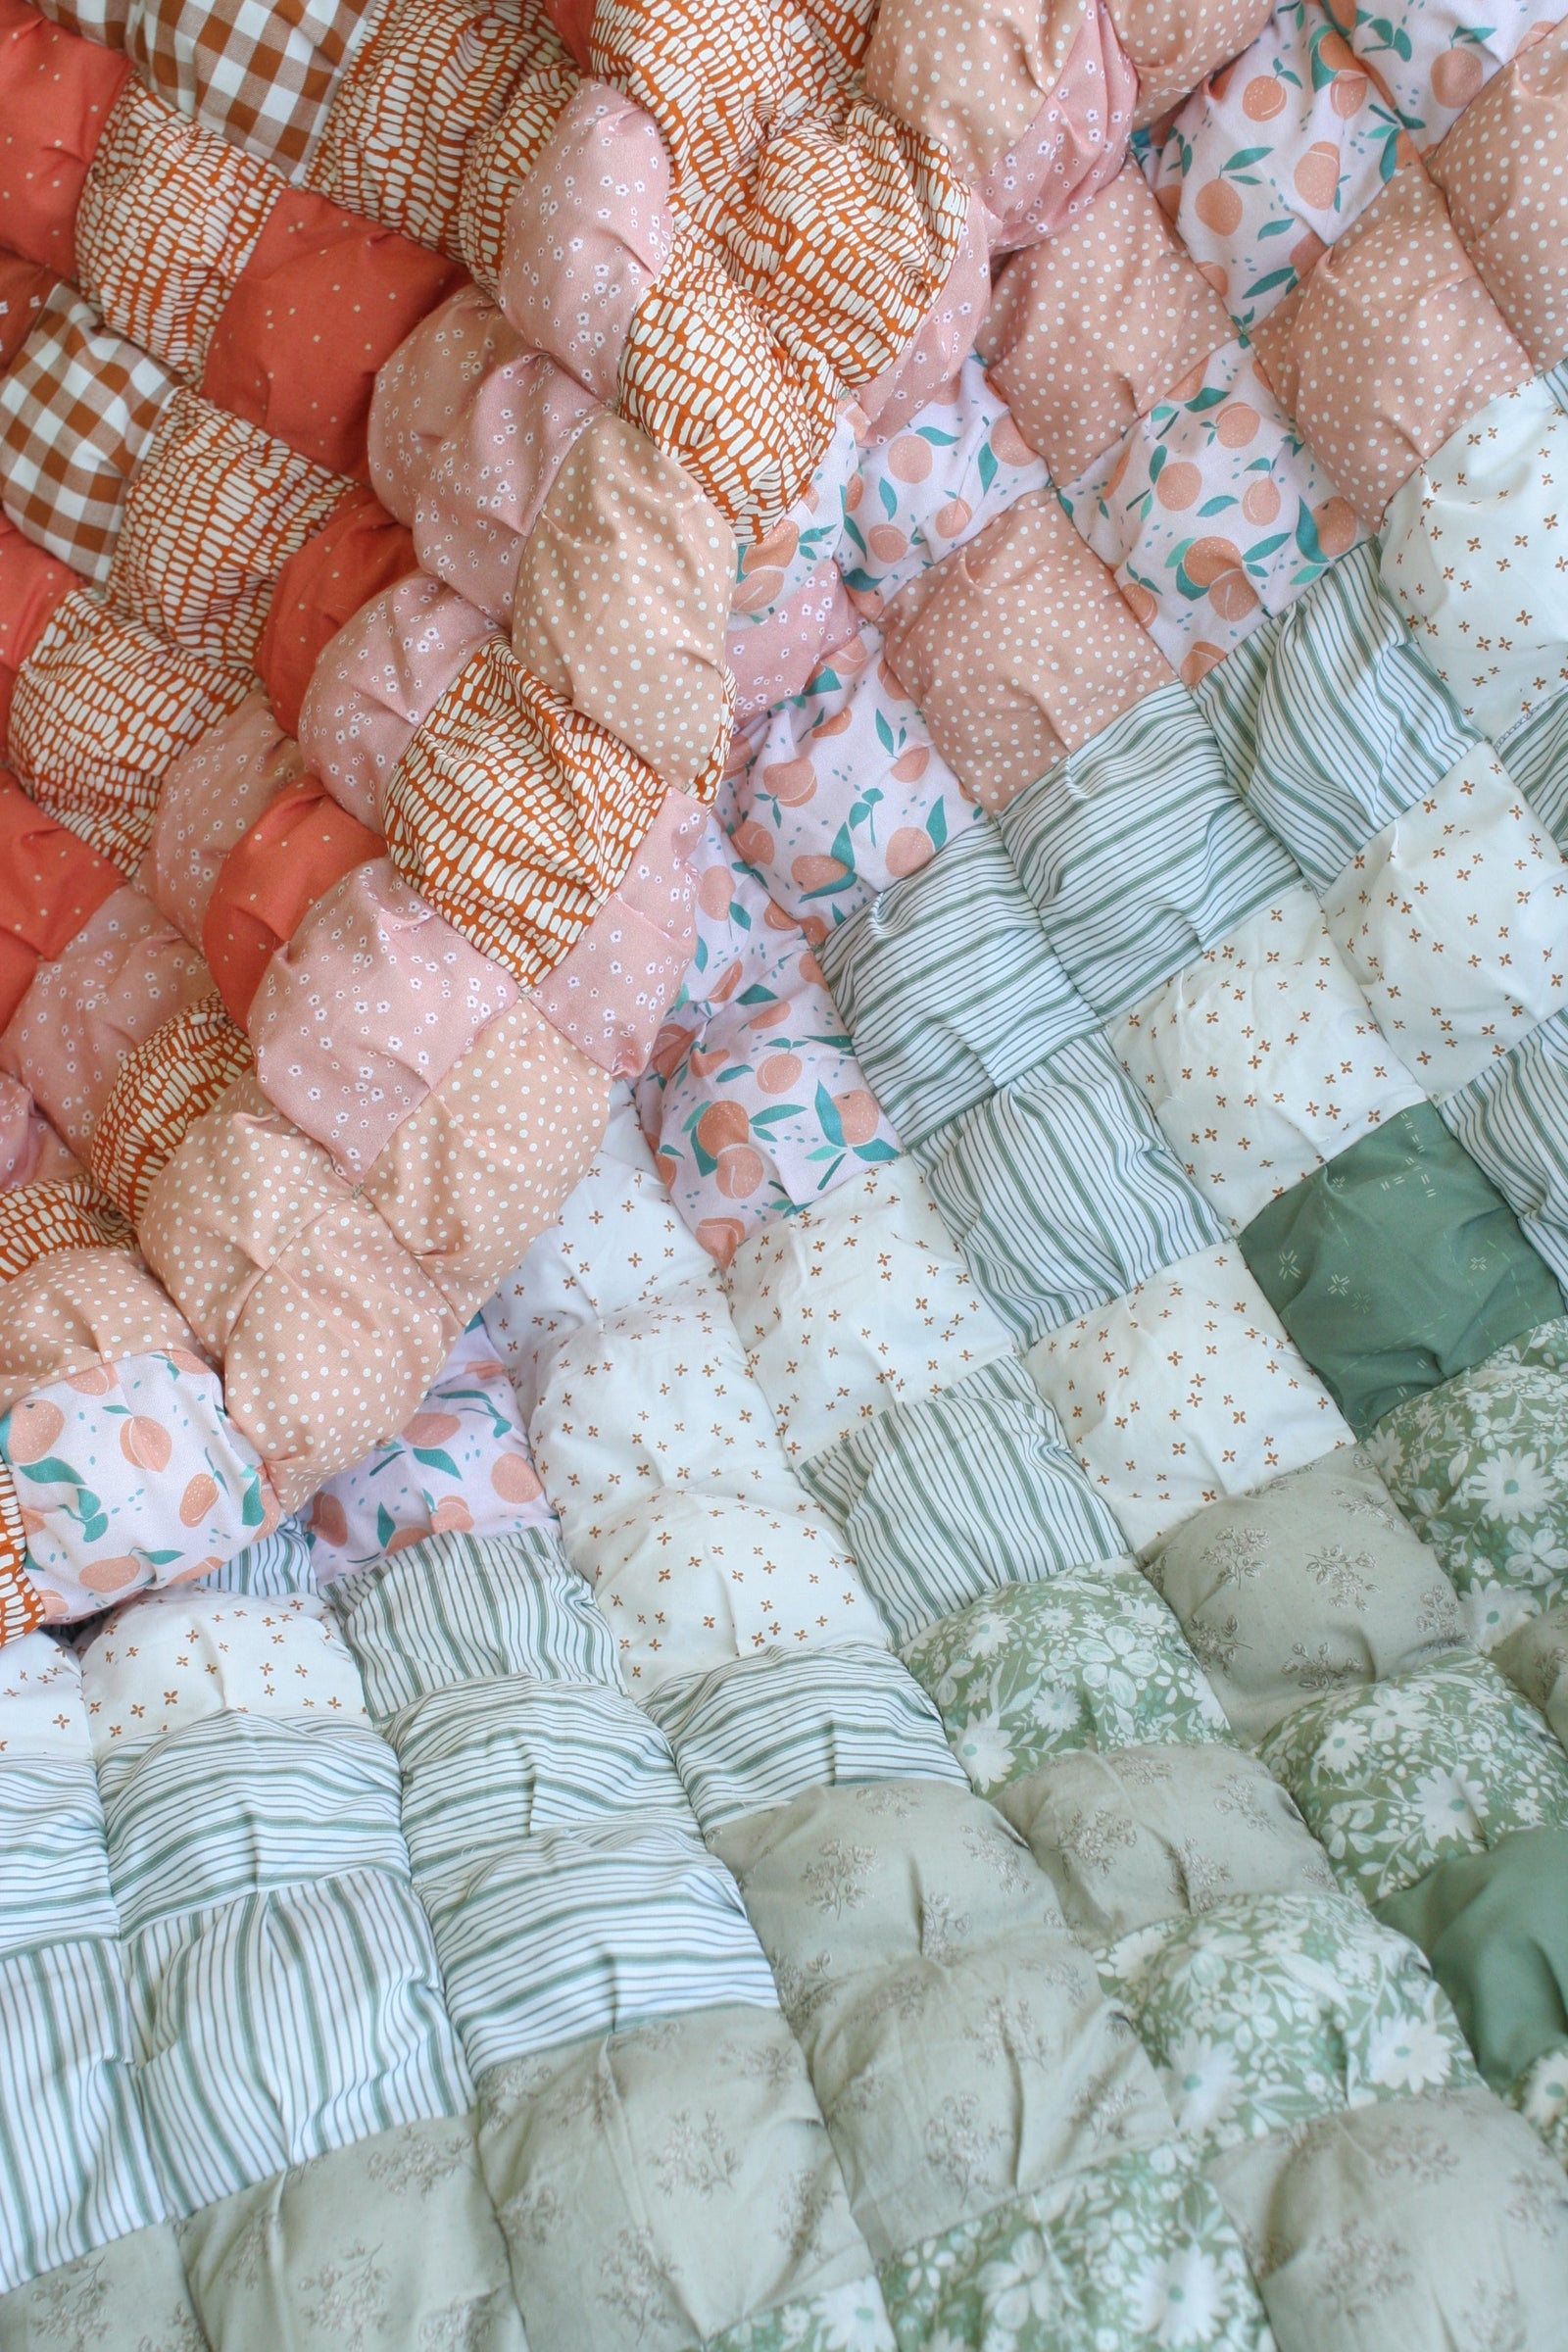
Sewing for the holidays is one of my favorite traditions, but how many Christmas quilts does my couch really need? My kids would argue “more!” but I think we’ve hit our limit. So when Christine atModern Charm Stitchery released her newTree Shine pattern, I knew I wanted to make it without adding another quilt to the collection. Pair that with my cousin, who’s been asking for a quilted tree skirt for two years, and PRESTO—the Tree Shine tree skirt was born! Add some leftover scraps (look, no waste!), and you have a beautiful gift and a sweet bag to store it in.Pats myself on the back.

Materials Needed for a Quilted Tree Skirt and Drawstring Bag
- Quilt top (at least throw-size, quilted but unbound)
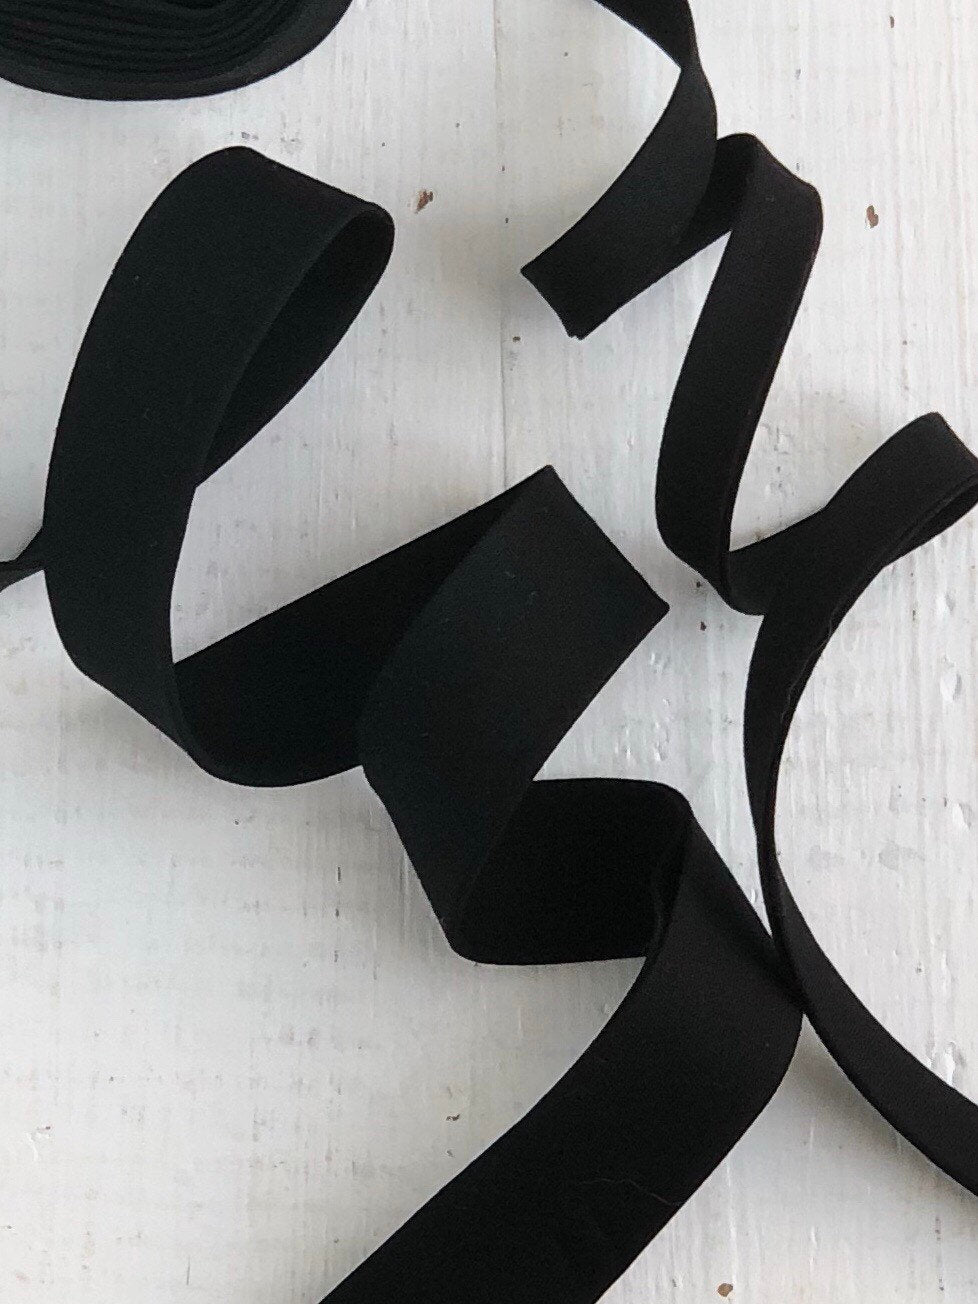
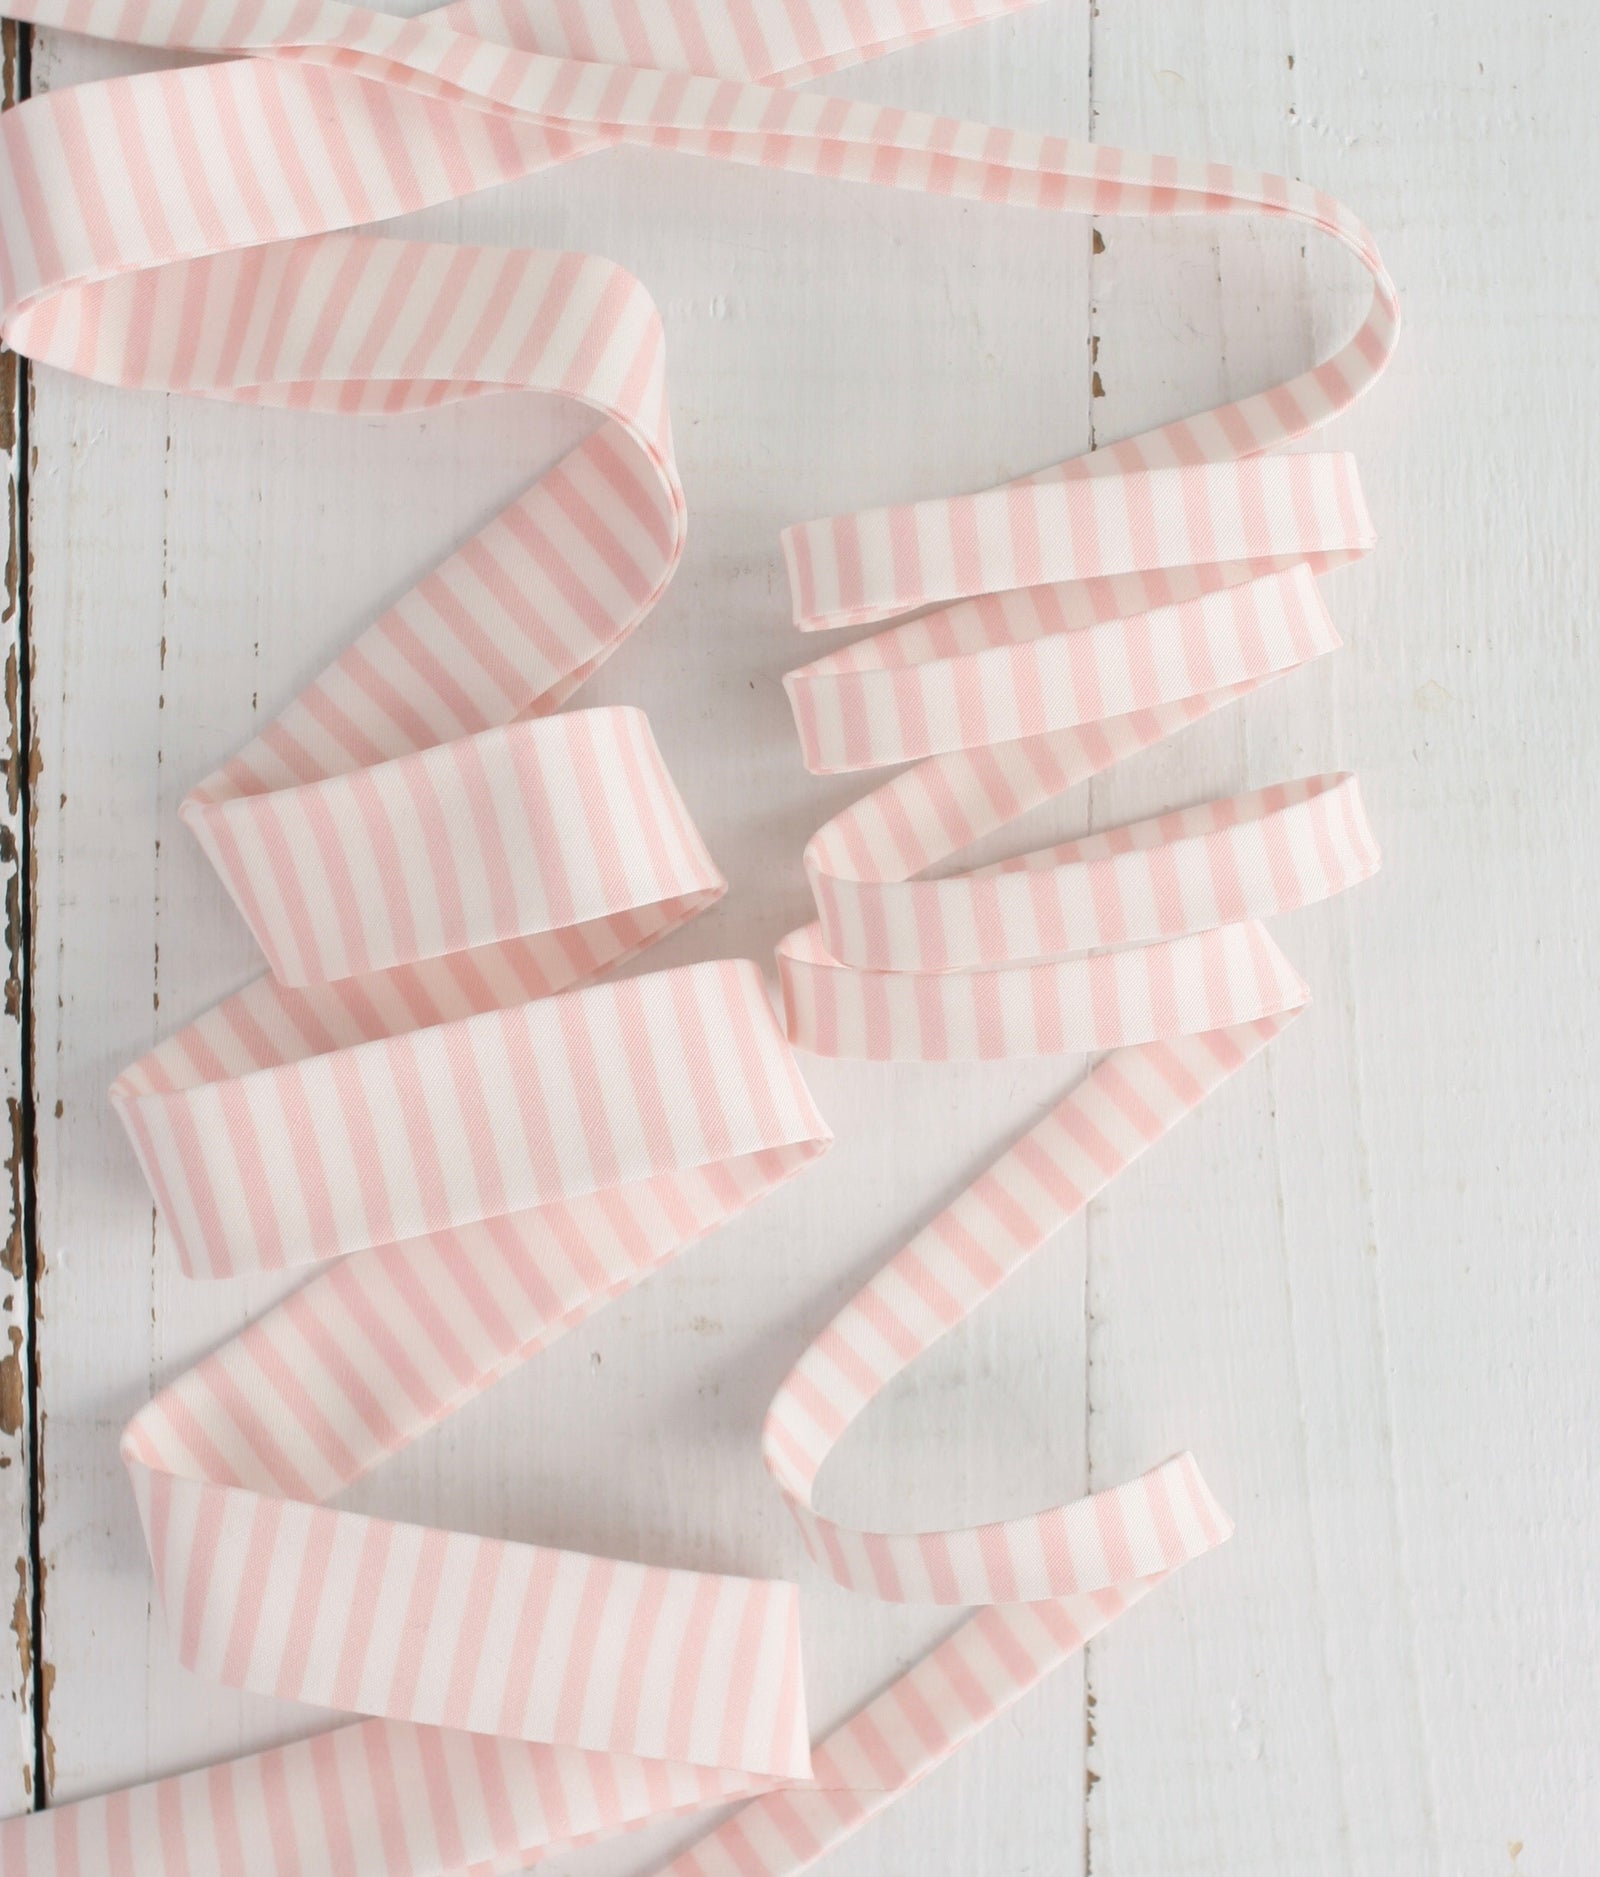
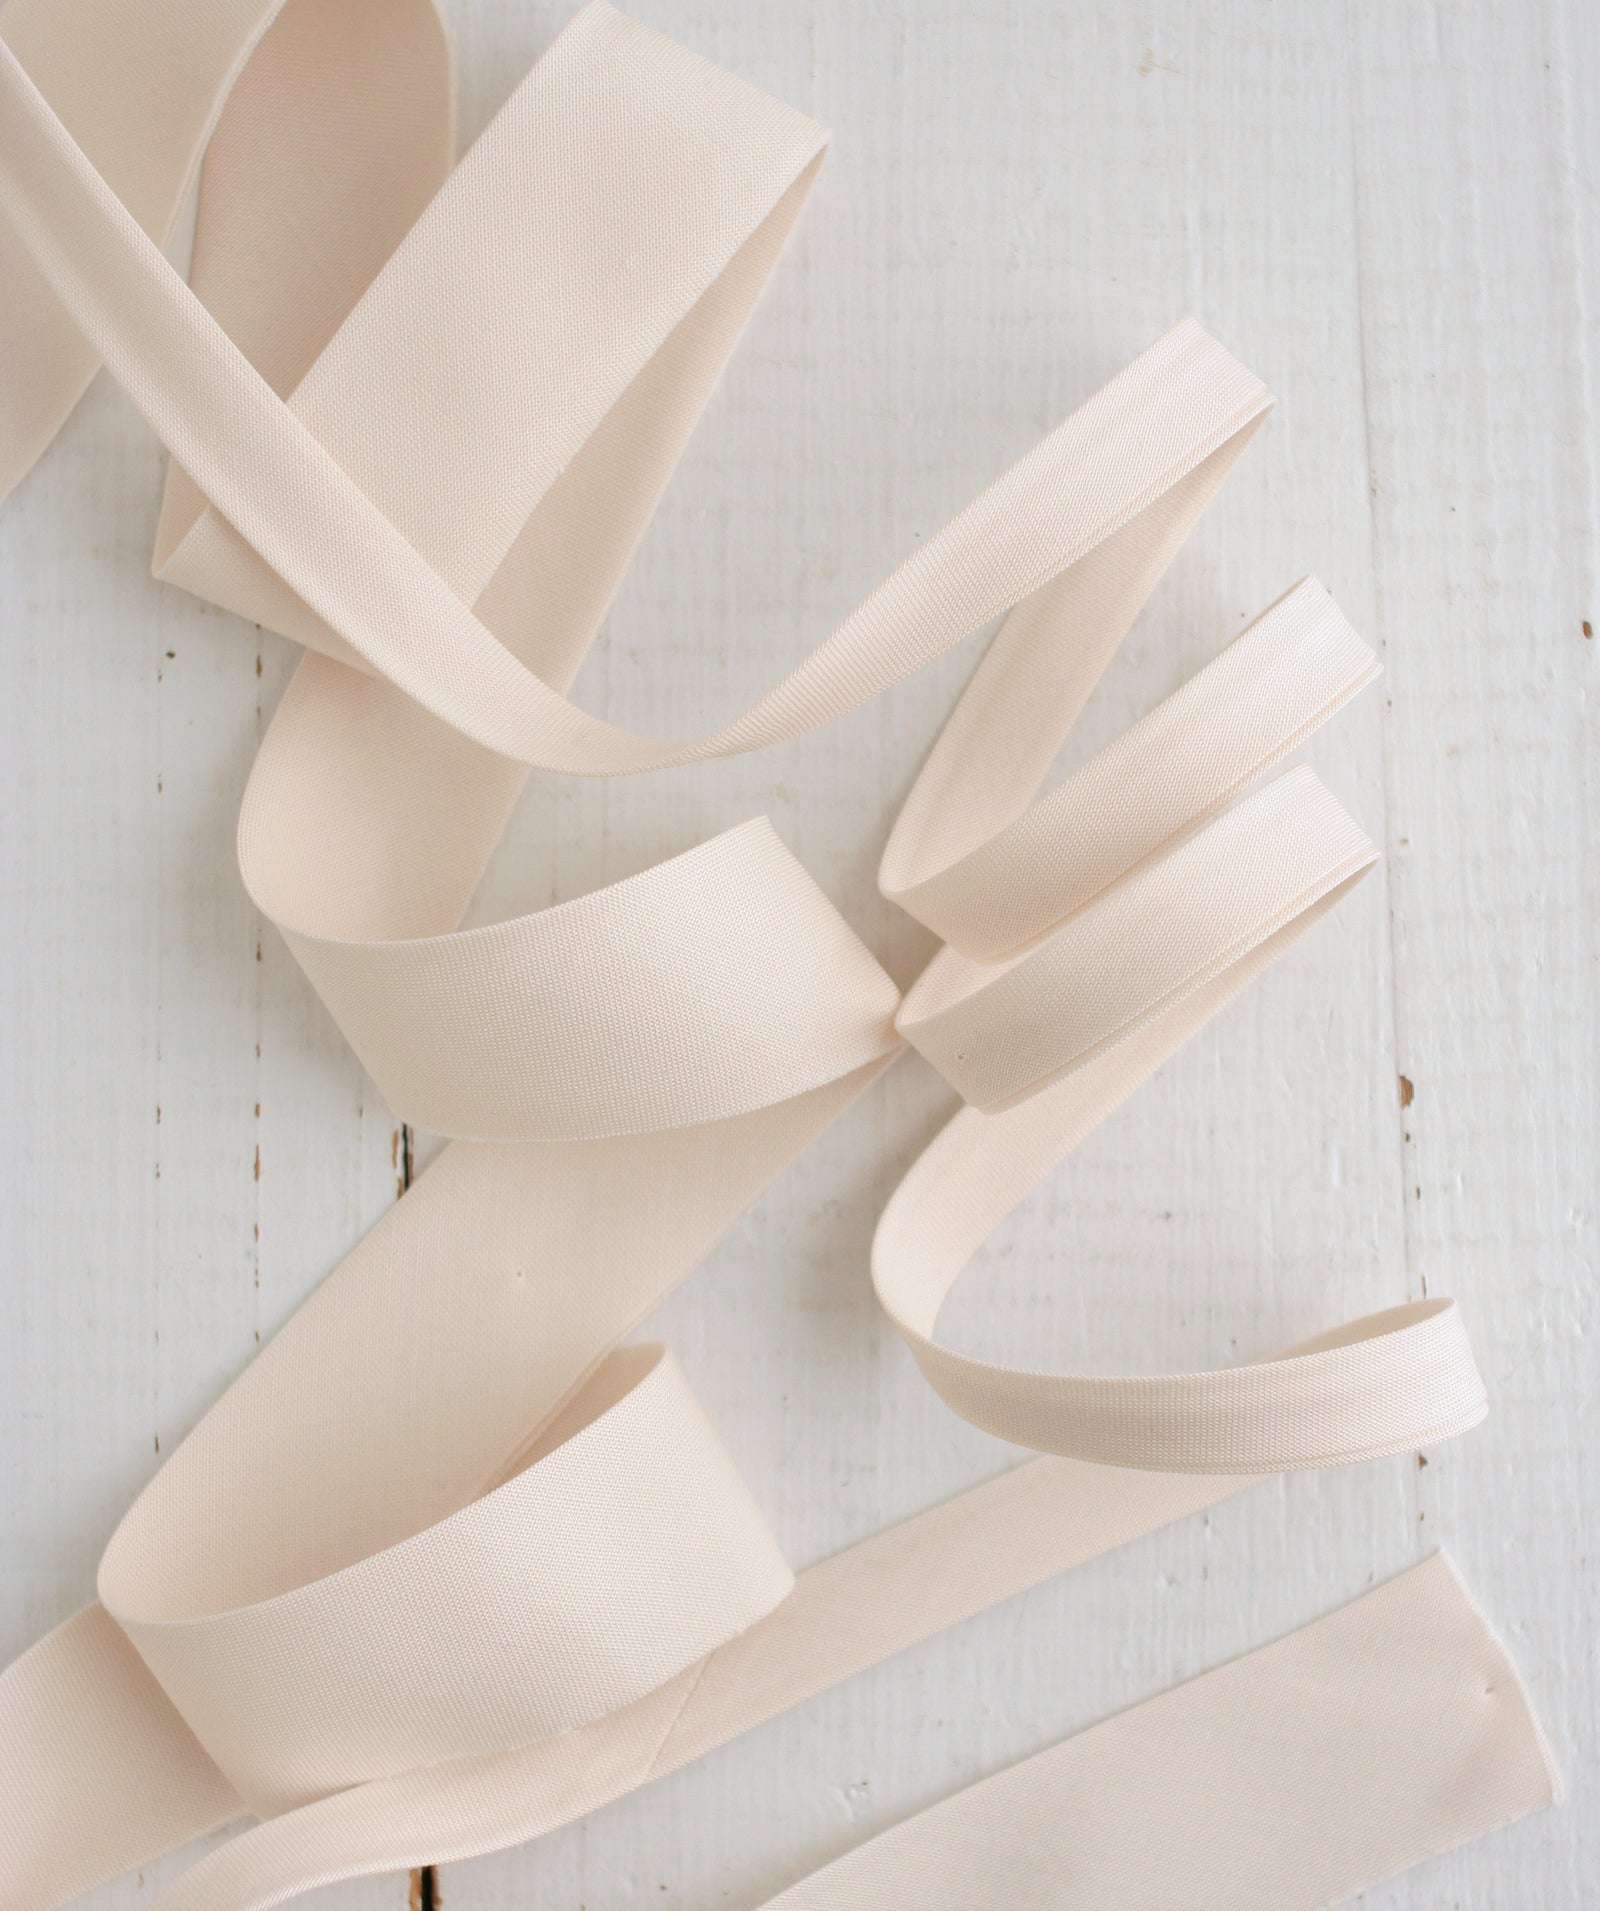
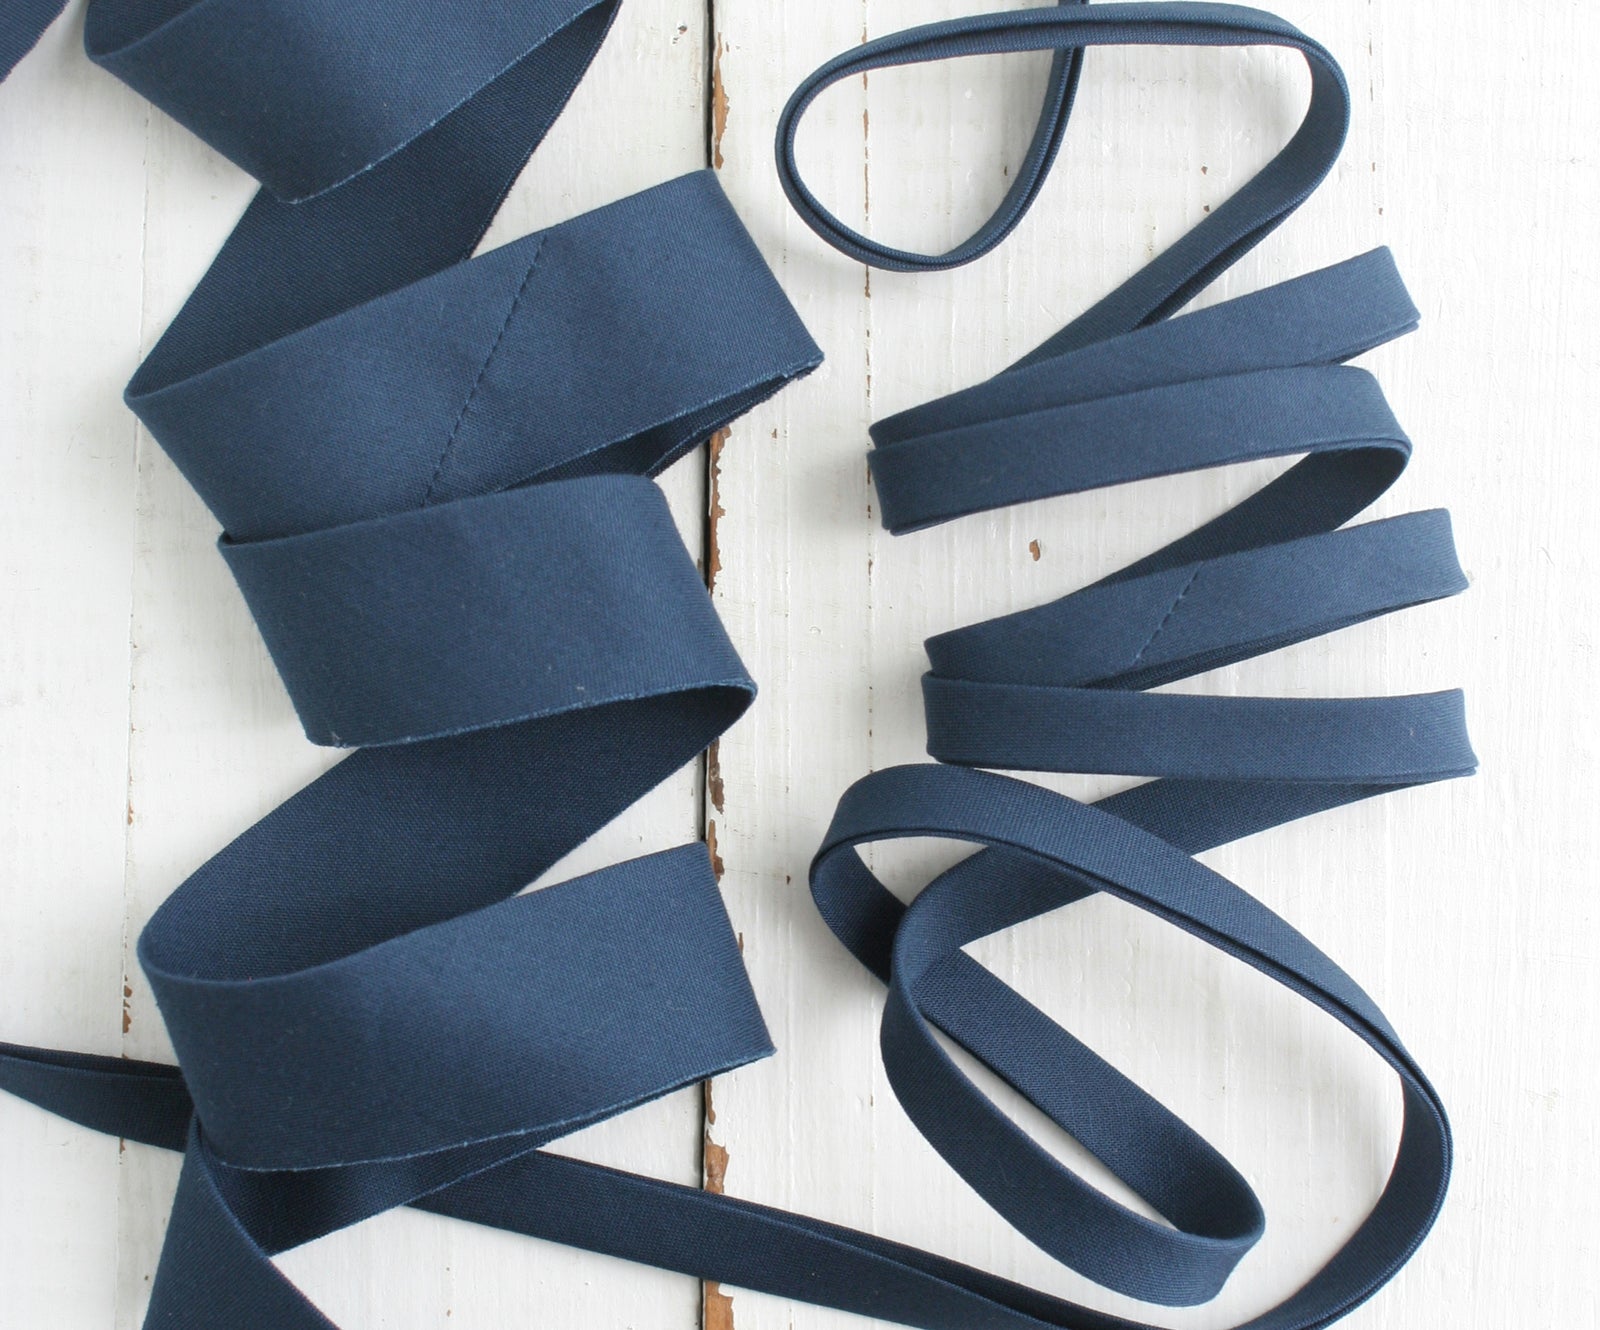
- Bias binding
- Ruler and rotary cutter
- Sewing machine with a walking foot
- Twill tape or drawstring material
- Wonder clips or pins
- Optional: Tree skirt template for easier cutting
Step-by-Step Guide to Making a Quilted Tree Skirt
Step 1: Cut the Quilt Top
Take your quilt top and fold it in half. If you have a tree skirt template, lay it on top of the quilt to use as a guide. Alternatively, you can create your own template or cut it freehand. Cut around the outer edge of the skirt, then cut the smaller inner circle for the tree stand opening. Finally, make a slit down the center. If you feel a moment of panic while cutting into the quilt—don’t worry, you’re not alone! Just remember it’ll look beautiful in the end.

Tip: If your quilt has a directional pattern, check its alignment before cutting. For instance, I centered my tree blocks to avoid cutting into them.

Step 2: Attach the Bias Binding
Since the tree skirt has curves, bias binding is essential for smoothly binding the edges. Attach the binding just as you would on a quilt—use your favorite binding method or check out mybinding tutorial. Starting and ending your binding on a straight edge will make joining the ends easier.

For the inner circle, use plenty of pins or clips to keep the binding in place as you sew, as this part is especially tight. Go slowly to achieve a neat finish.
Tip: Need help with making bias binding? I have a step-by-steptutorial, or grab some of ourready-made binding to save time.
Congrats! You finished the tree skirt!
Making the Patchwork Drawstring Bag

Using the leftover quilt scraps, you can create a charming, functional drawstring bag for storage.
Step 1: Create Patchwork Squares
Cut your leftover scraps into squares and arrange them in a large square pattern for the bag.


Step 2: Sew the Squares Together
Sew each square together to form one continuous piece of patchwork.

Step 3: Create the Casing for the Drawstring
Fold down the top edge to the back by ½" and sew with a ¼" seam. Then fold down an additional 1" to 1.5" and sew along the bottom edge to form a casing for the drawstring.

Fold down your edges to the back and secure with pins or wonder clips.

Fold the top edge down again to create the casing.

Step 4: Finish the Sides
Fold each side edge inward by ½" and sew with a ¼" seam.
Step 5: Sew the Bag Together
With wrong sides facing out, align and sew the bag along the sides and bottom, stopping right below the casing.

I used wonder clips to hold my sides together while sewing them shut.
Step 6: Turn the Bag Right Side Out
Turn the bag right side out, pressing out the corners and seams as best you can.

Step 7: Insert the Drawstring
Using a bodkin or safety pin, thread the twill tape or drawstring through the casing. I finished the ends of my twill tape by folding them under to prevent fraying.

Enjoy Your New Tree Skirt and Bag!
What I love most about this project is that it uses up nearly all of the quilt top, so there’s no waste. Plus, the skirt comes with a matching bag for easy storage year-round!
I even attached one of my custom labels as a finishing touch and it's so cute! You can download this exact label, plus two others, for free right here!

Happy holiday sewing!
Karen


